
You may find that your fabrics are different widths, and that’s okay! Just line them up on one side and don’t worry about the other. You’ll be trimming it in the next step anyway.
3. Cut off the selvages. Selvage is the outside edge that holds the fabric in place when it’s being made in the factory. On one side you will see a line of tiny, pin-sized holes. This is one selvage, so cut along the holes down the entire side.
On the other side, look for those same holes and cut down the line of the holes there, too. (This is where you’ll have evened up your fabrics if they were different widths.)
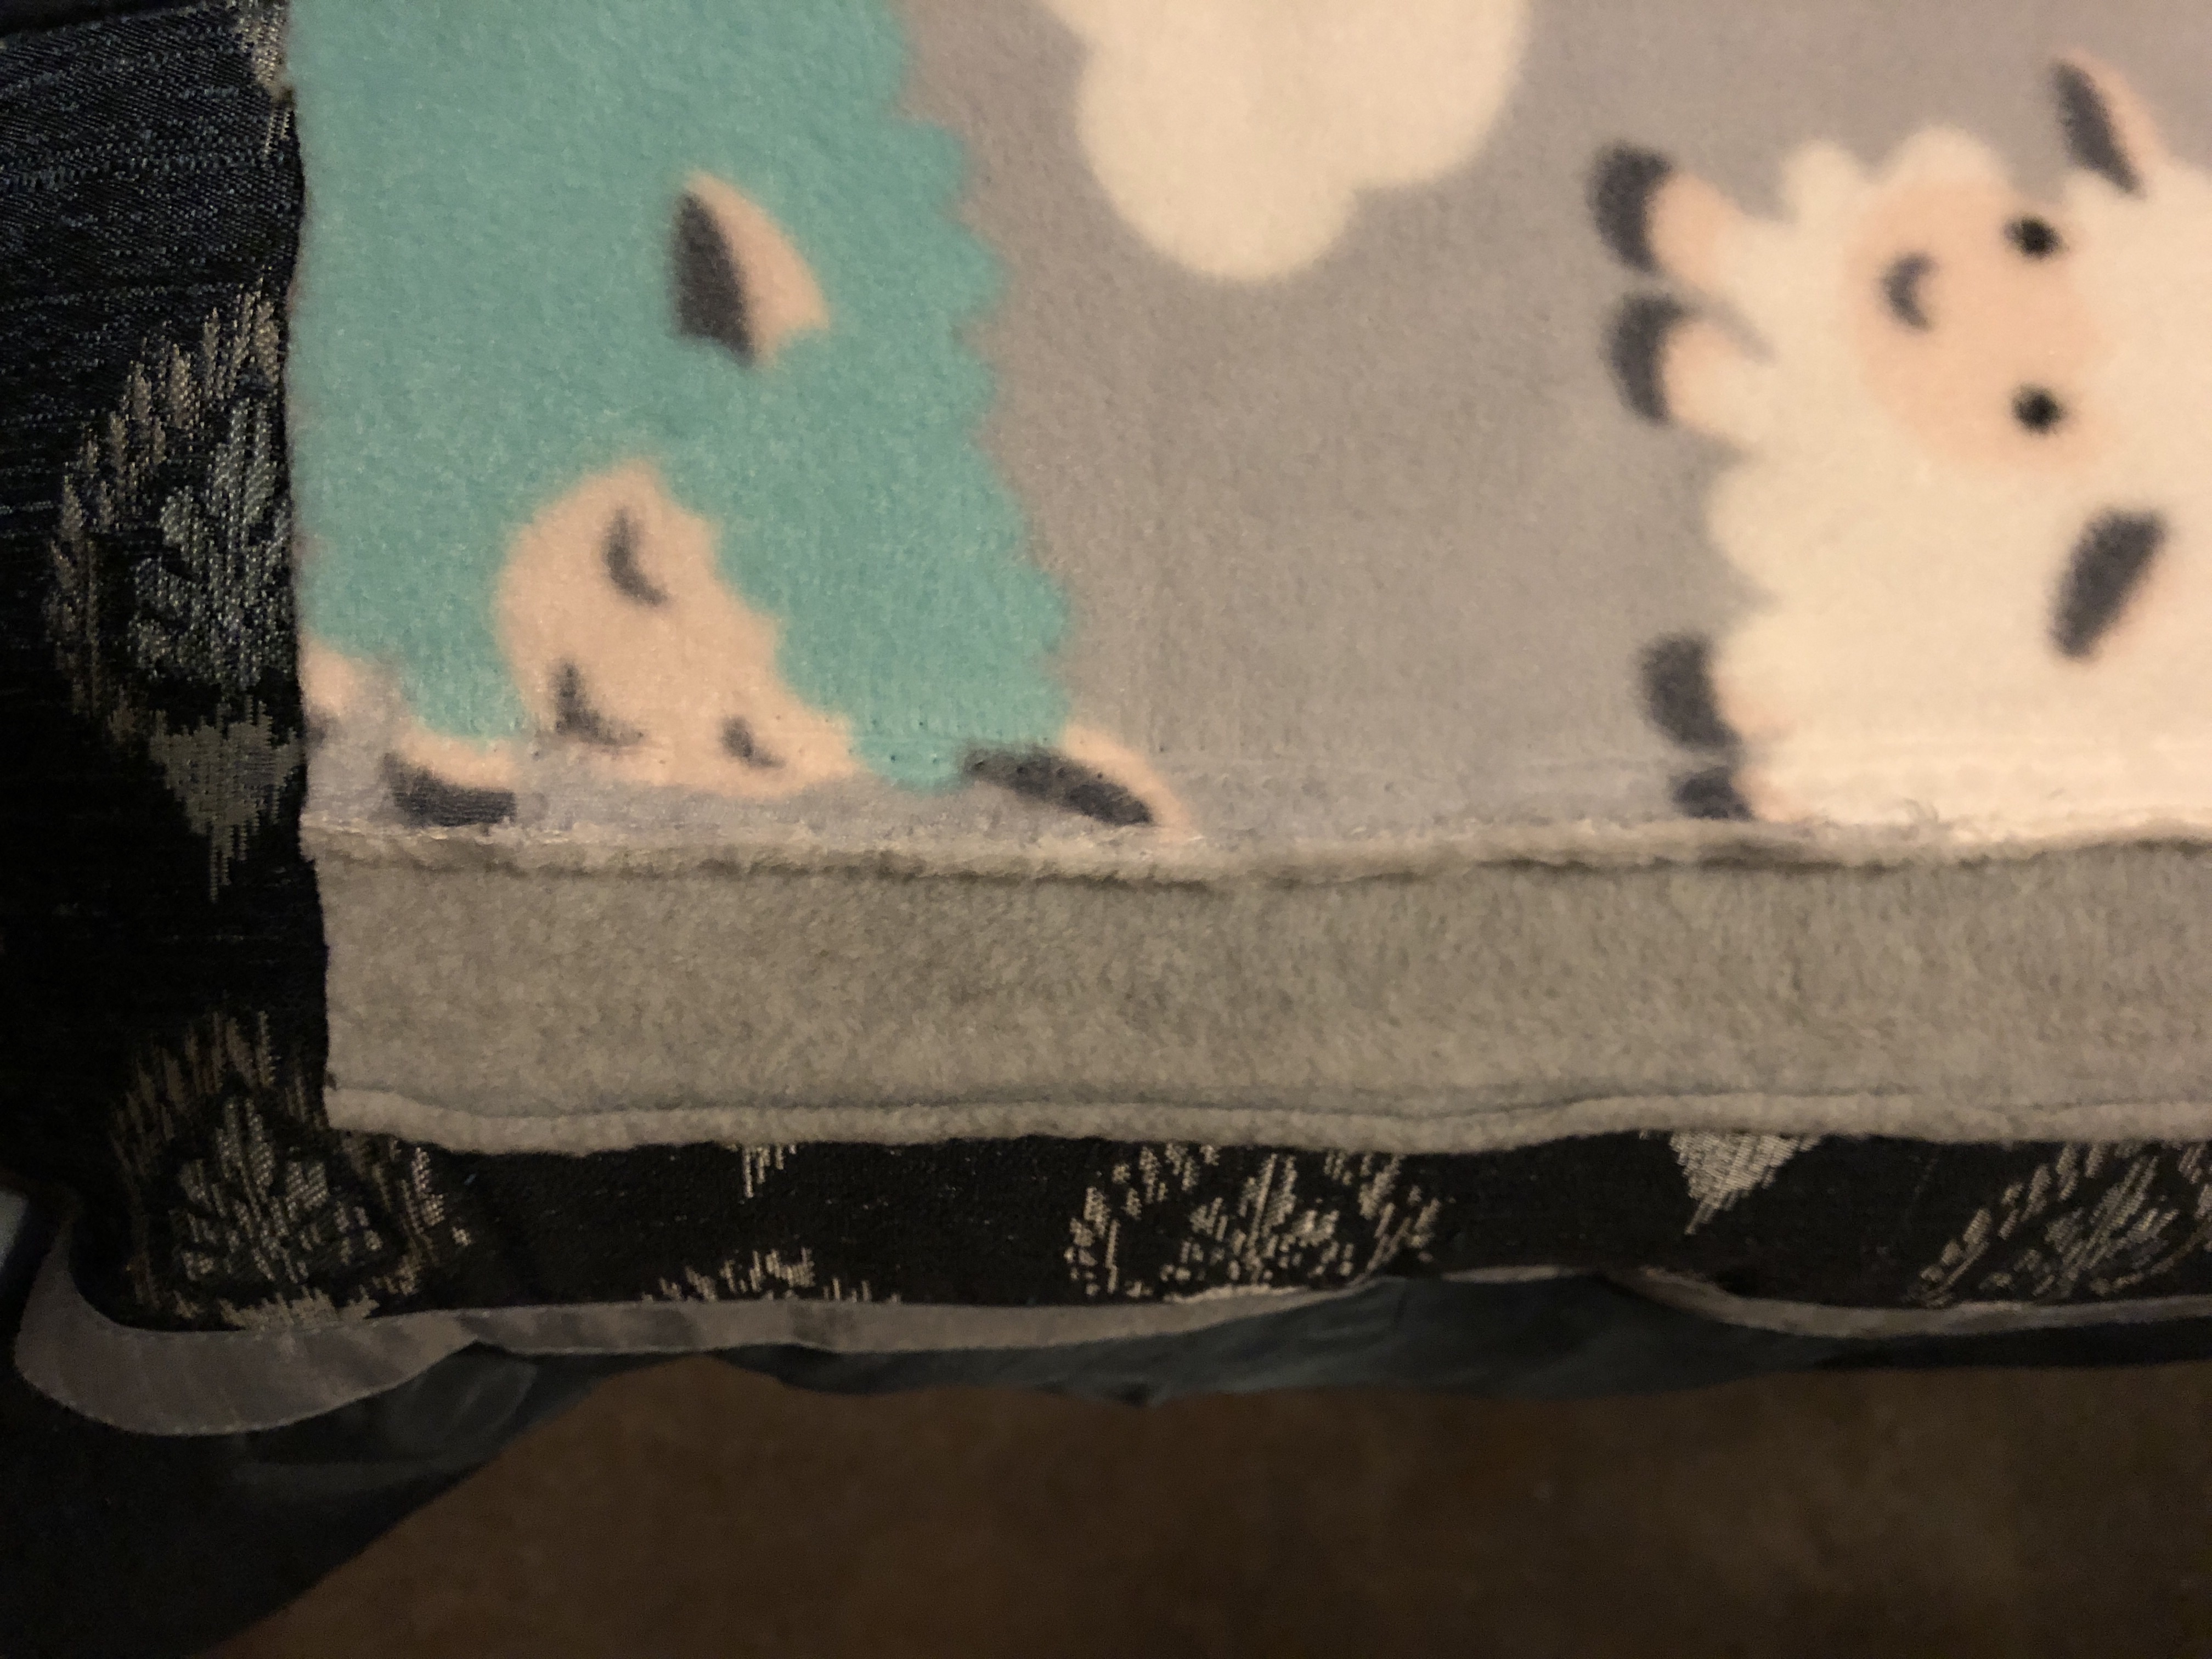
4. Now that you’re all cut and trimmed, decide which side of your blanket will be the head. You’ll leave that side alone. Instead, take the next side and fold the entire side in by an inch.
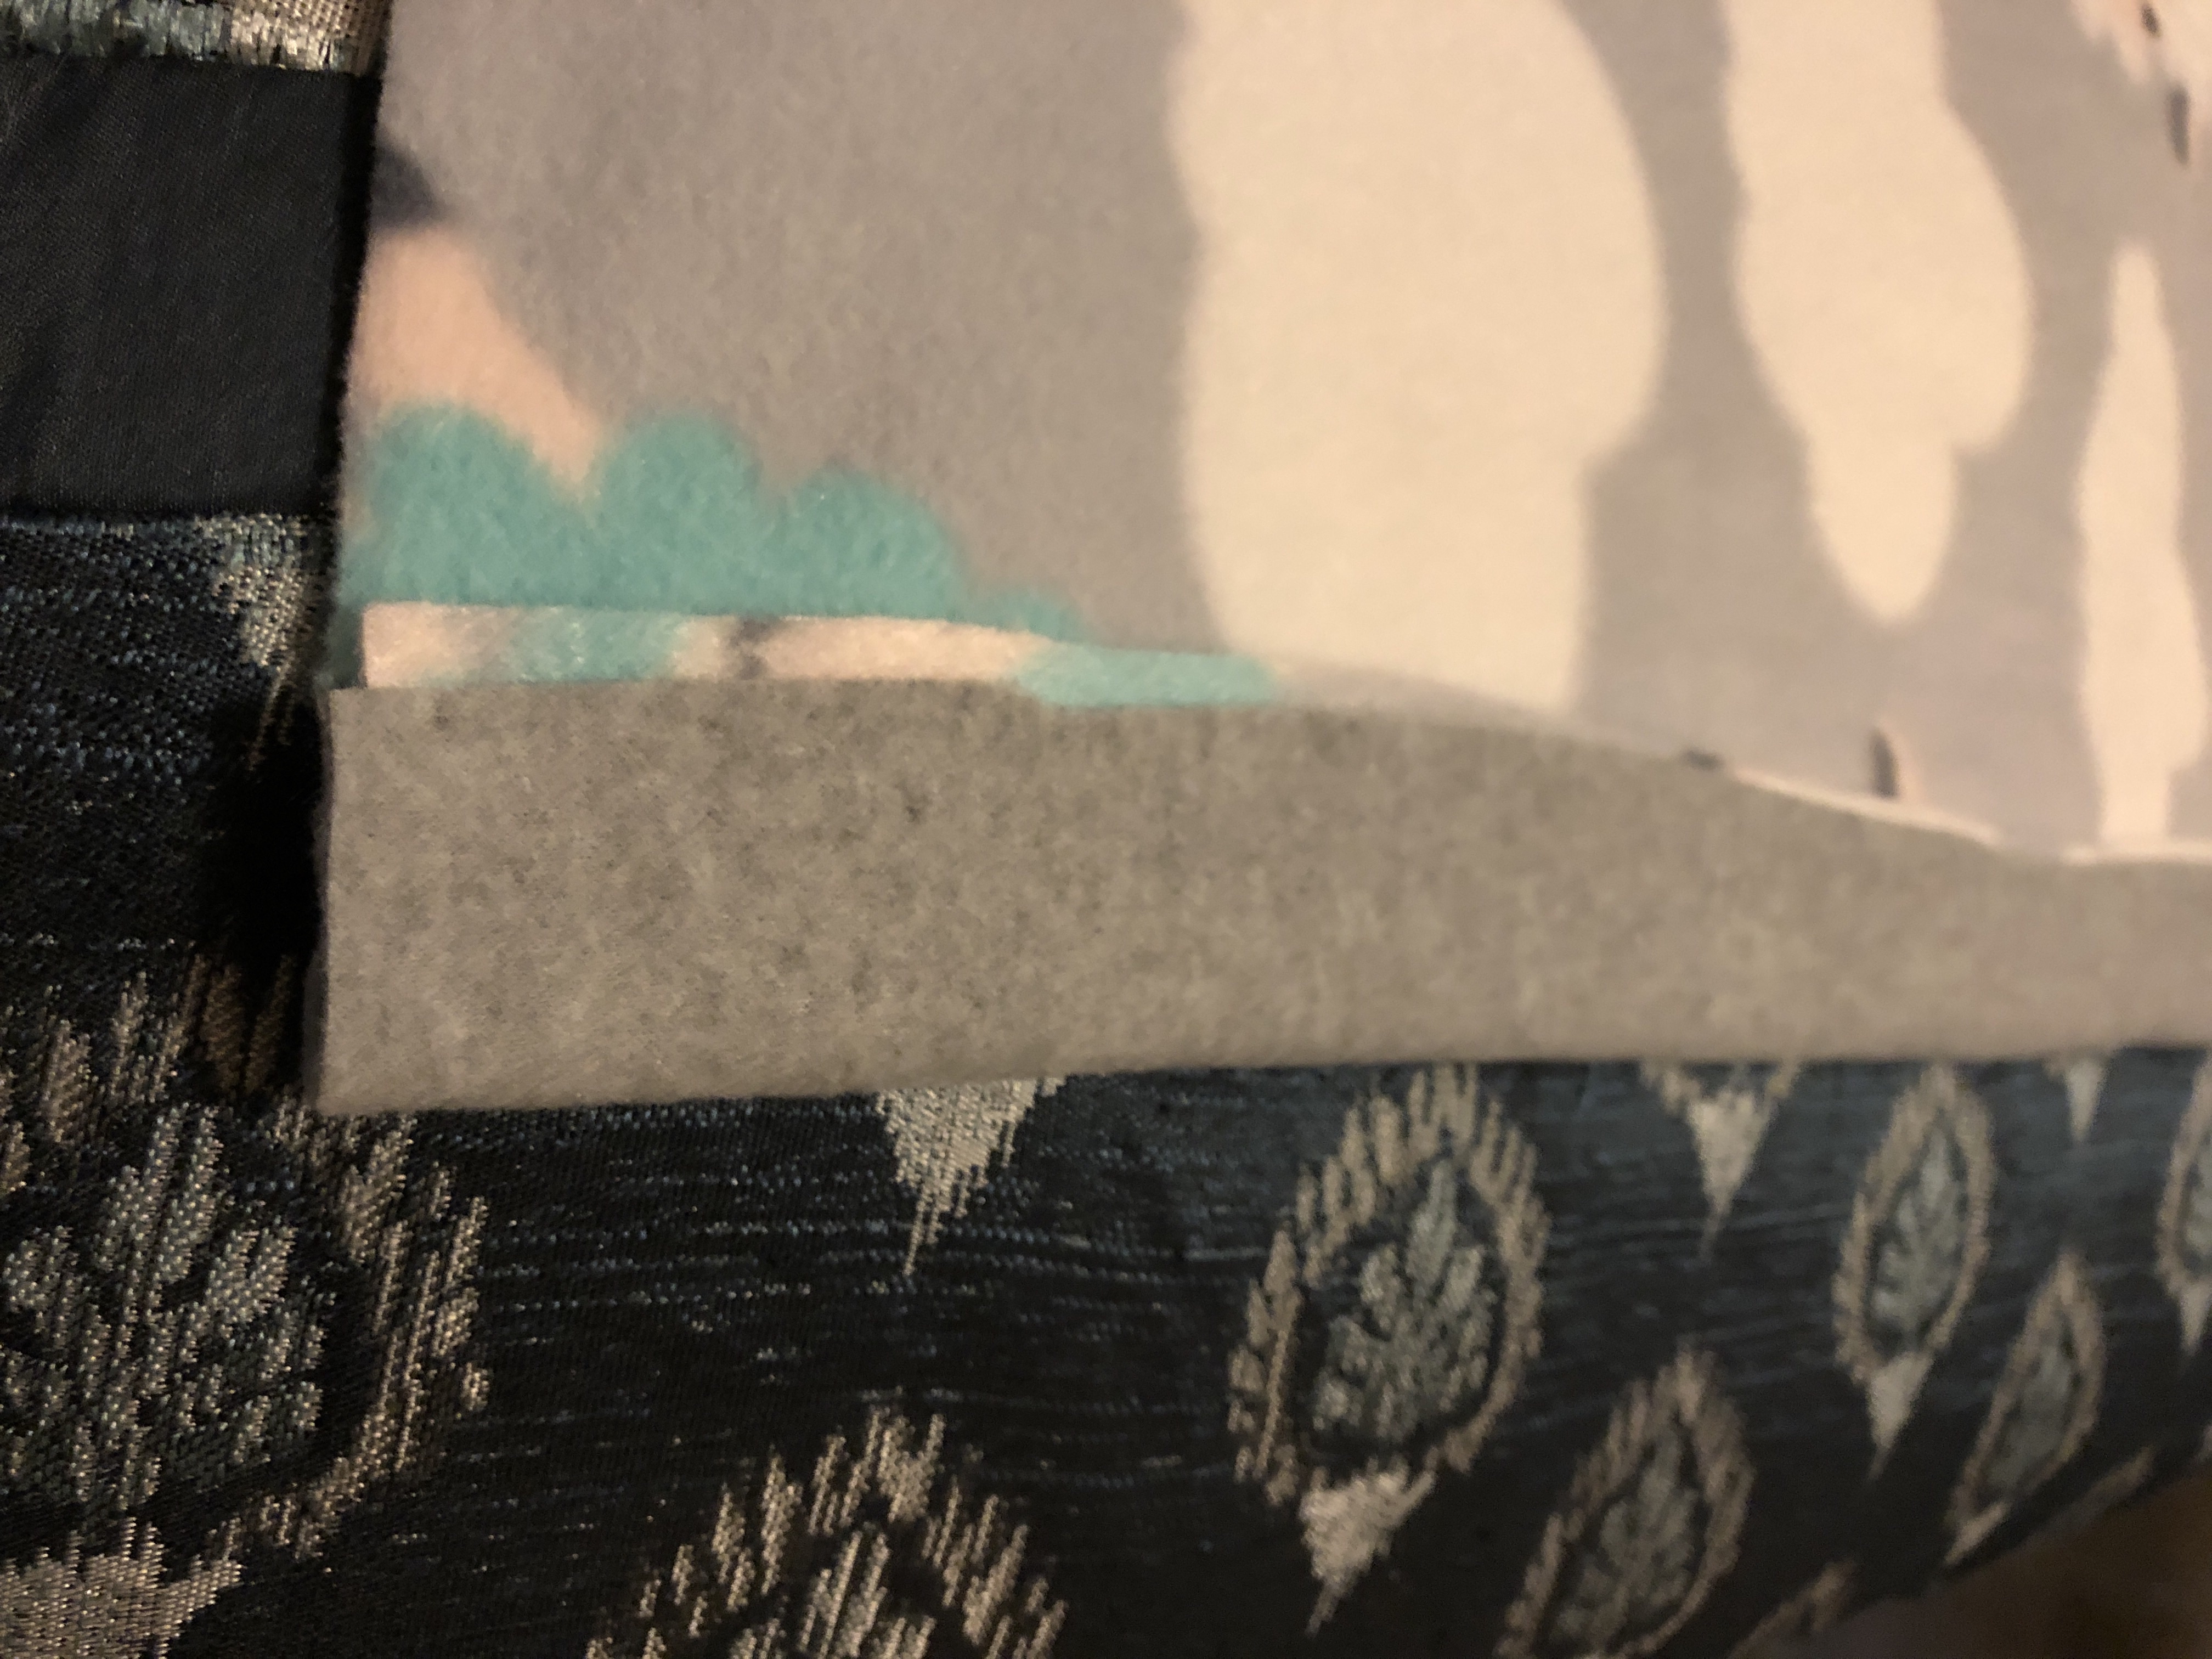
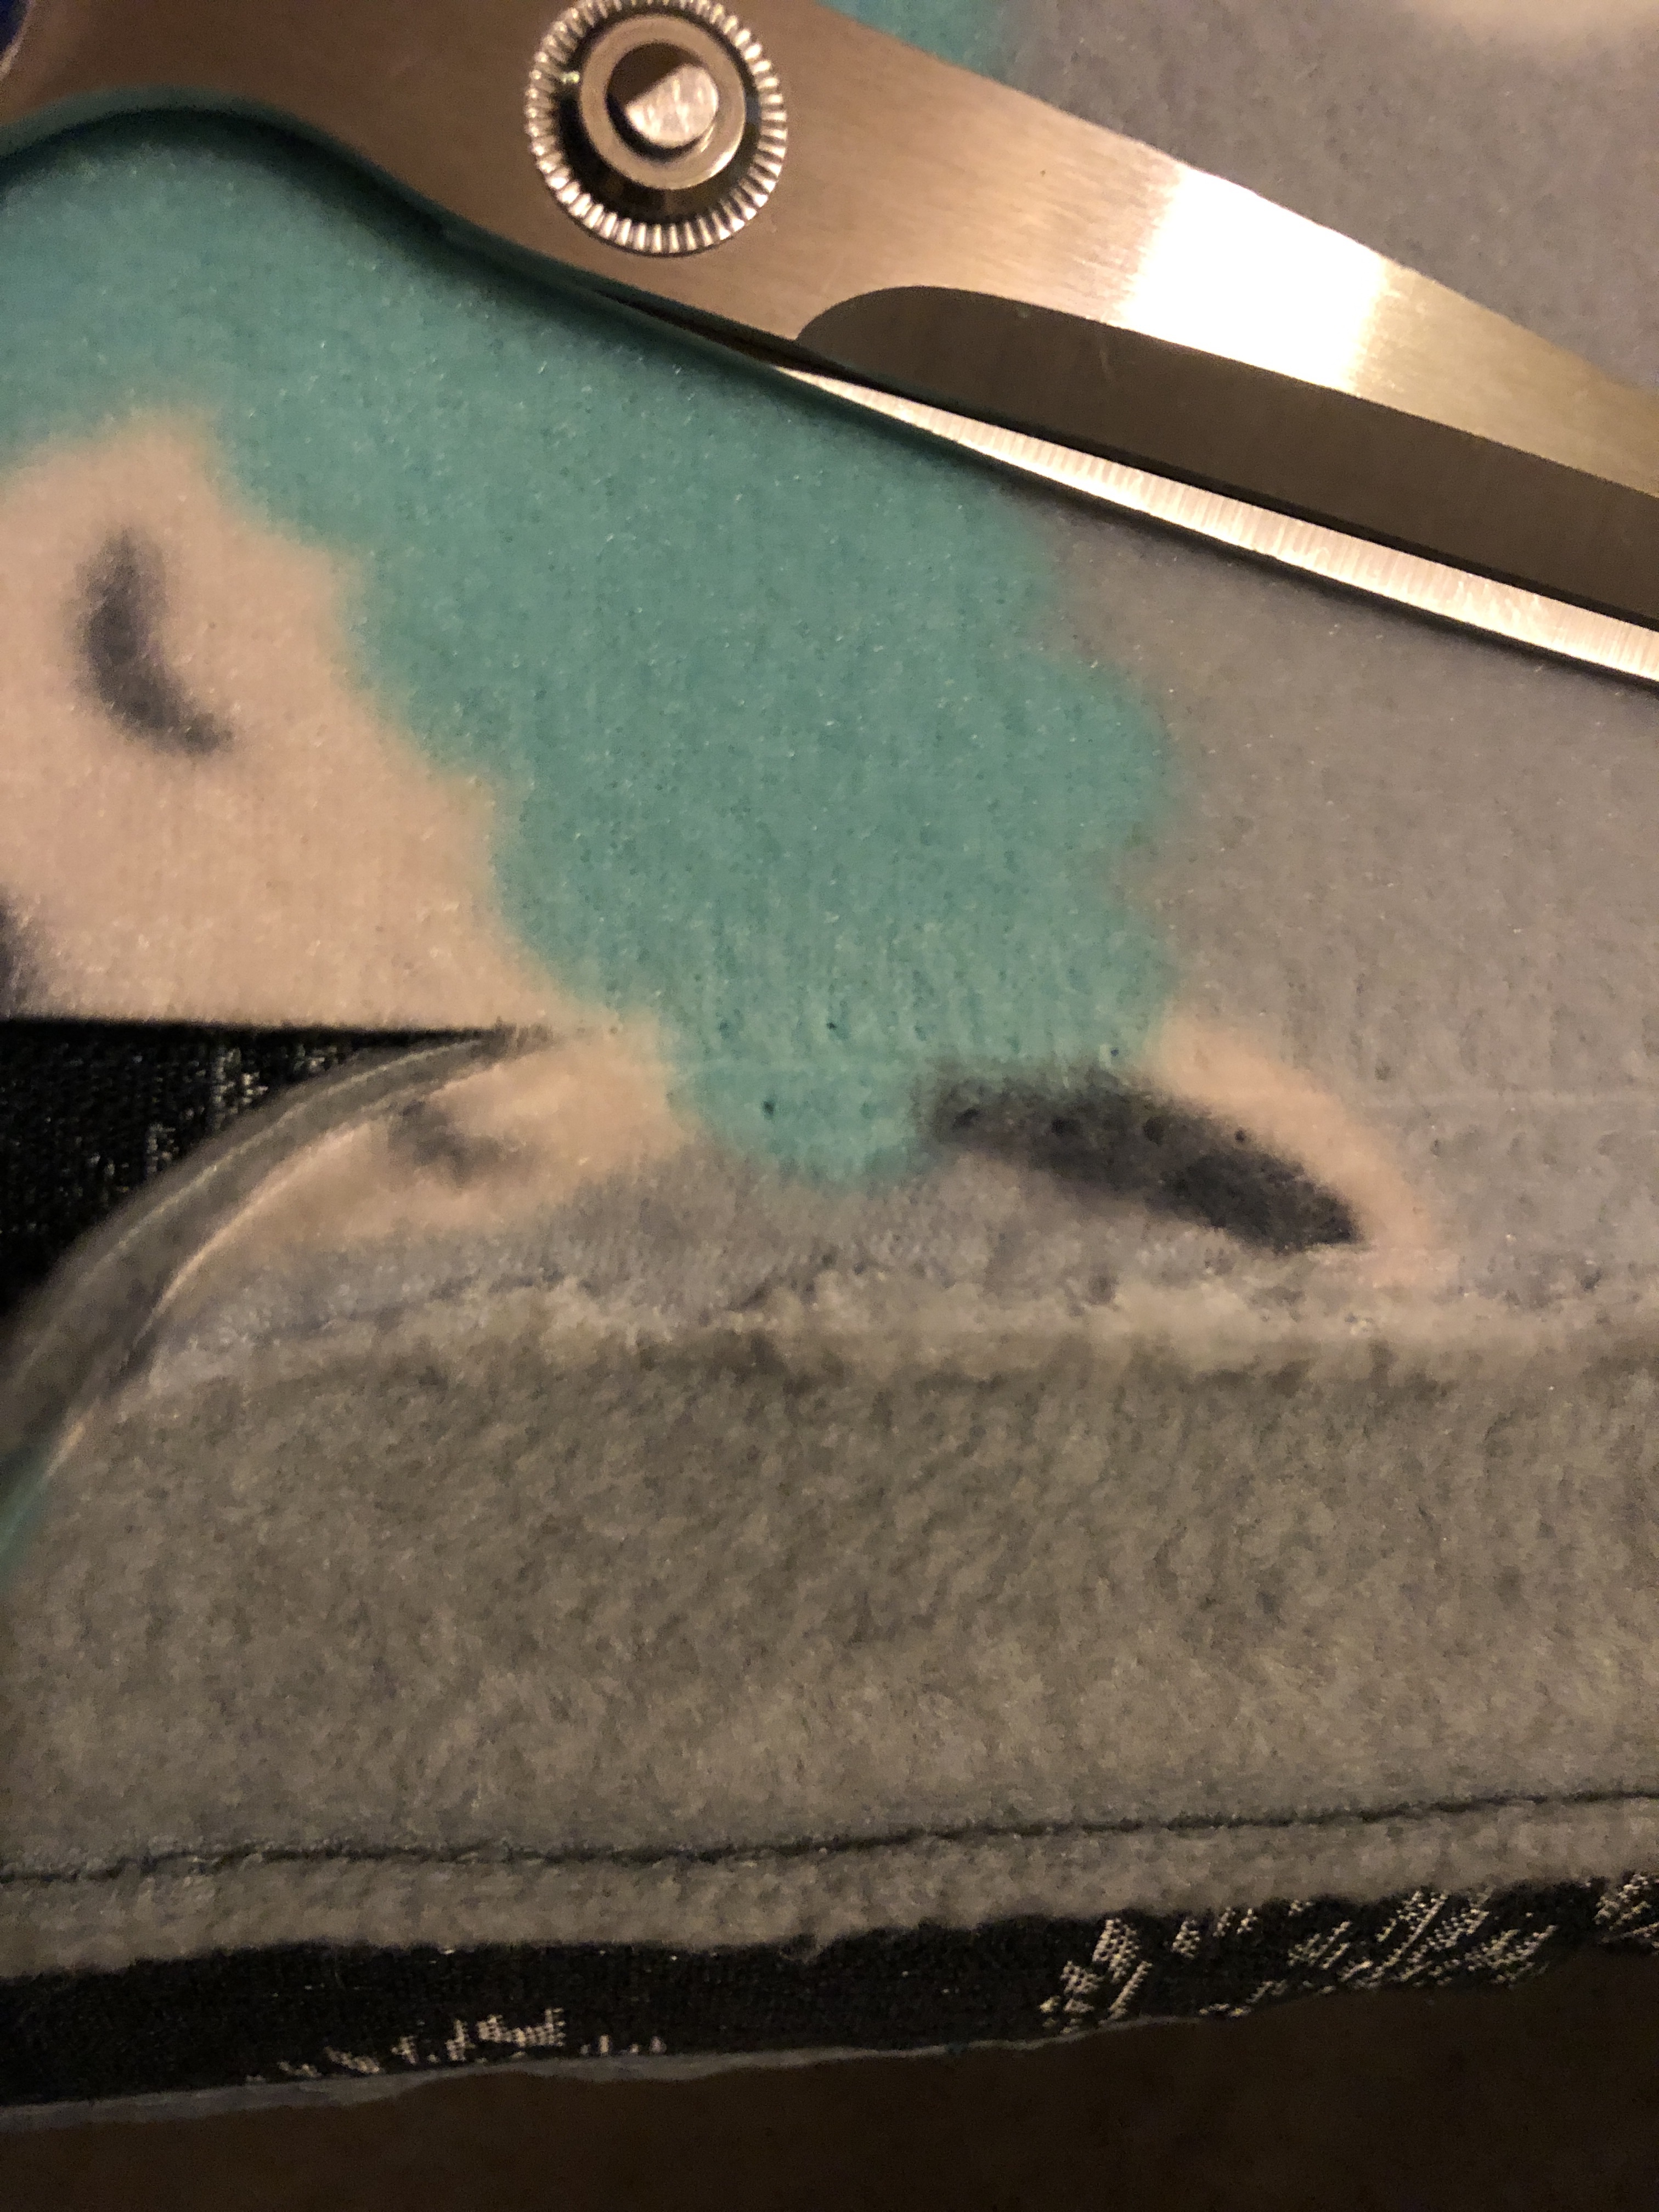
5. Using your measuring tape or rule, cut a small notch or slit starting at 2 inches from the end. This doesn’t have to be a big cut, just enough for your ribbon / yarn to fit through.

Keep cutting notches every two inches.
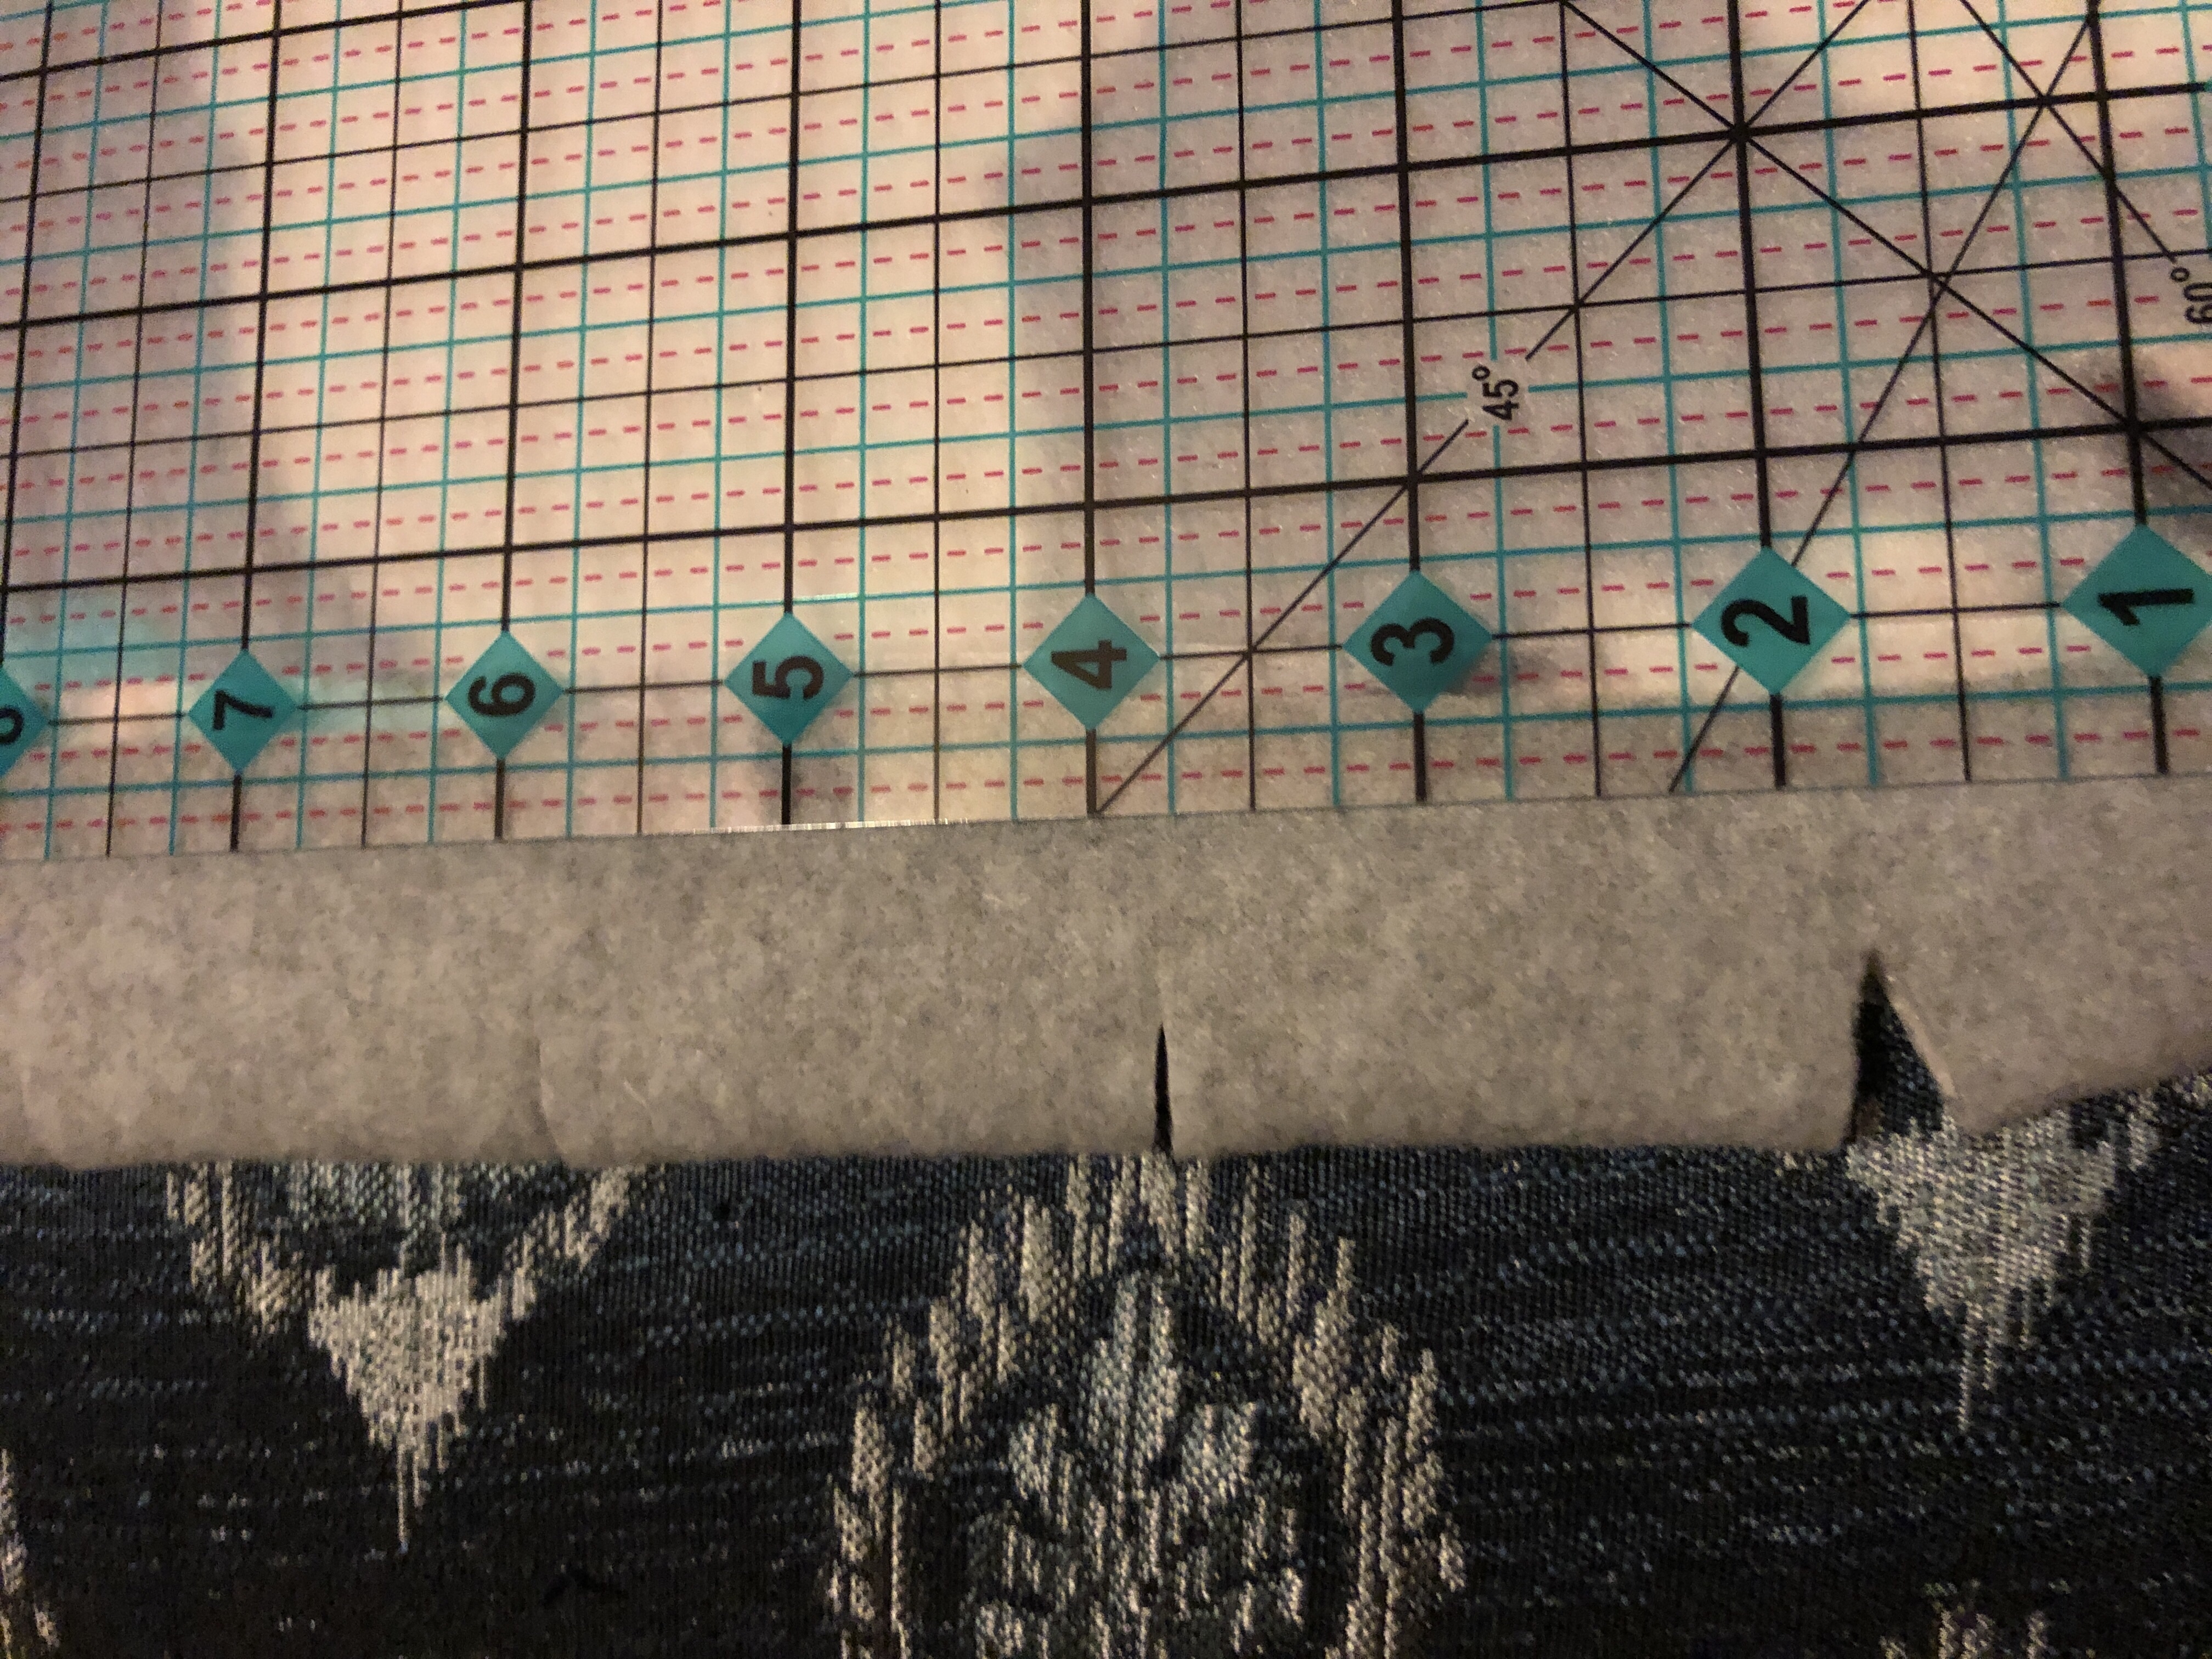
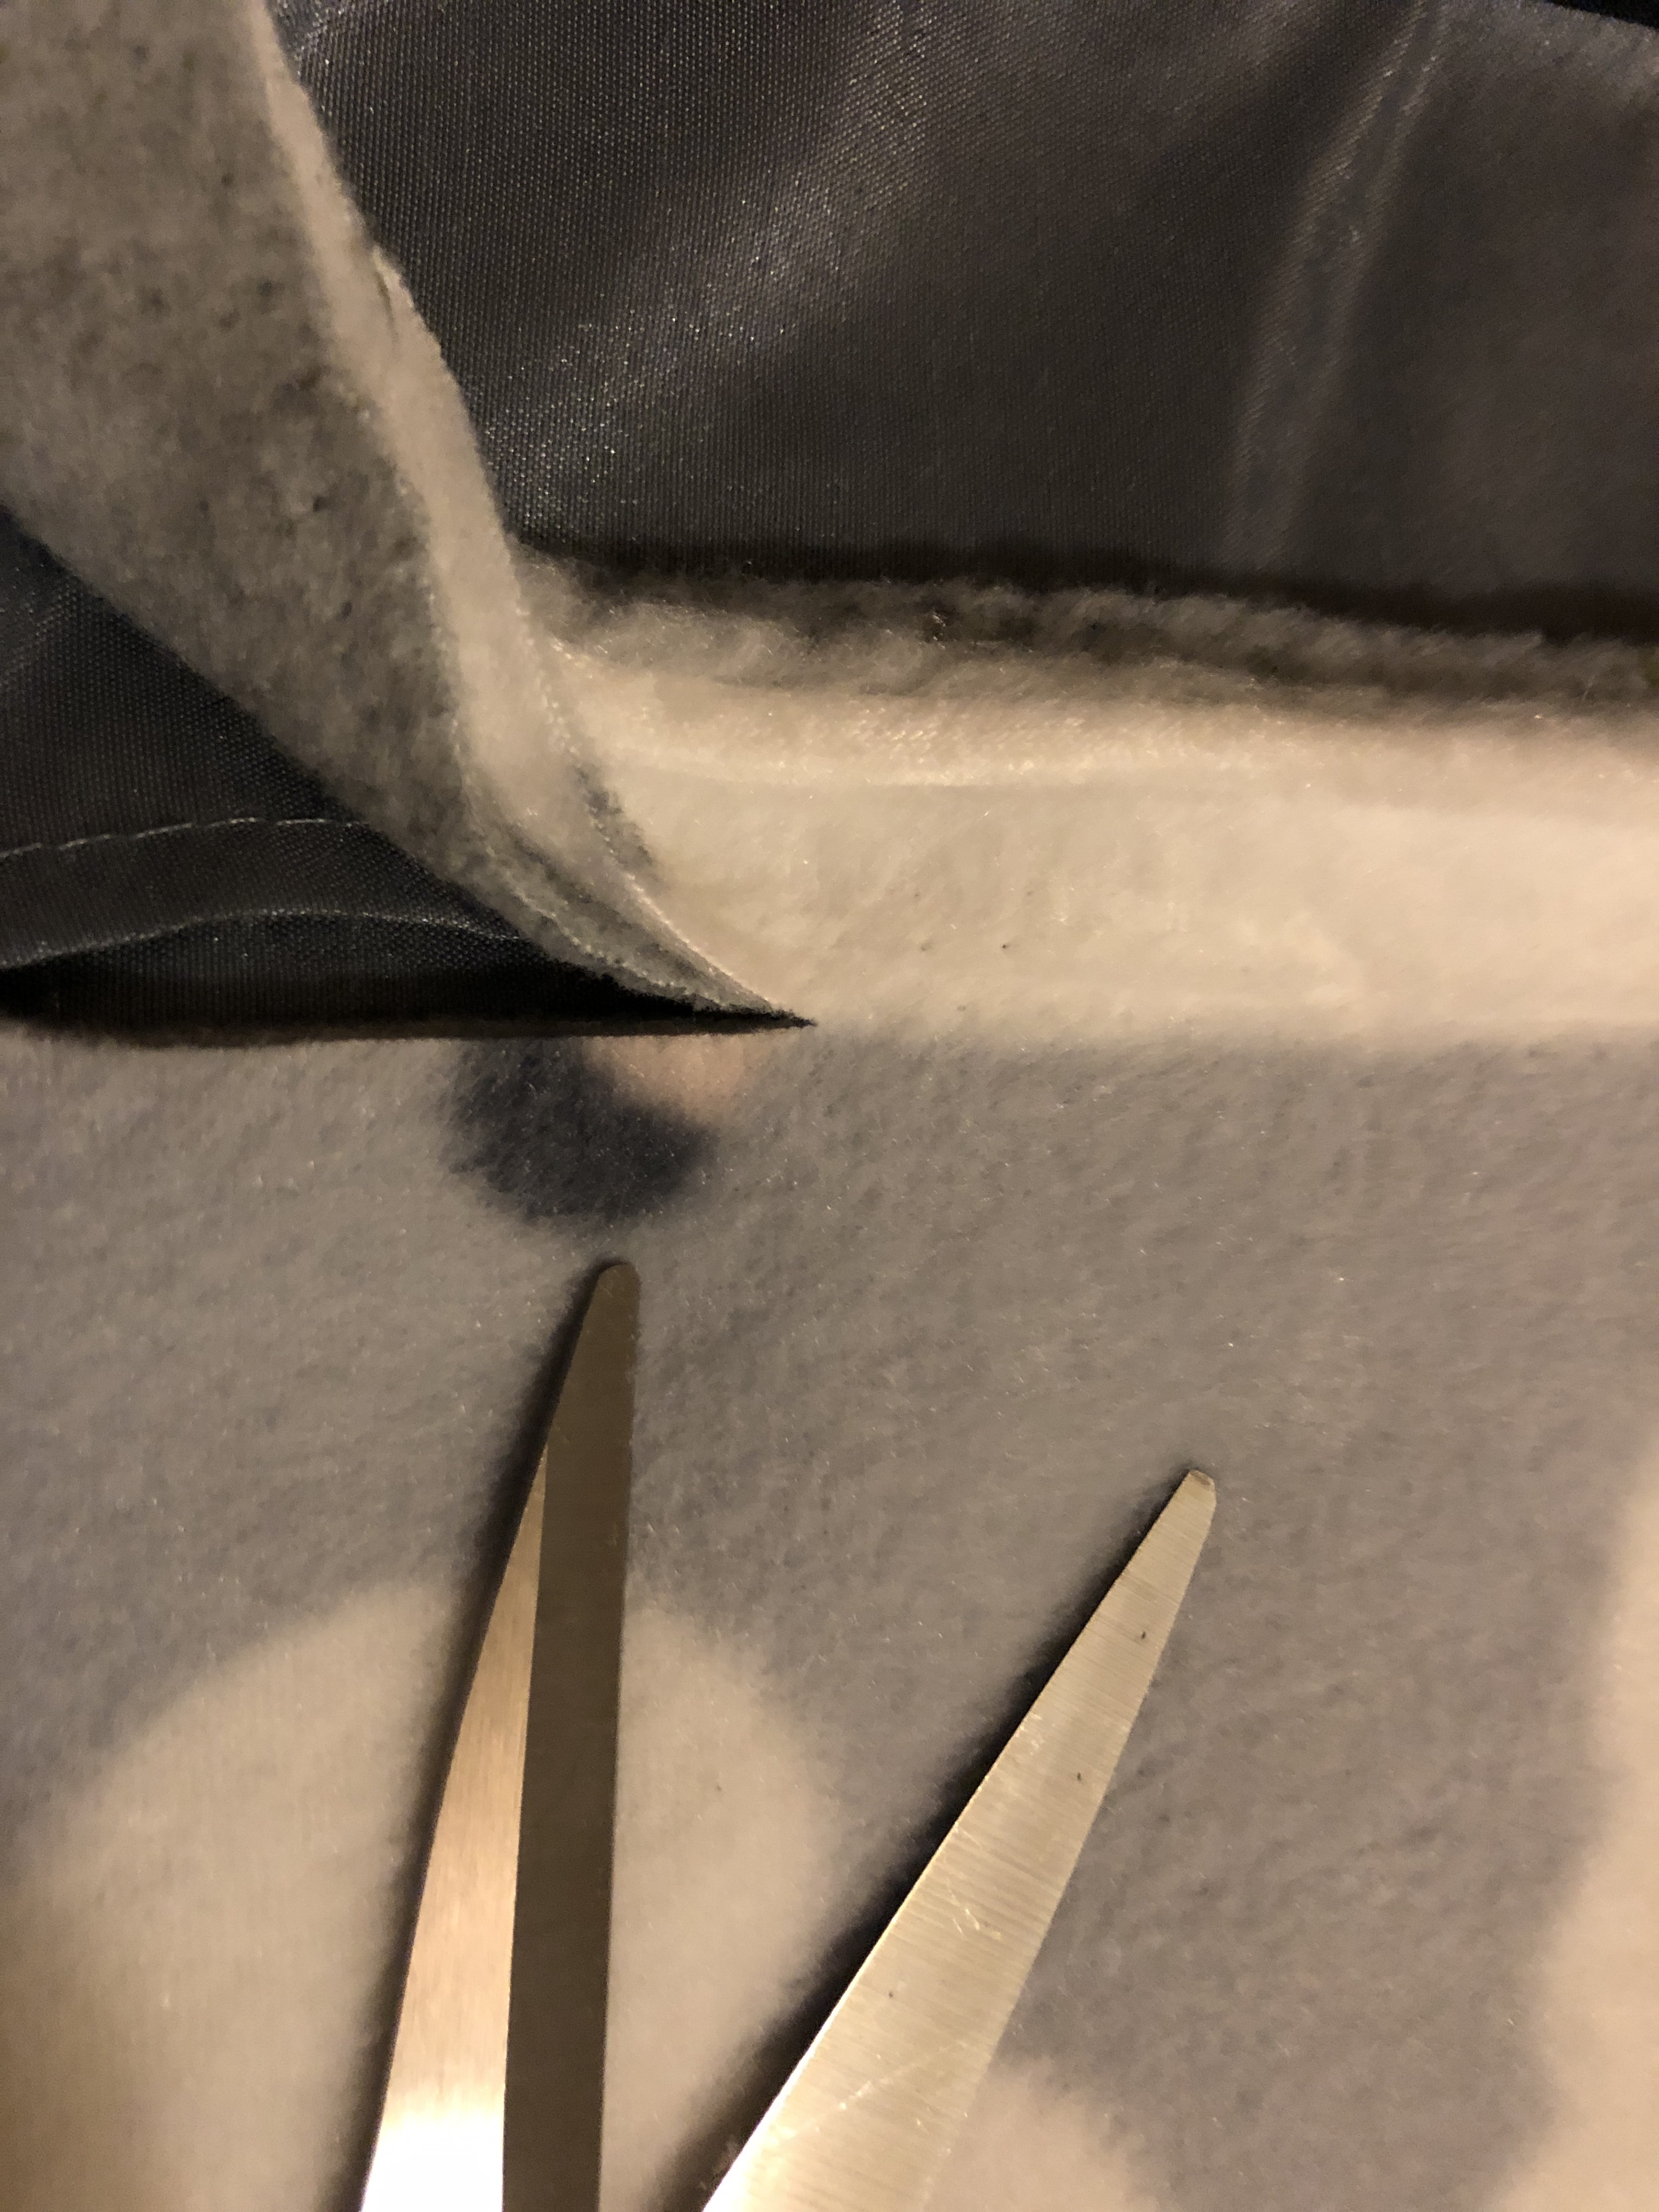
6. When you get to a corner, simply unfold the previous side, fold the new side in by an inch, and start cutting every 2 inches down it. Just make sure that your cuts aren’t too close. You might want to start your first cut on the second side at 4 inches from the end.
Repeat for the third side.

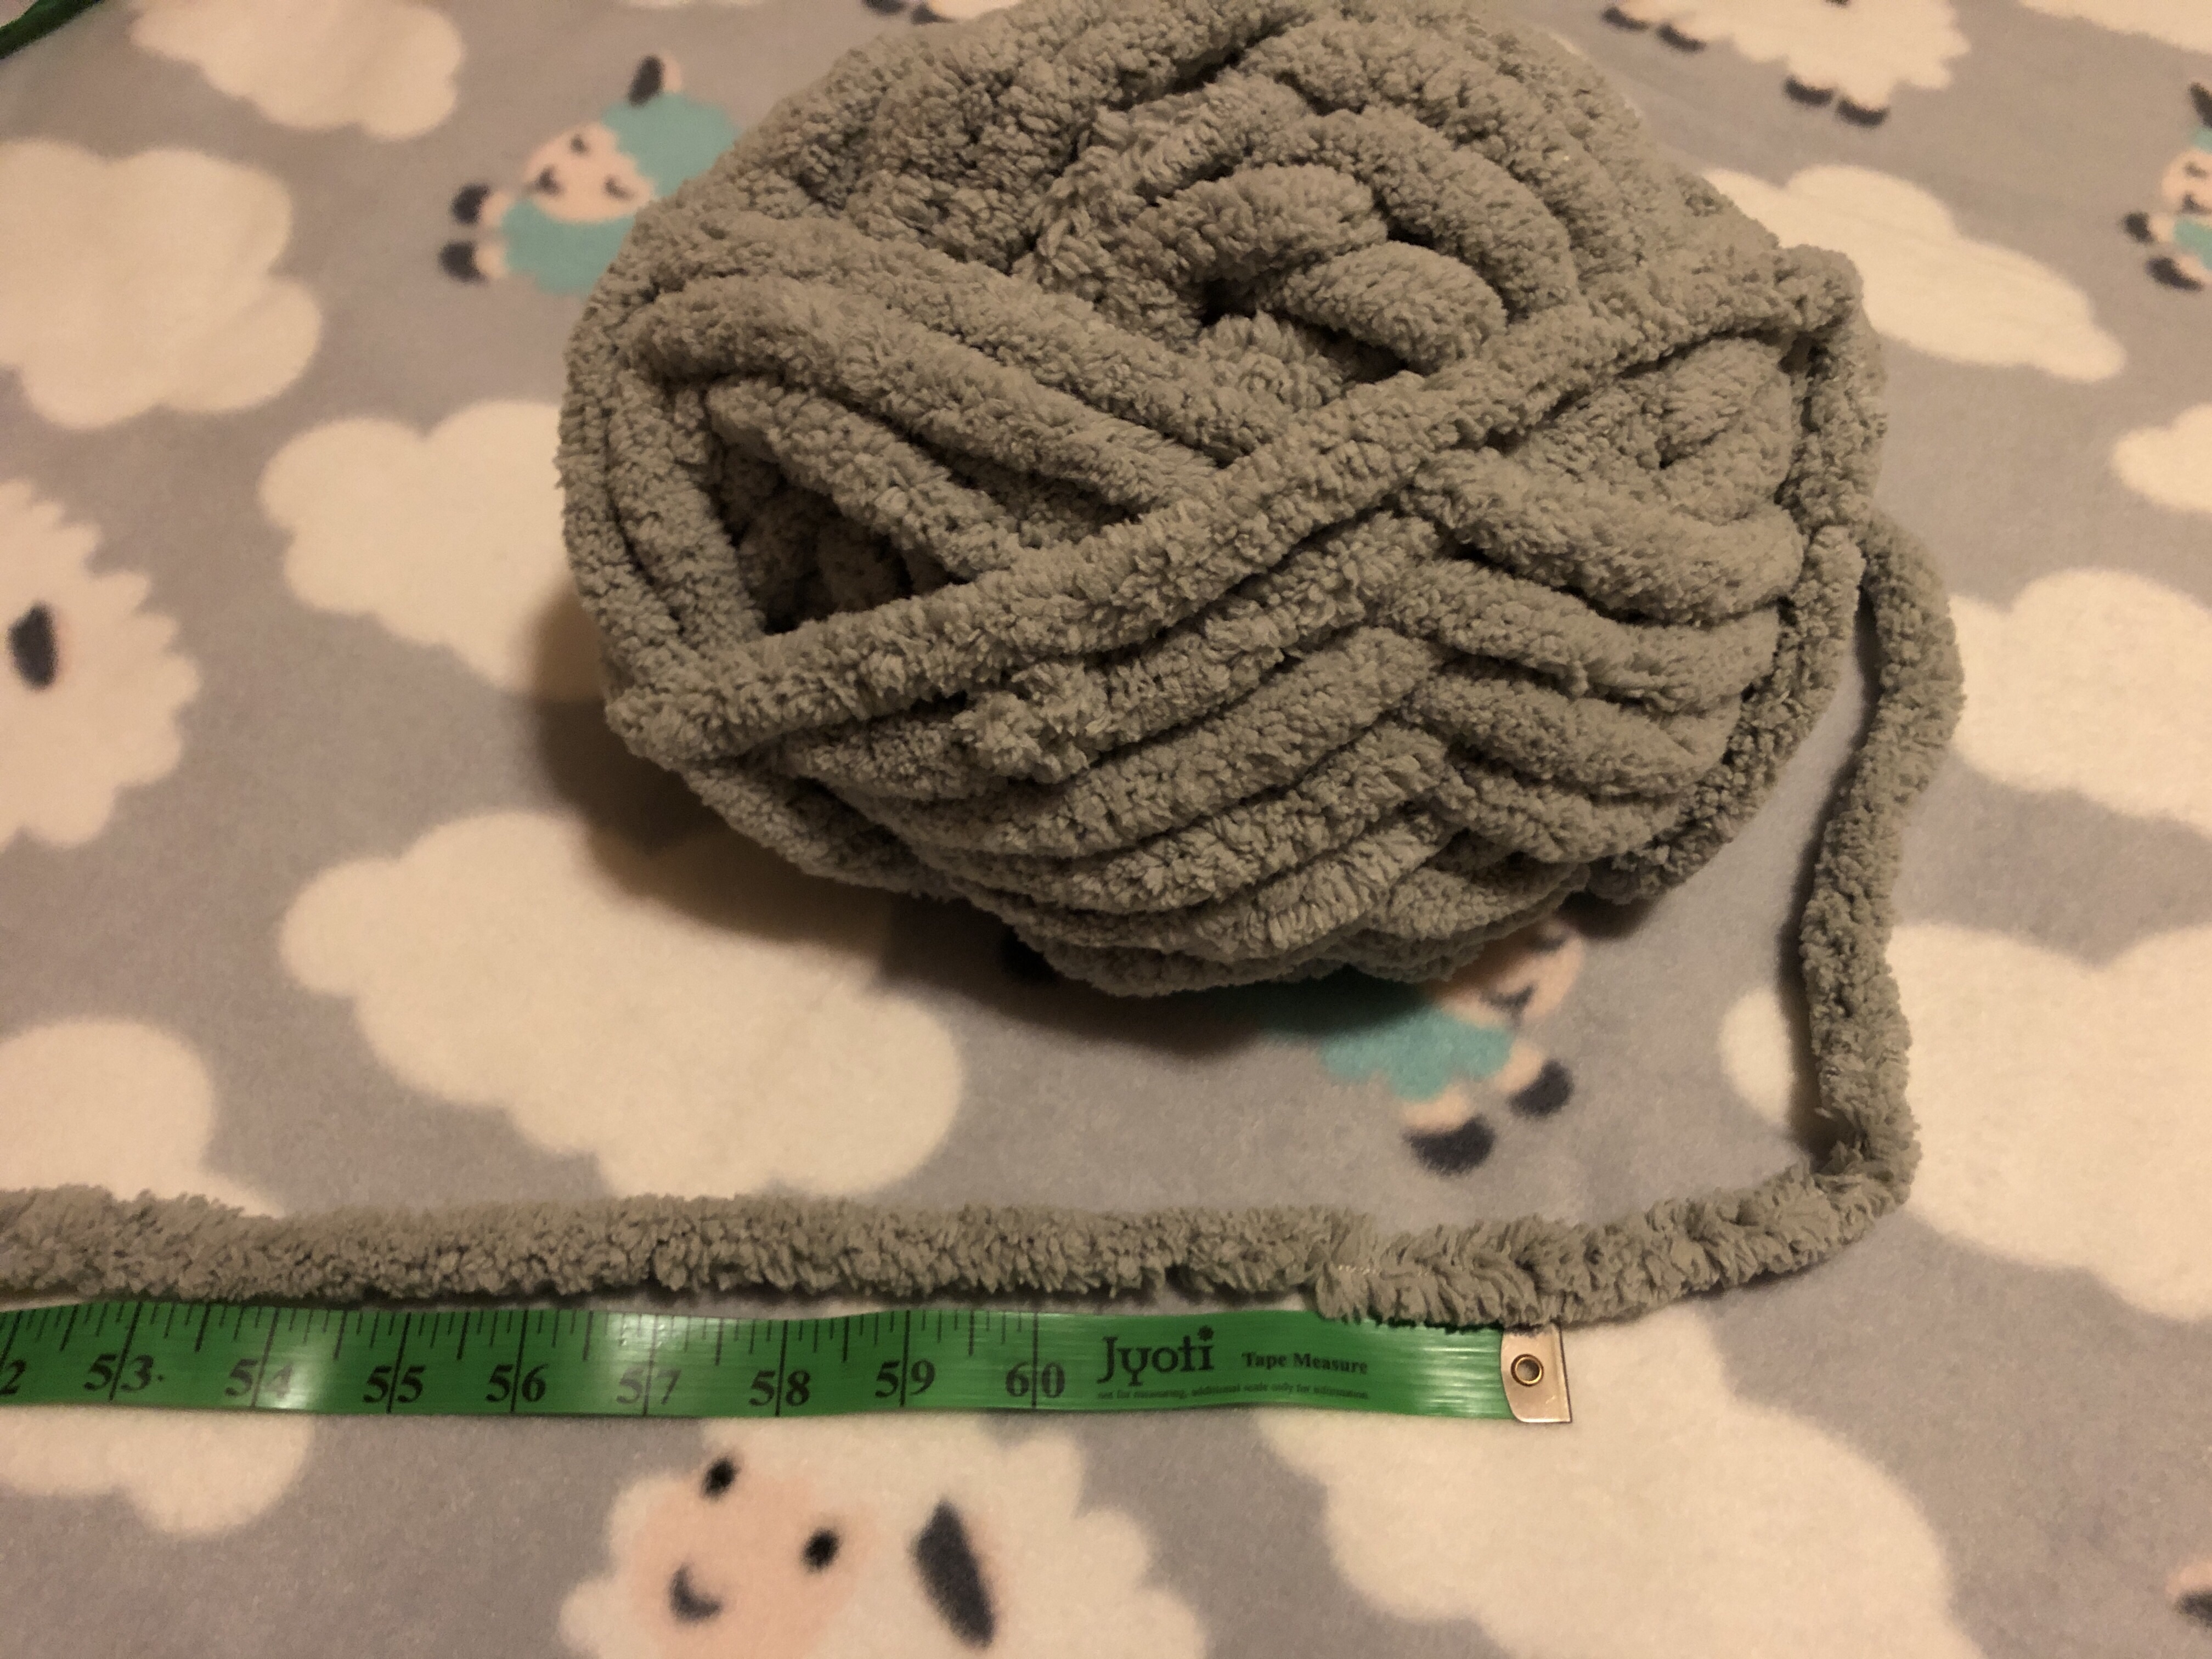
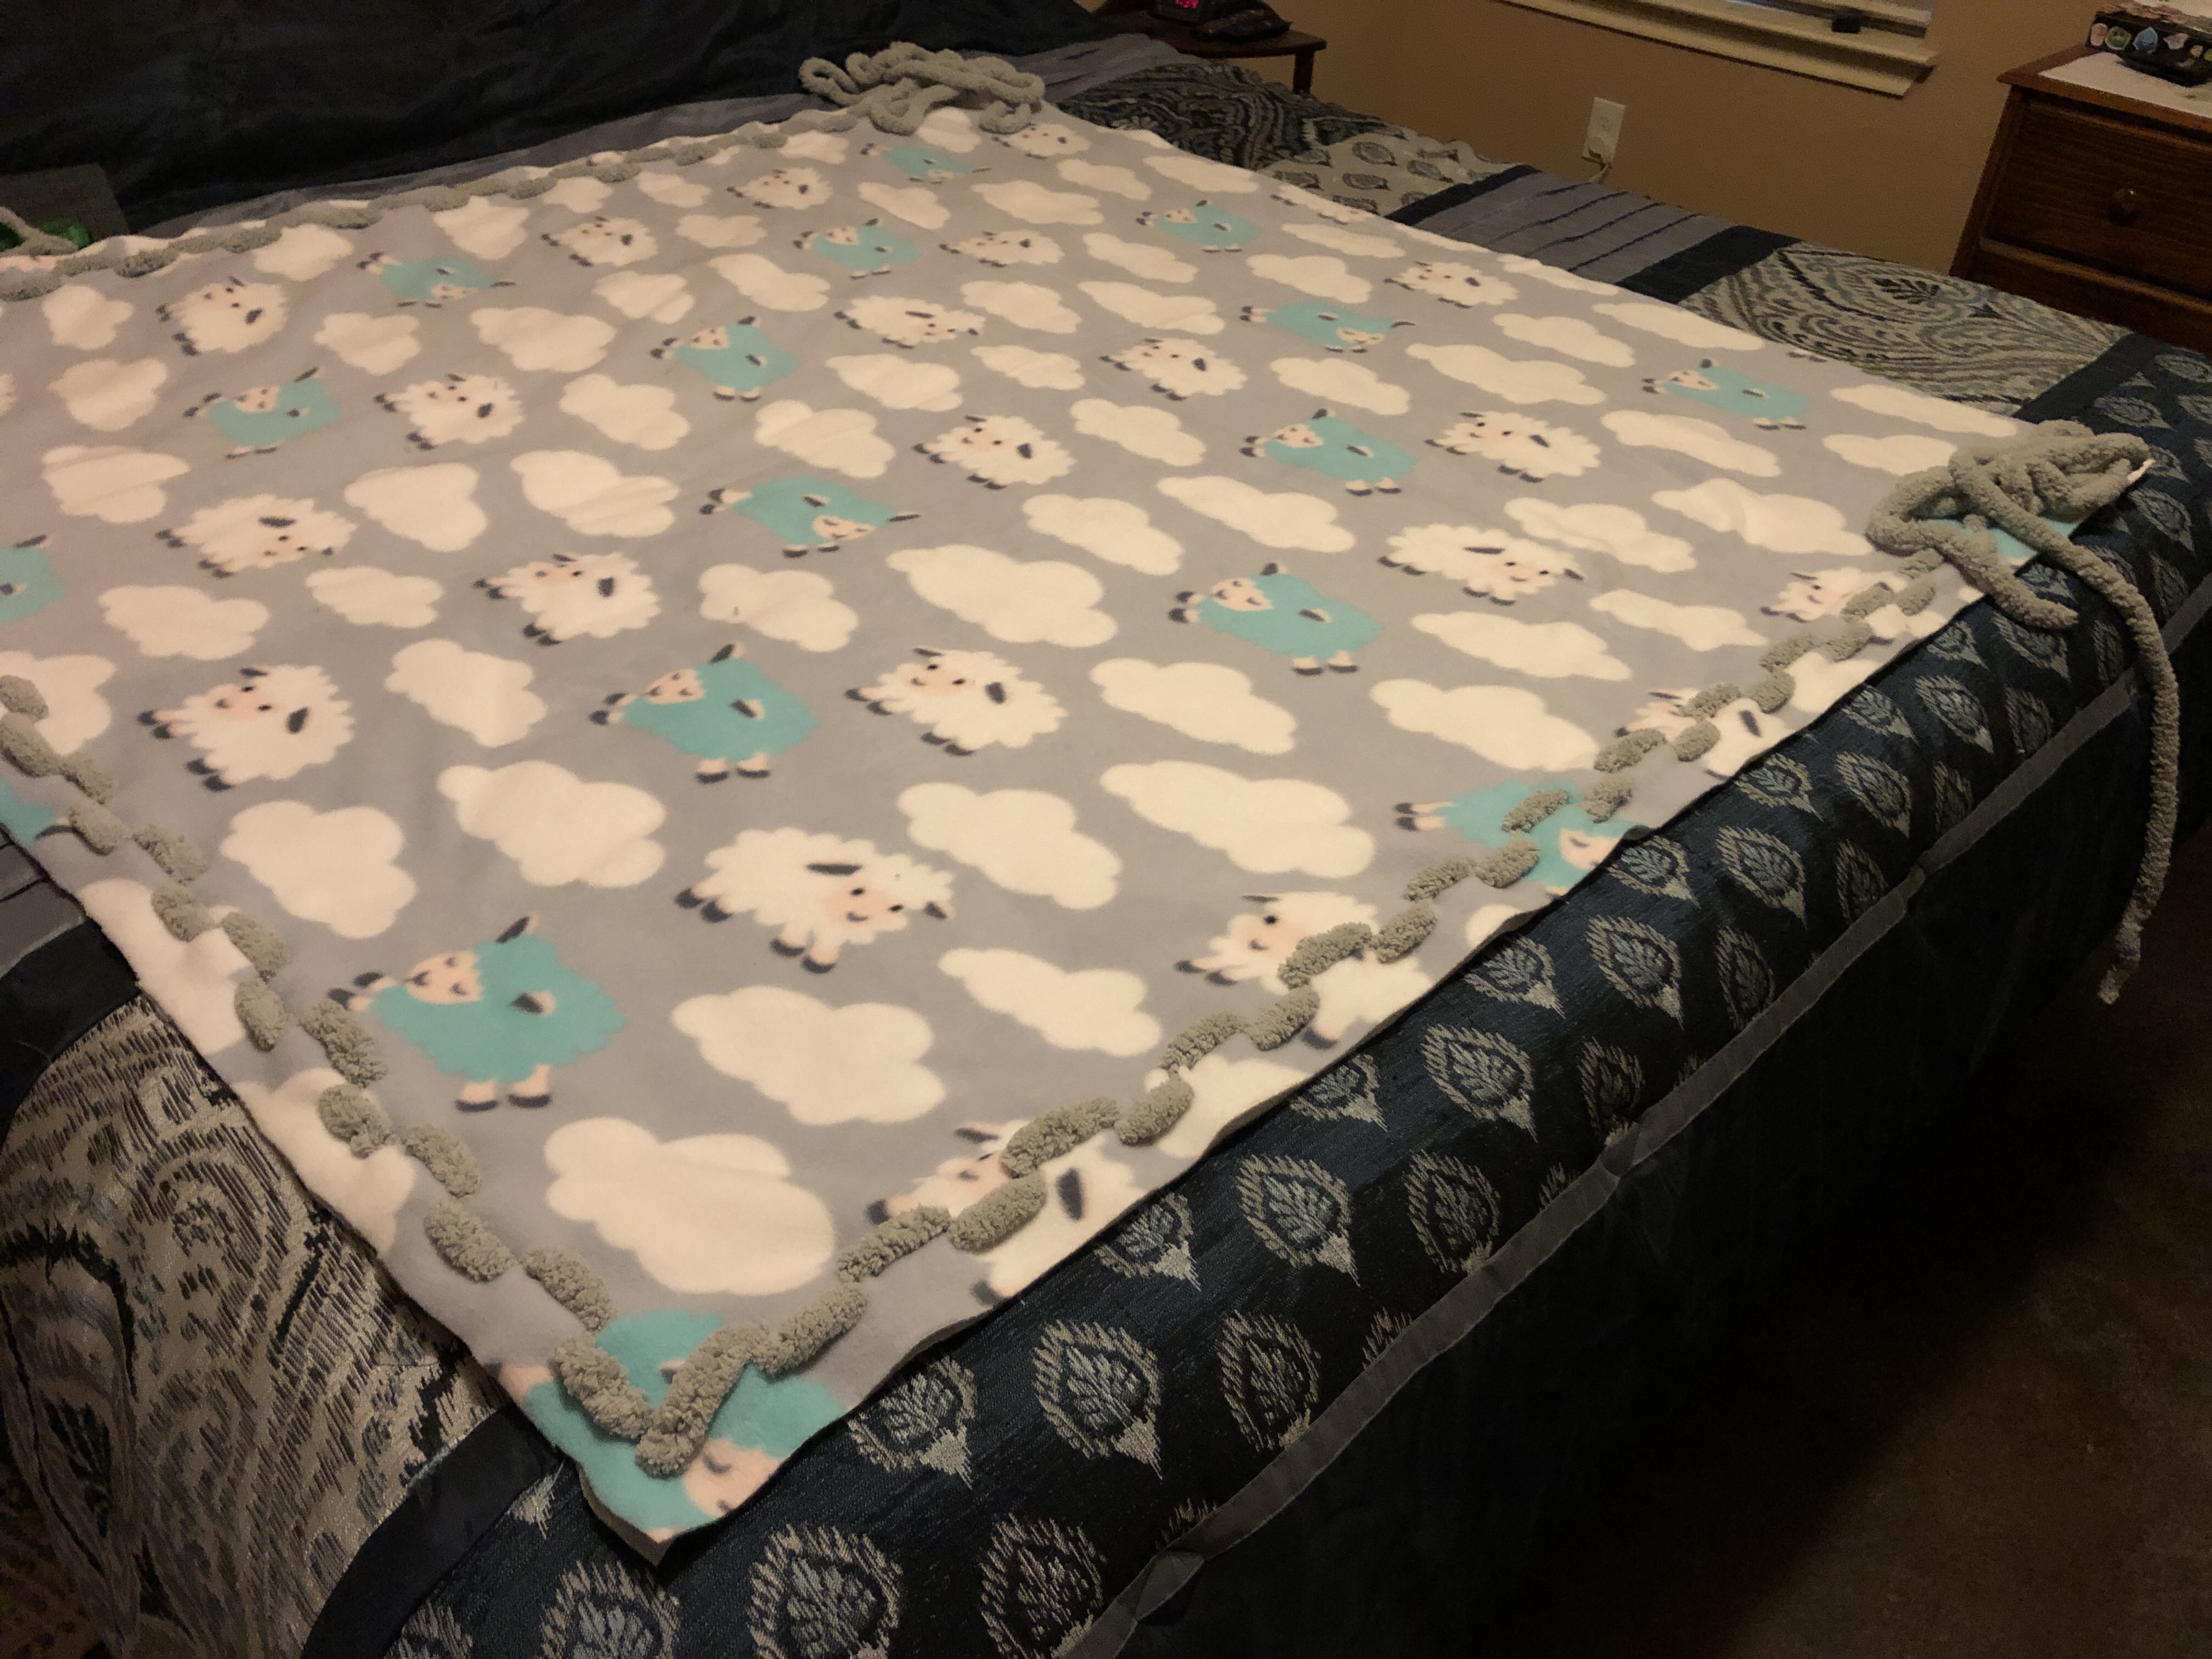
7. Measure out your yarn / ribbon so that you have enough to go along all three sides twice and a little extra. For instance, the blanket shown here was 50″ by 60″, so that would be (60″ + 50″ + 60″) x 2 = 340″ with some extra ended up being about 400″. (That sounds like tons, but it’s really just 11 yards of yarn. Less than one ball in most cases!)
NOTE: For ribbon, you may need to tie multiple strands together, end to end, to make a long enough string. That may affect your decision on whether to use yarn or ribbon.
NOTE: For the next step, you can either fold your yarn / ribbon in half and weave the ends alternately OR cut the entire thing in half and weave them that way.
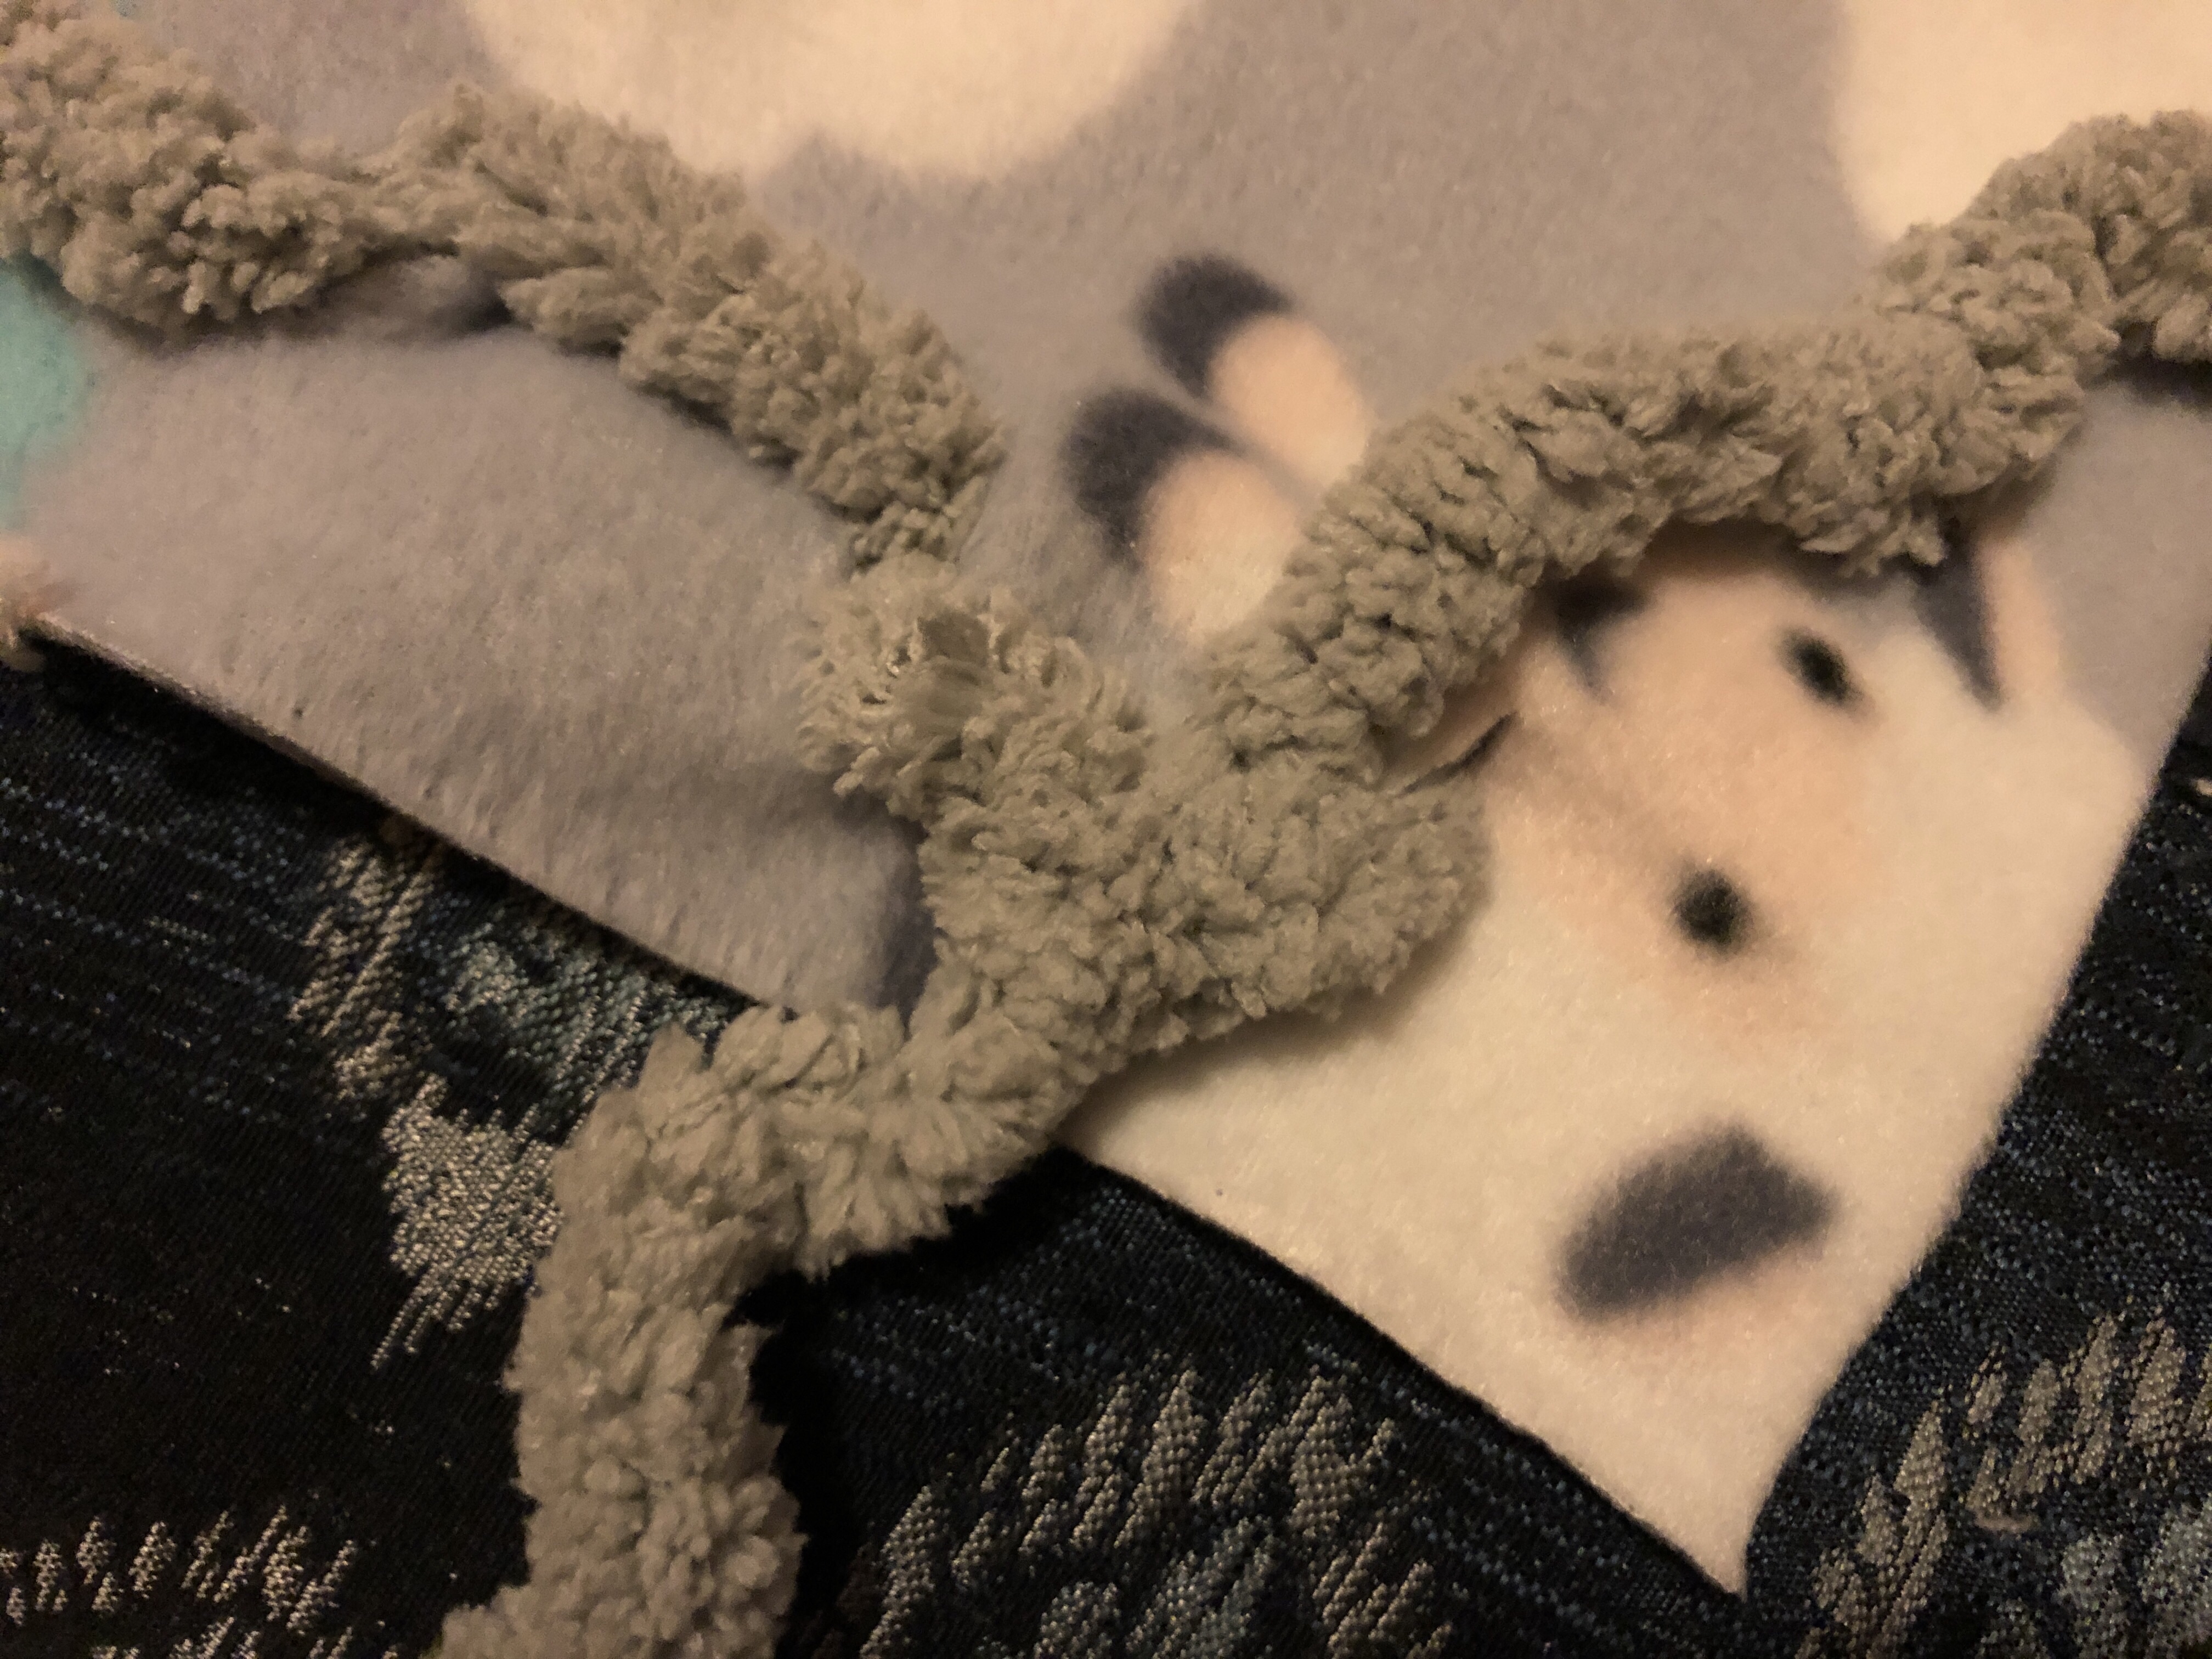
8. At one end, begin weaving your yarn / ribbon through every other notch, in and out.
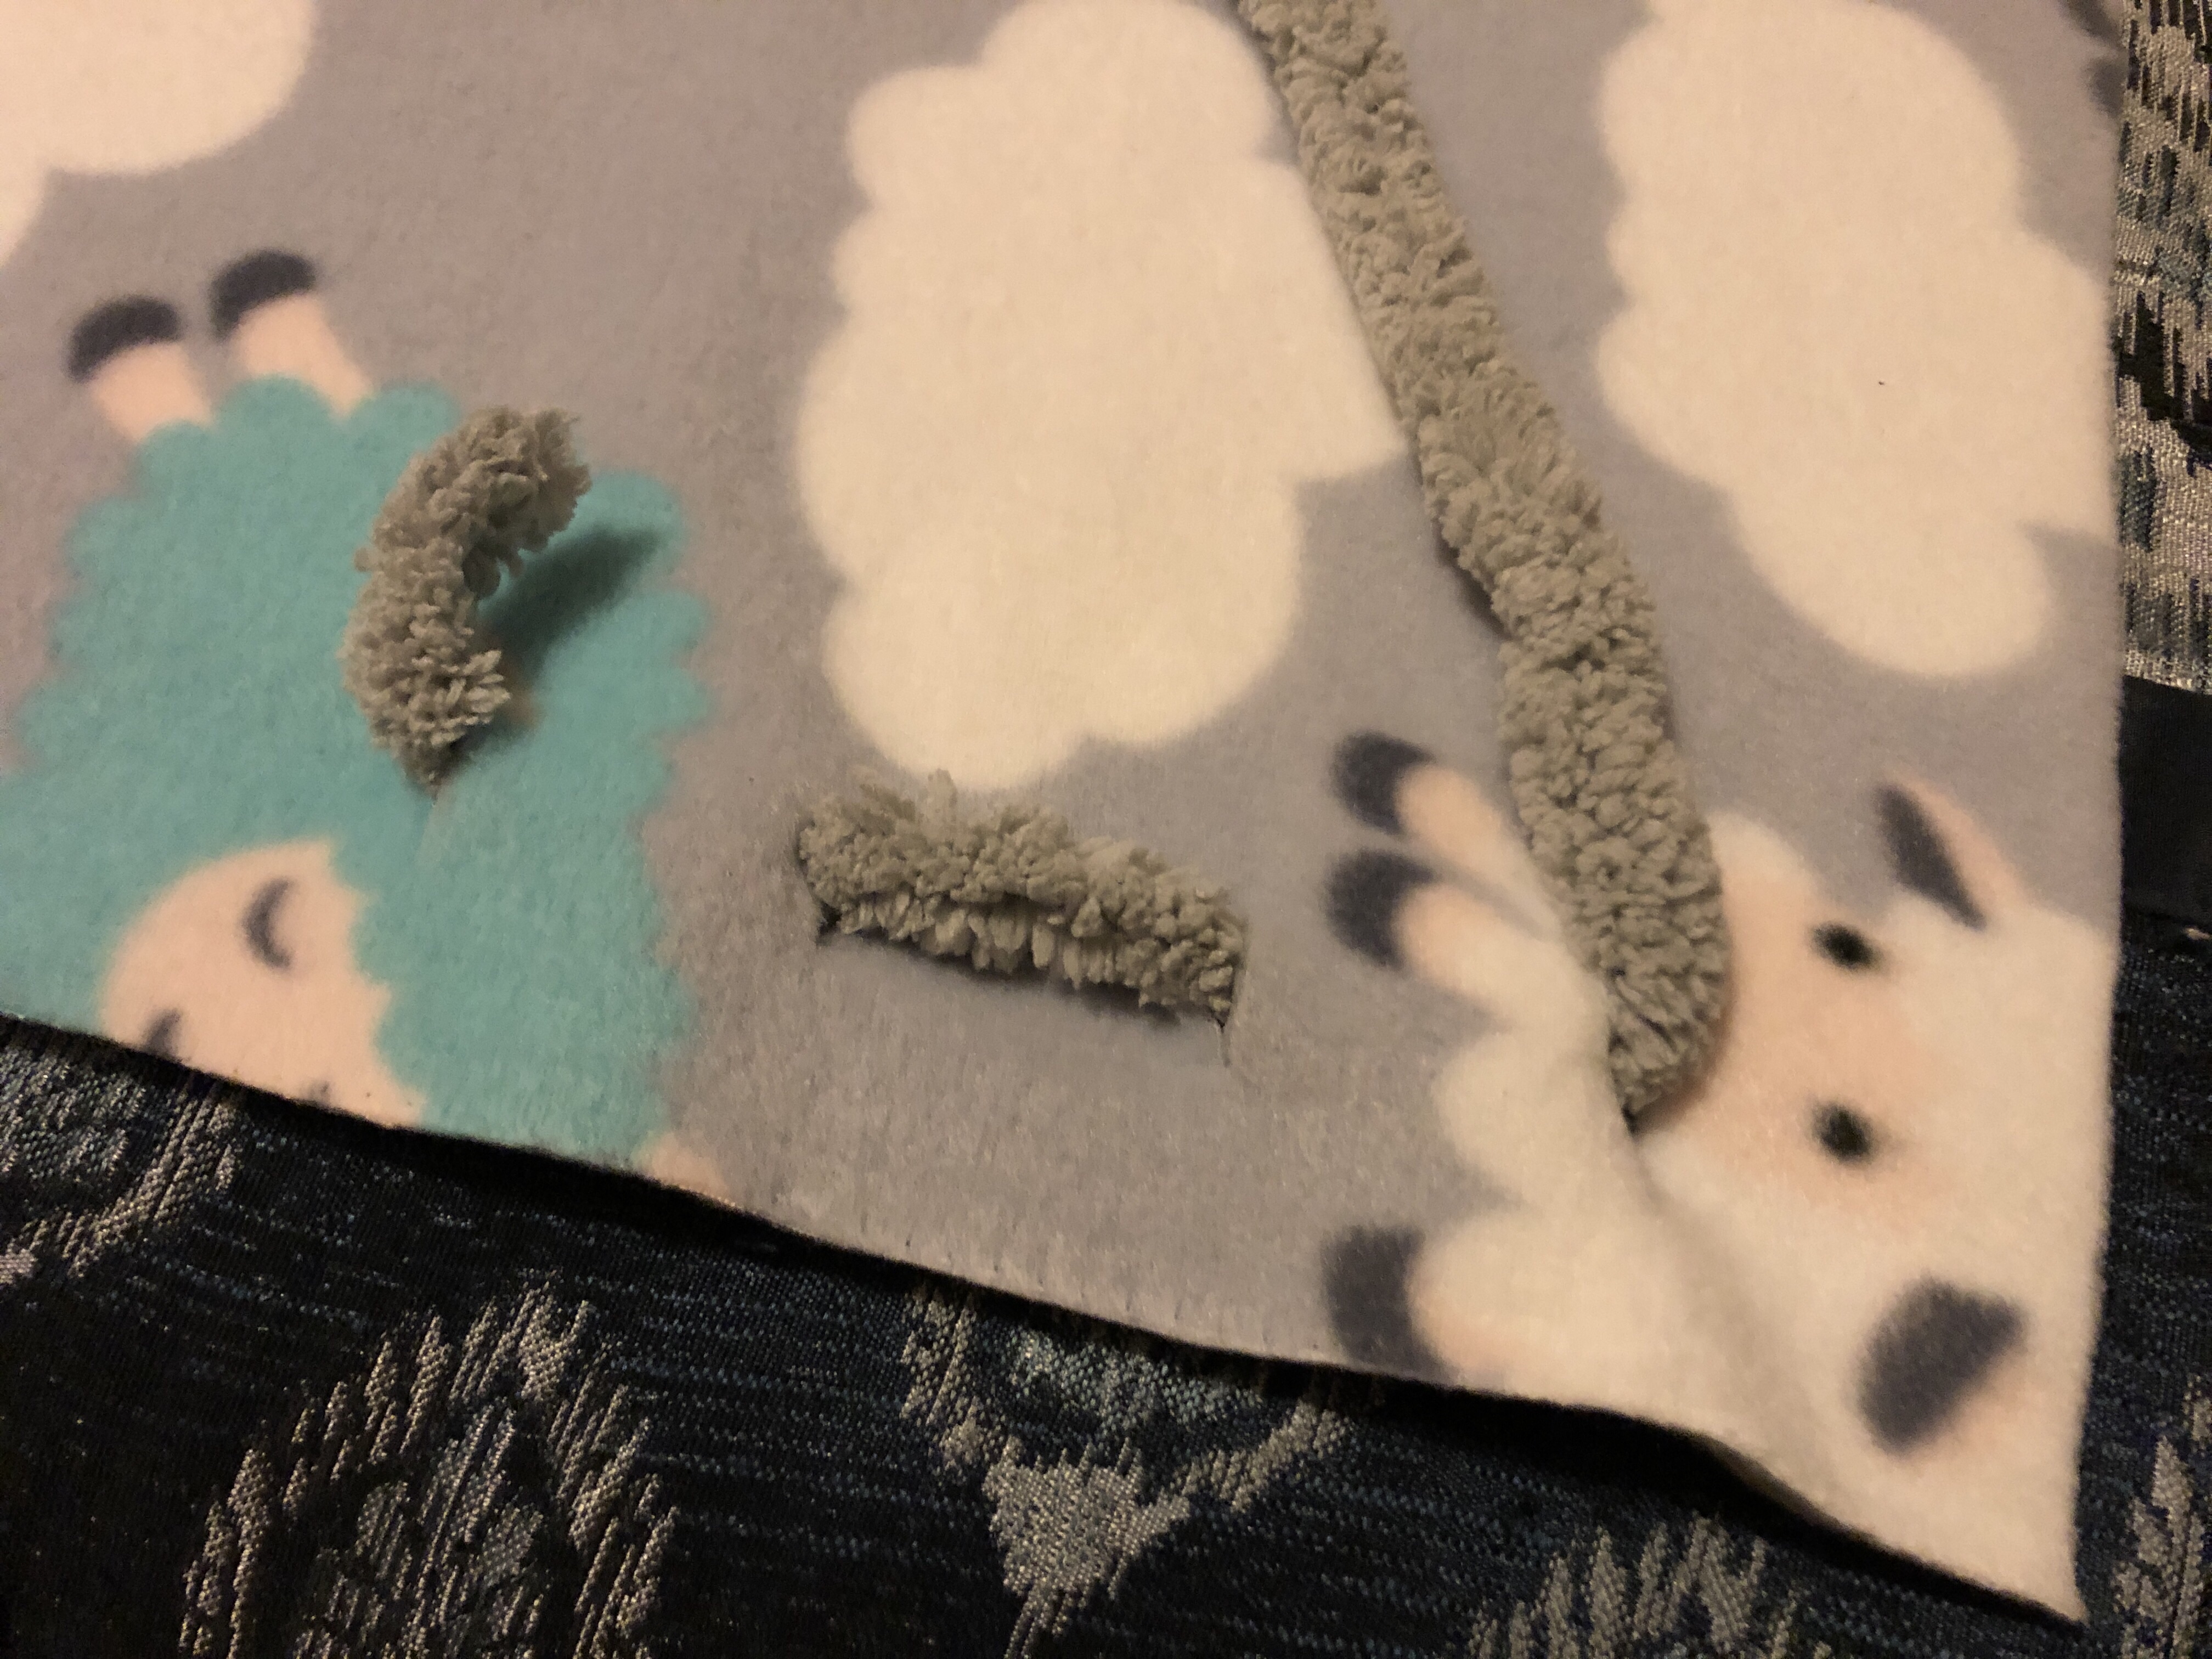
9. Take the other strand / end or your yarn / ribbon and weave it in and out of the notches, too, but in the opposite direction. In other words, where one strand goes in, the other goes out, and vice versa.
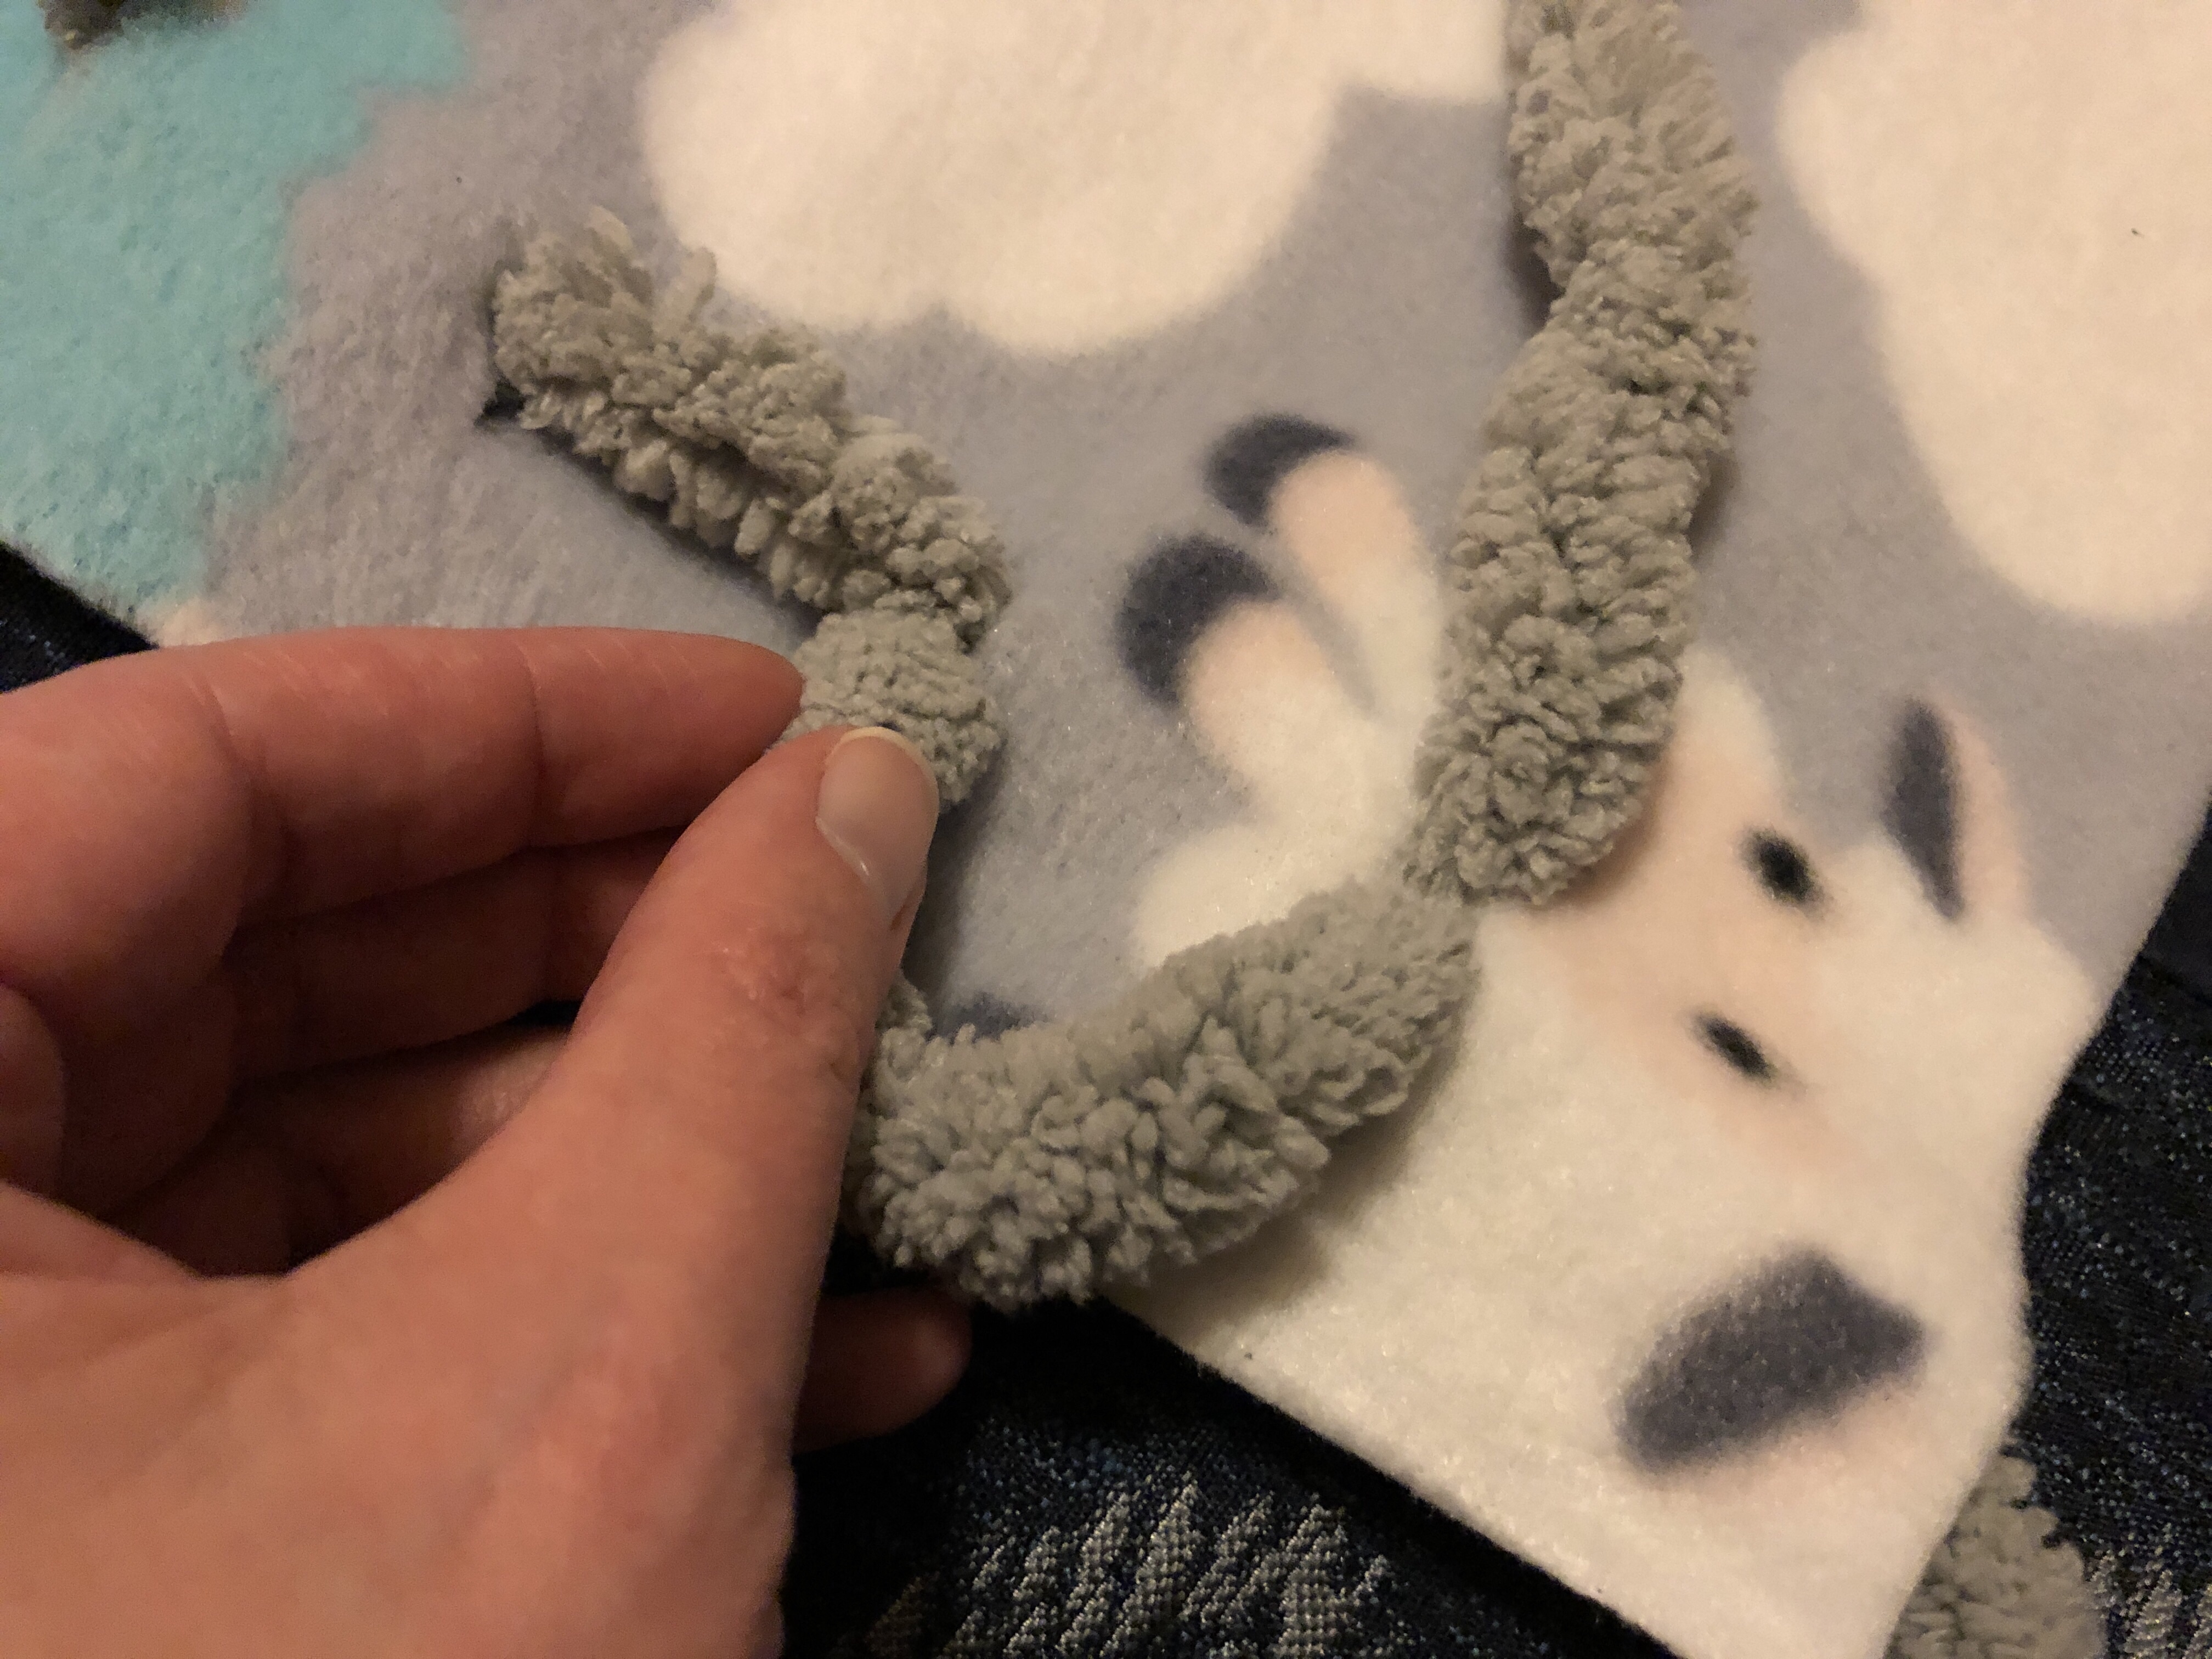
You’ll know you’re doing it right when your woven yarn / ribbon starts to look like a zig-zaggy line.
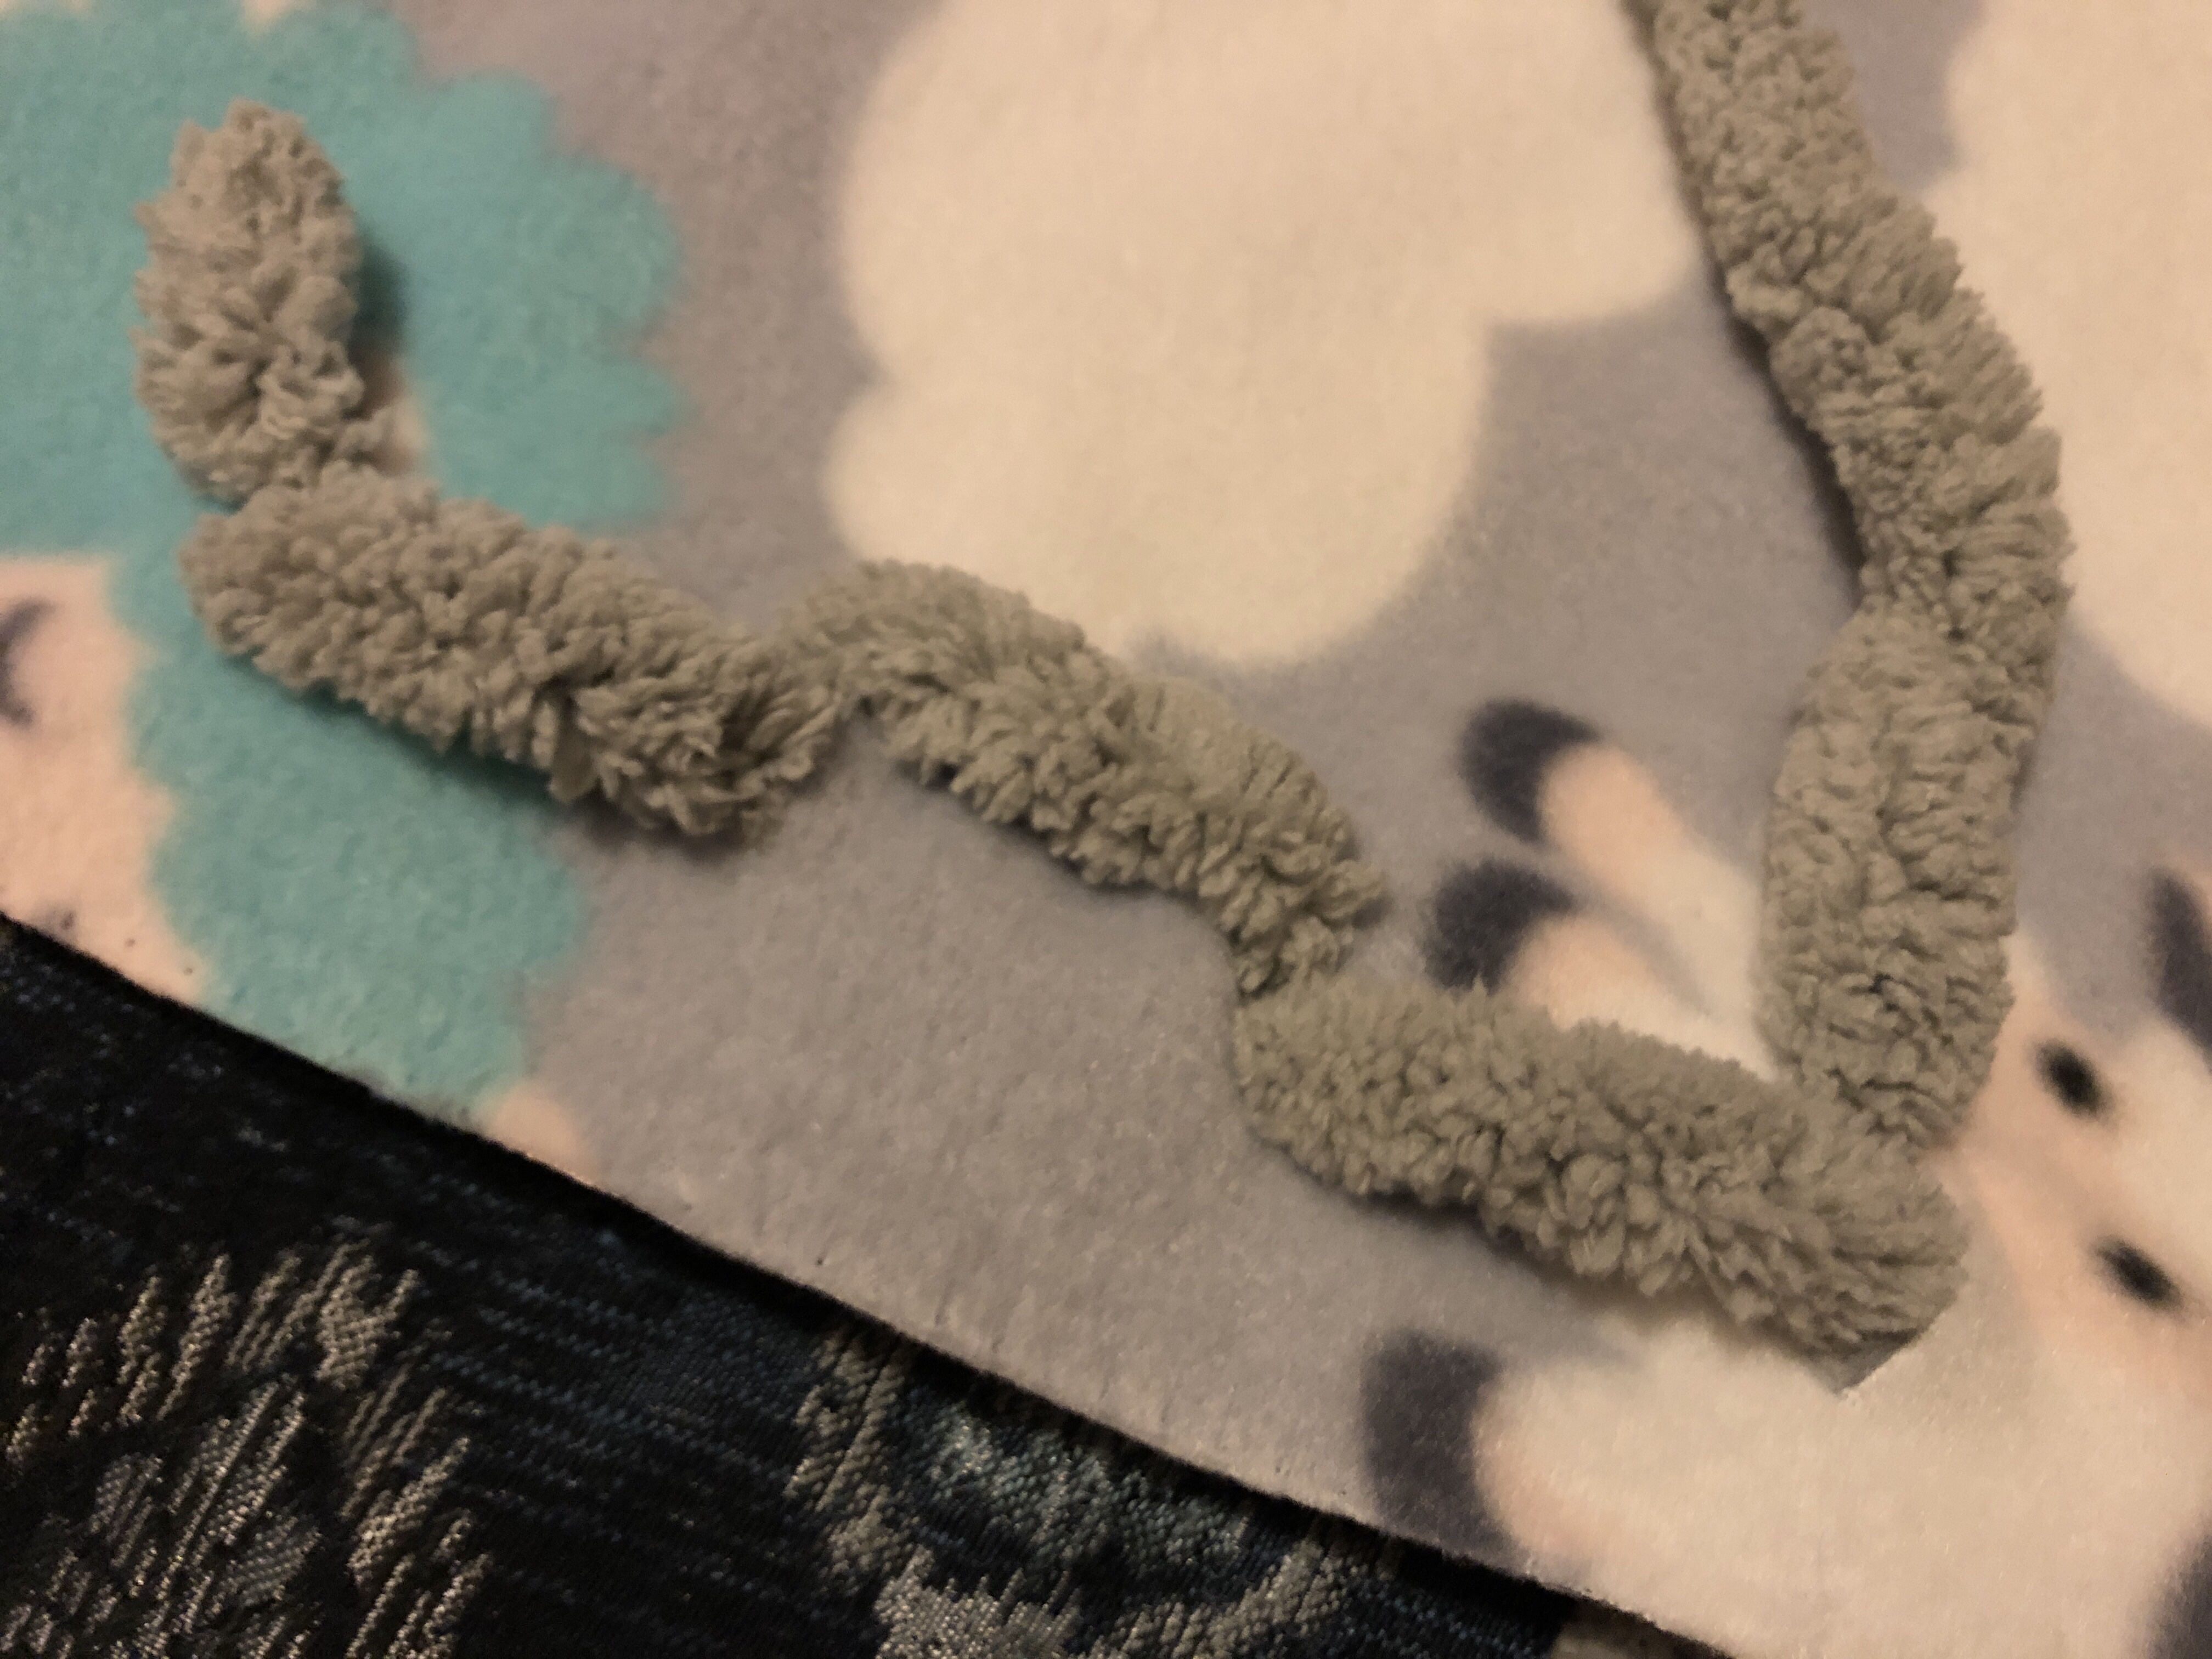
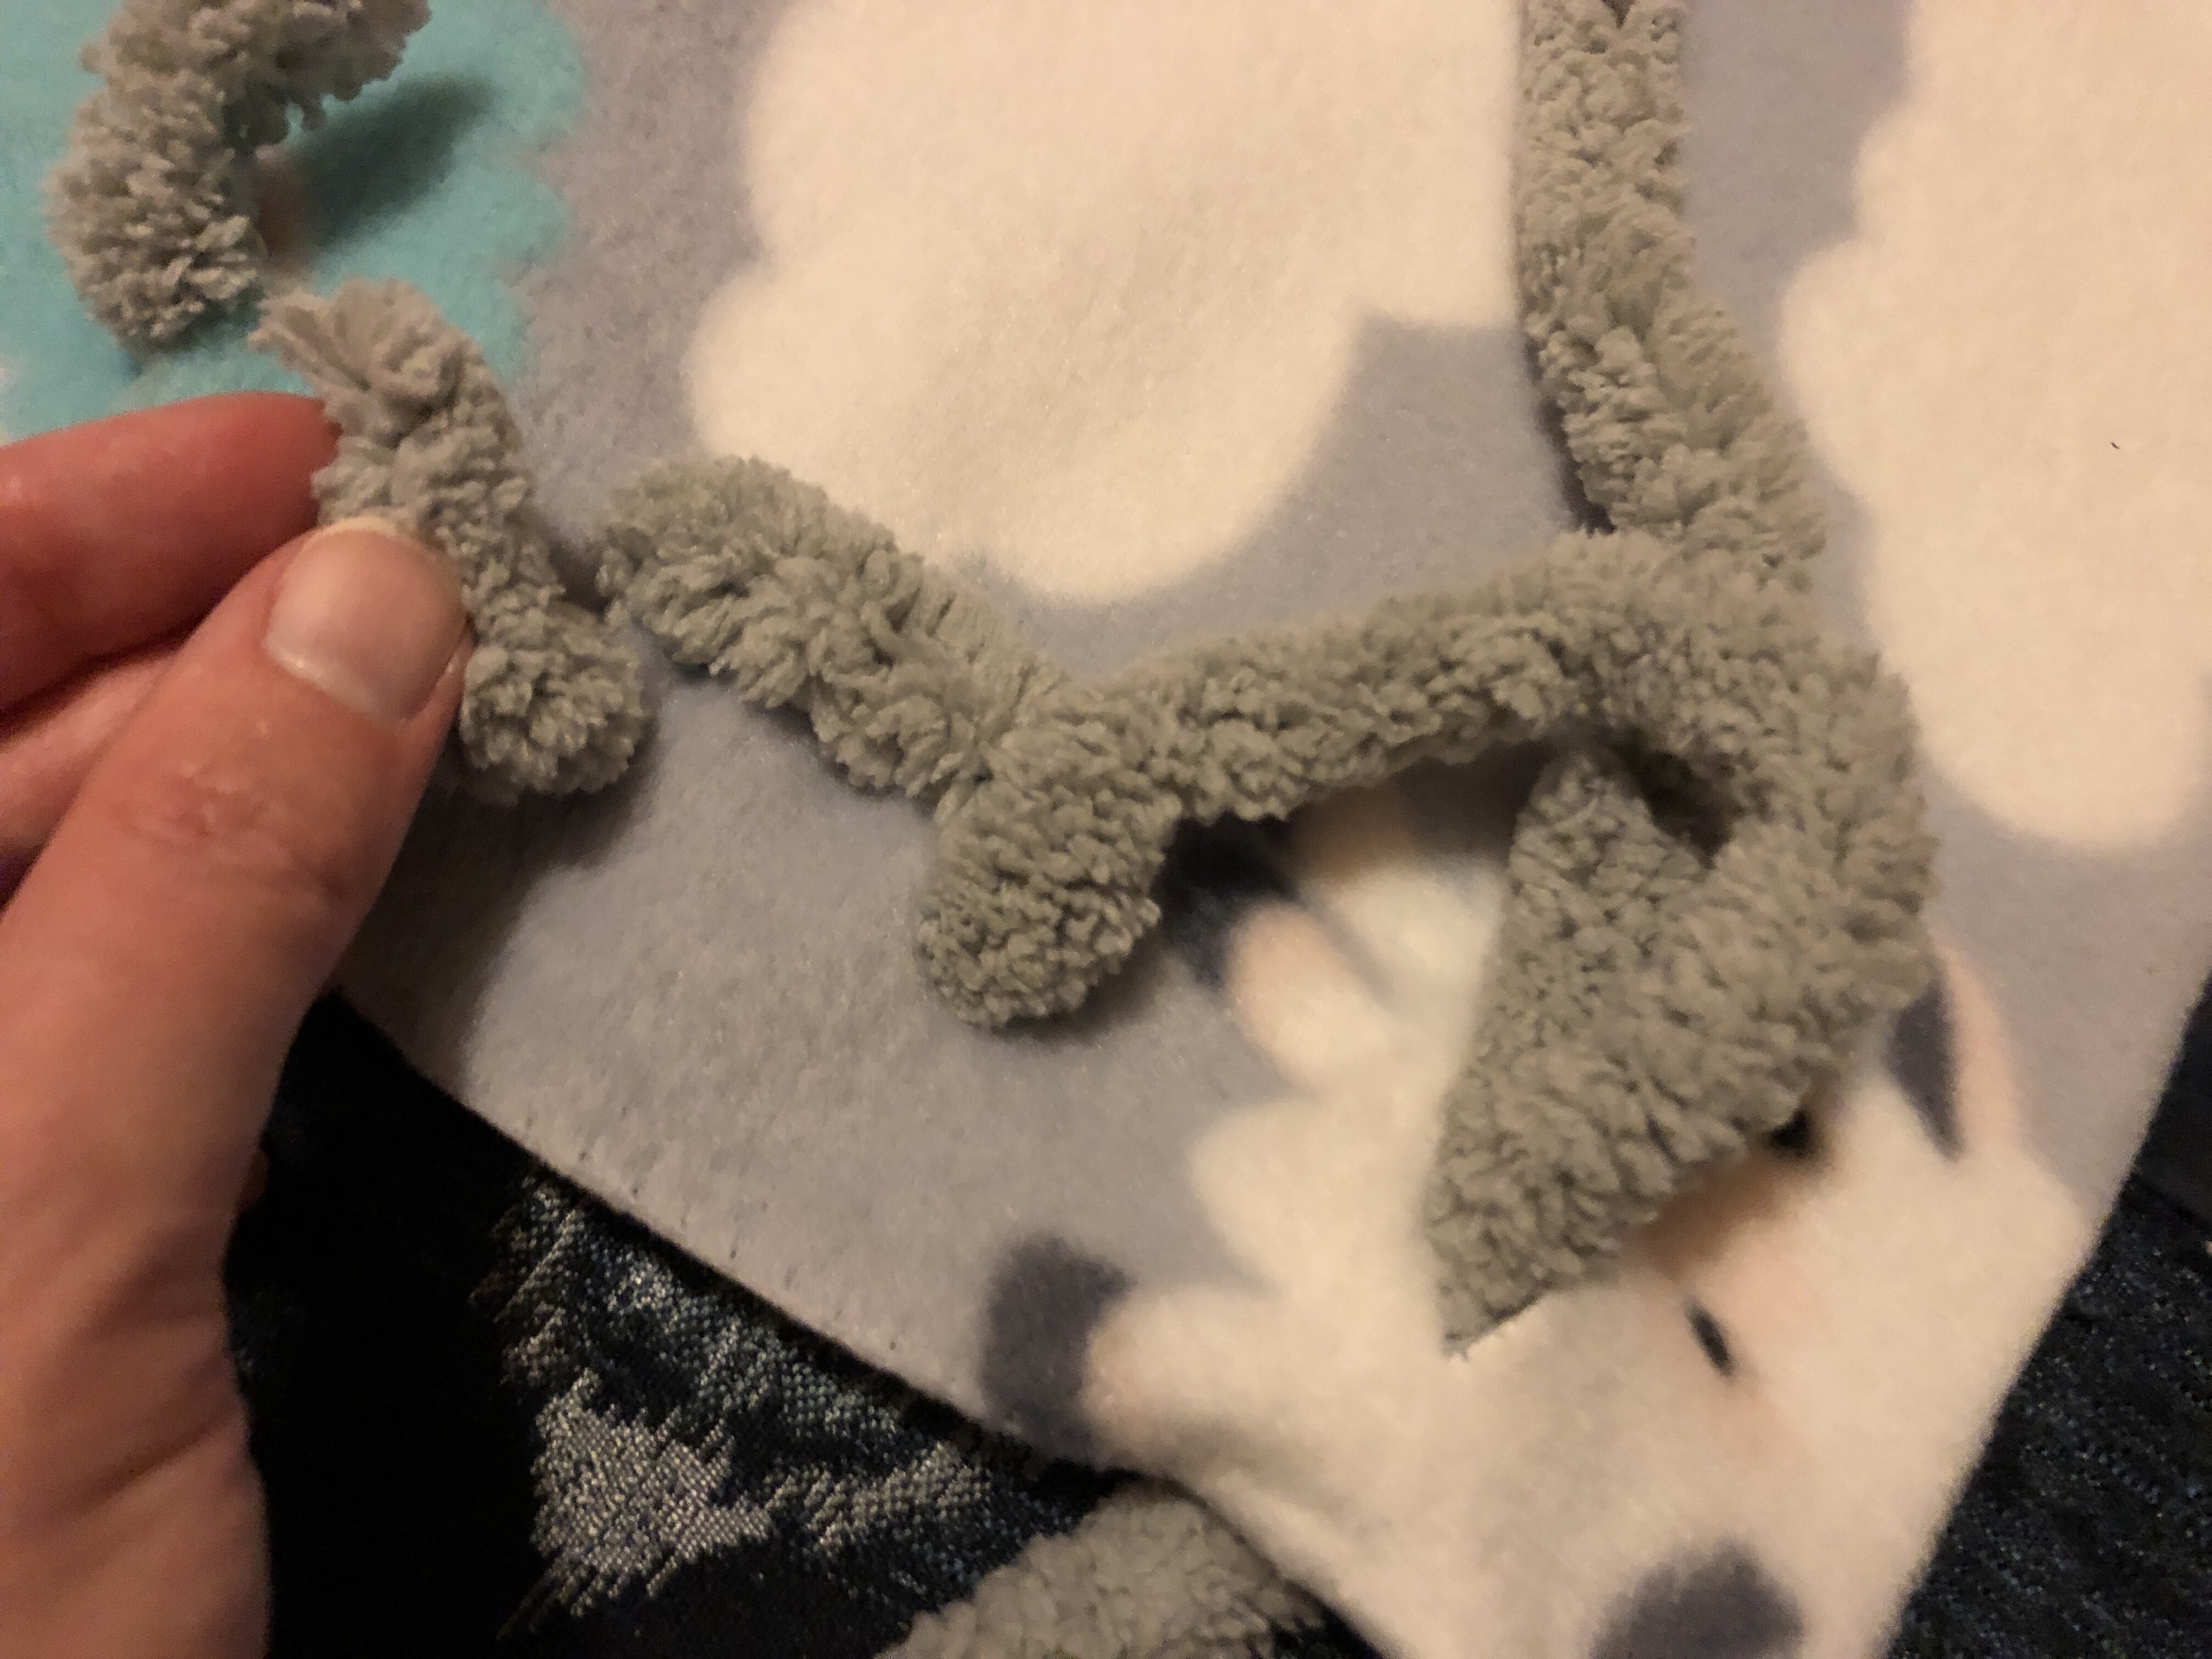
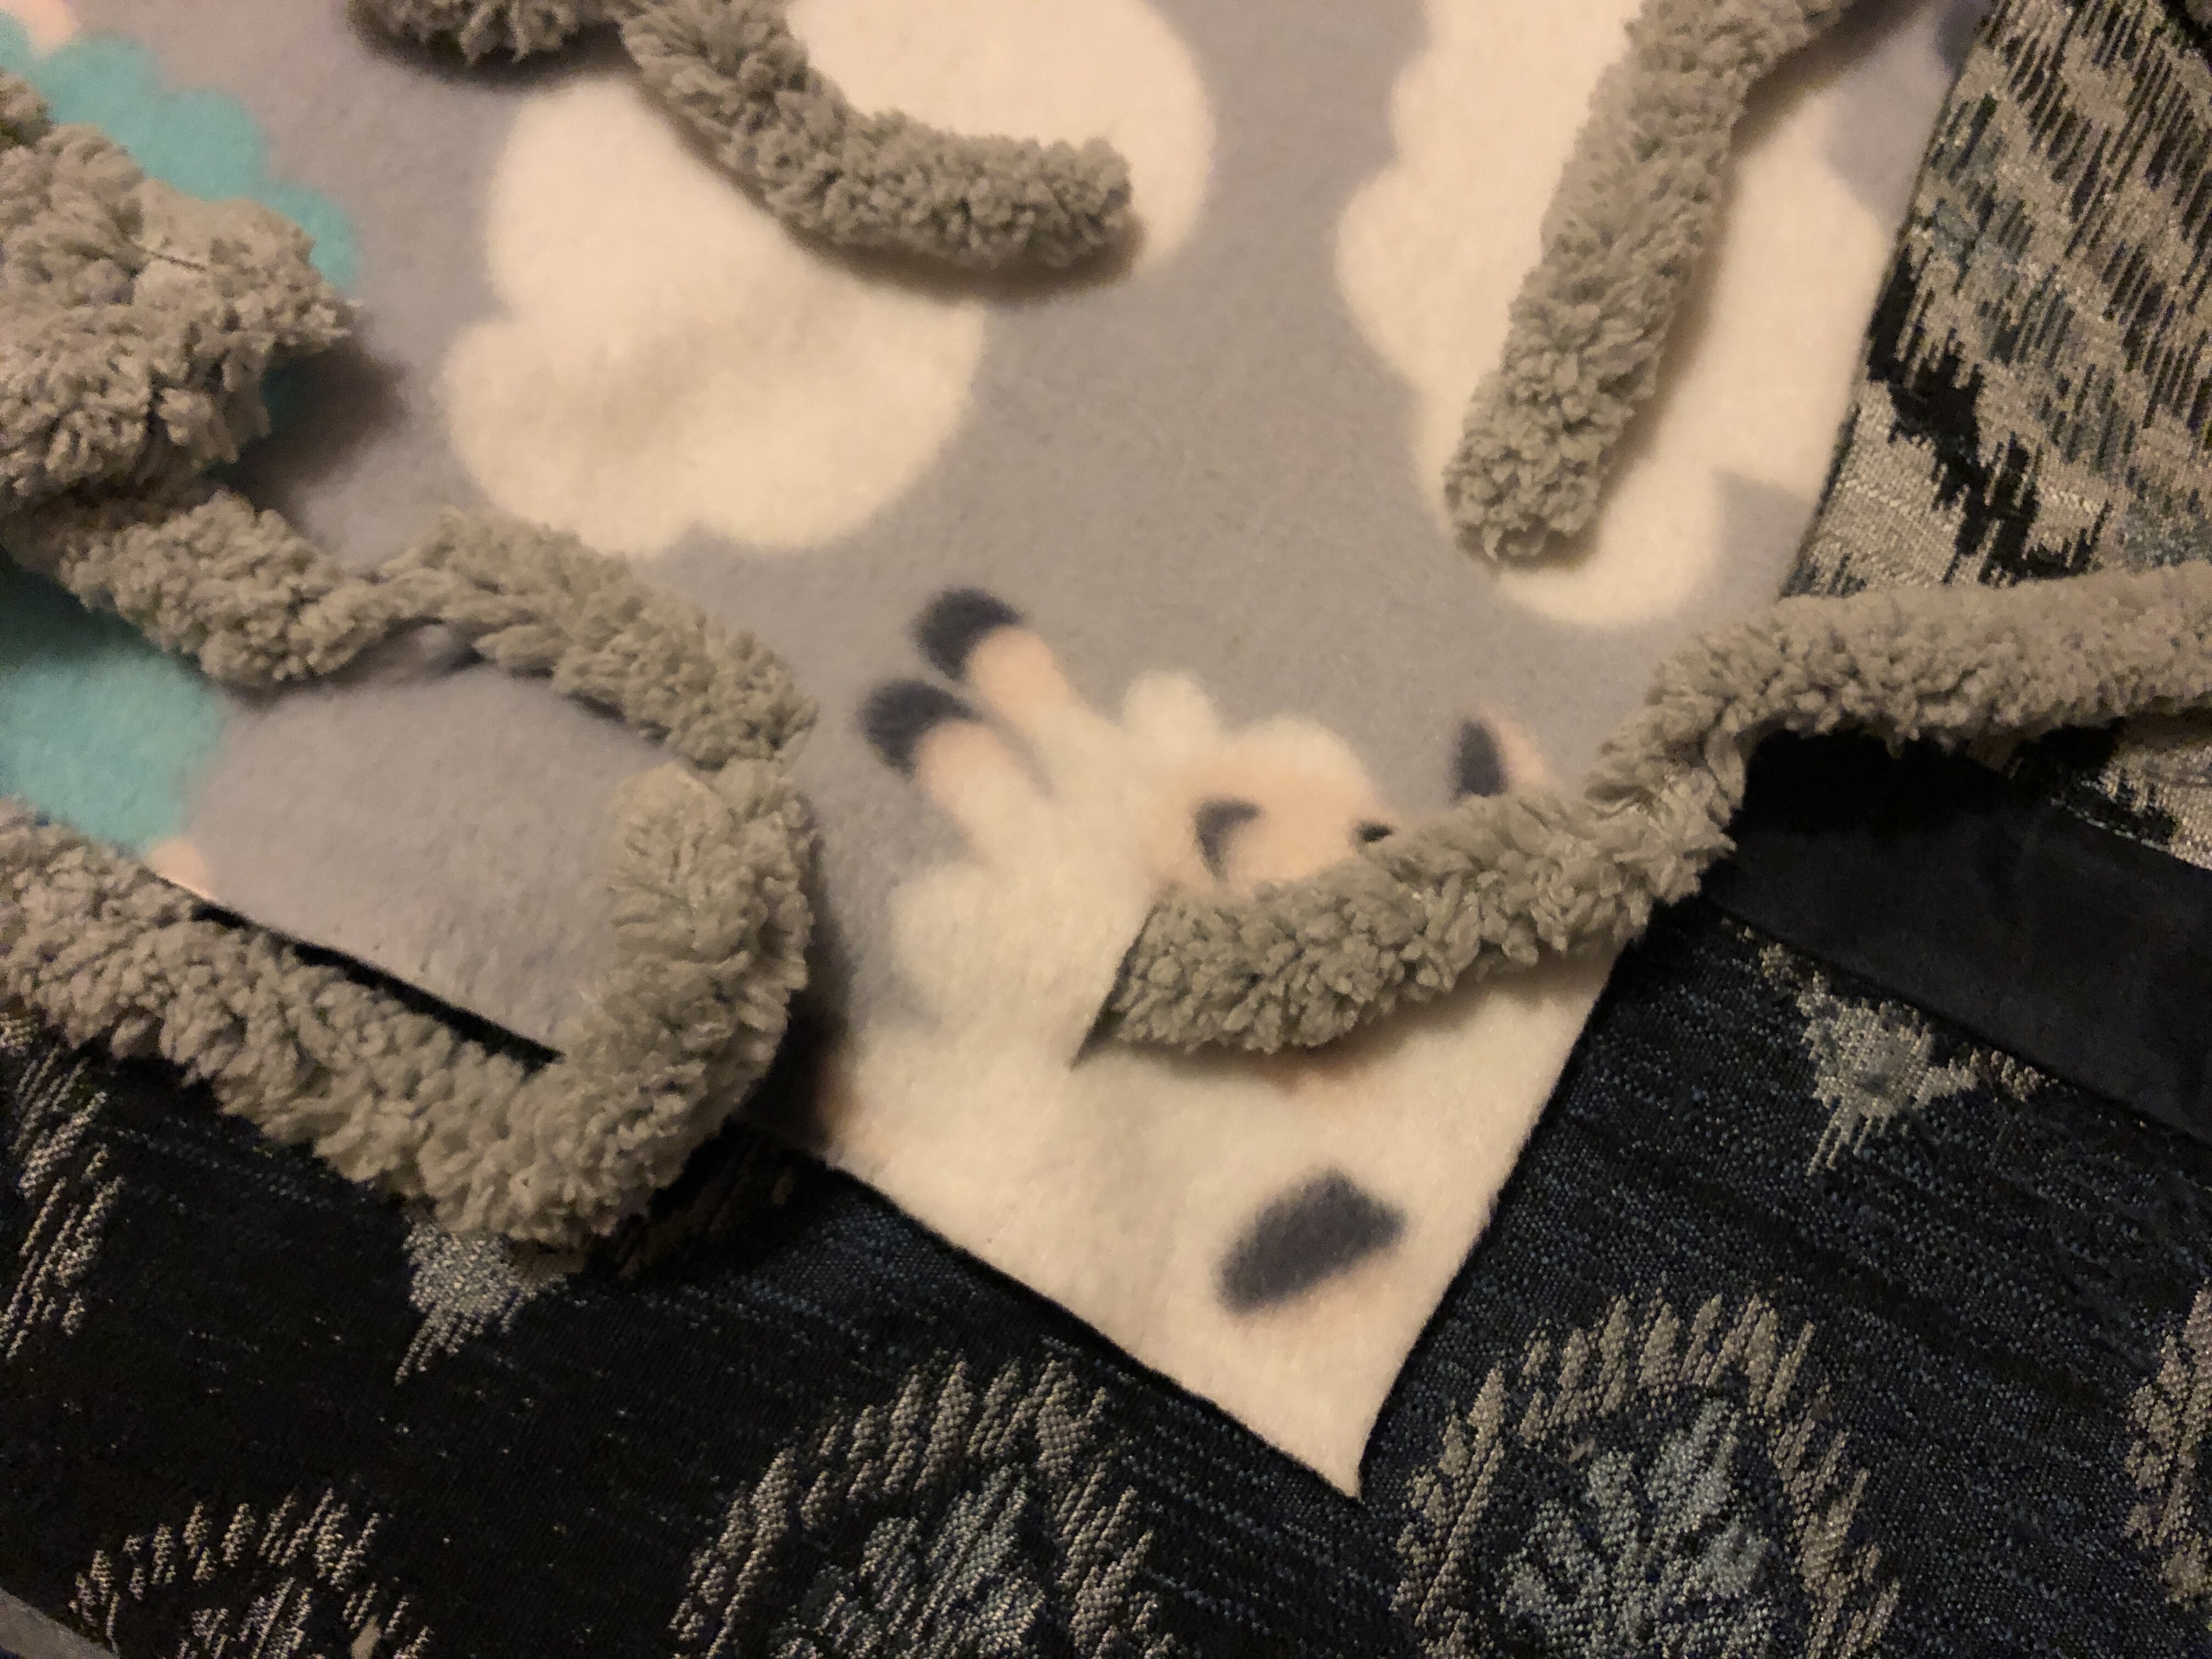
Keep weaving through all three sides, just going around the corners from one side’s notch to the next side’s notch. (It can be kinda meditative when you get into a rhythm. Yarn yoga? Hm…)

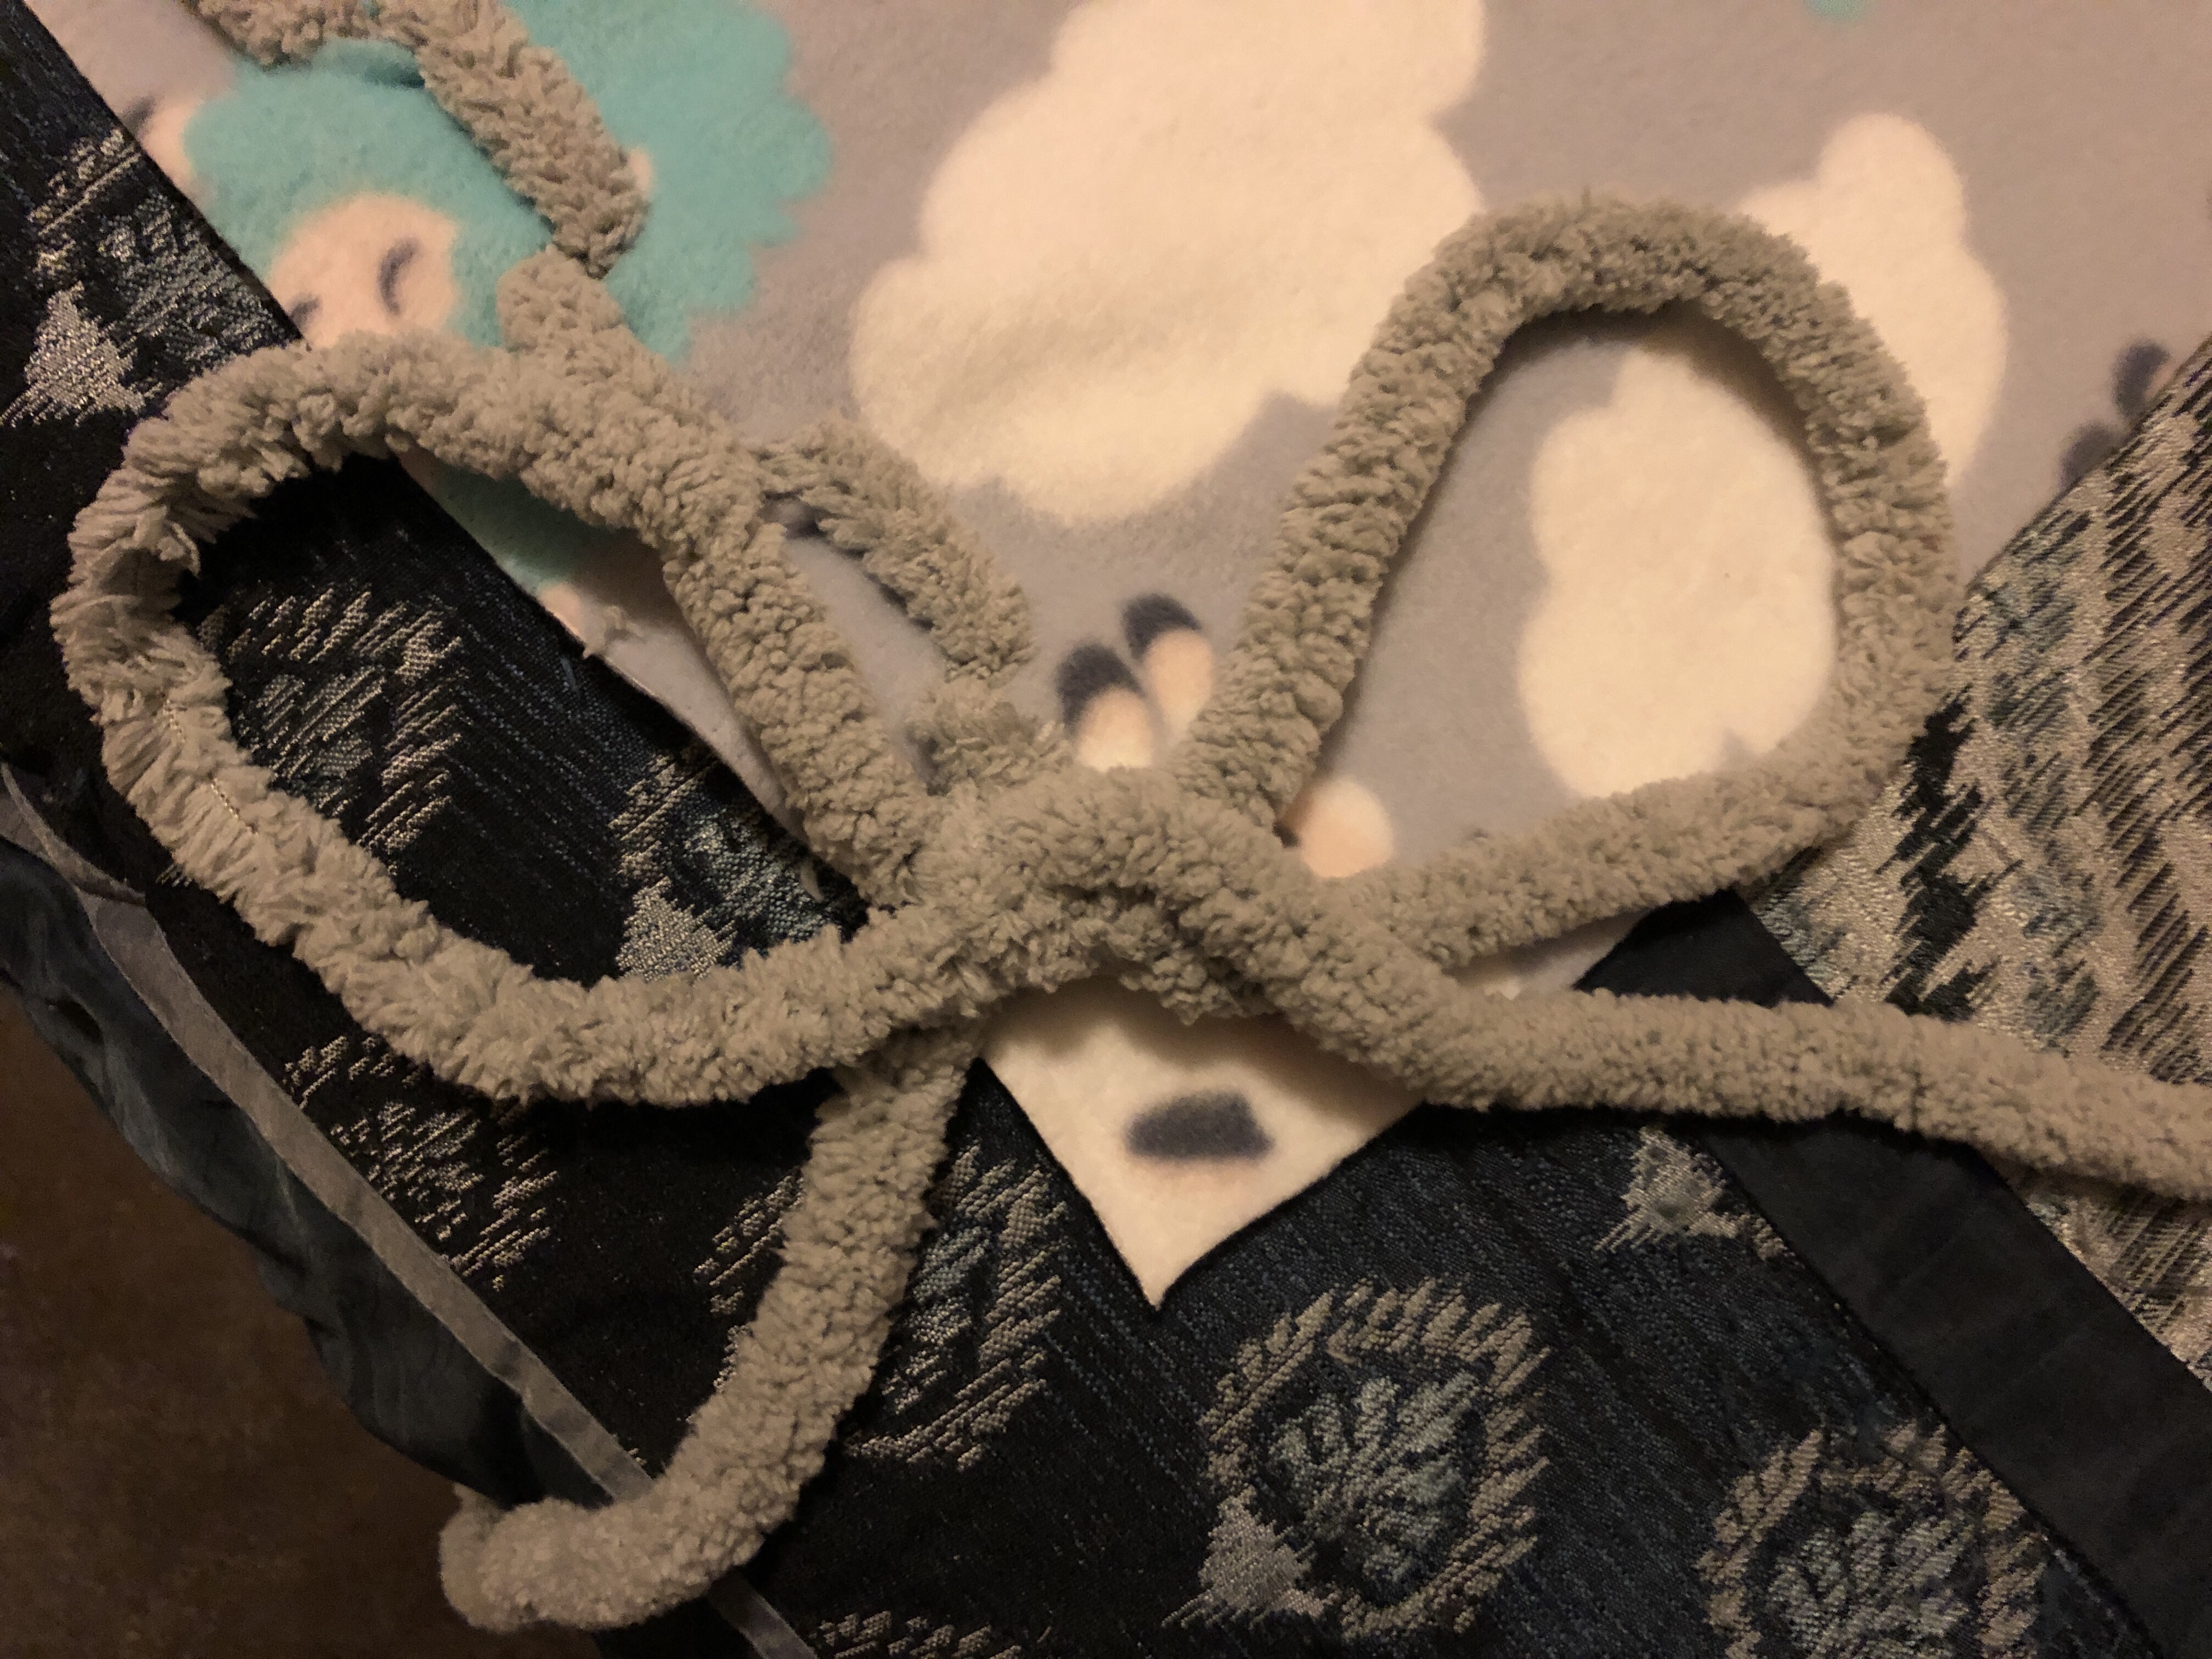
10. When you’re done, you should have extra yarn at each end. Make sure that both strands end on the same side of the fabric.
Take both strands and tie them into a knot.
Or even a bow!
Repeat on the other side and YOU’RE DONE!
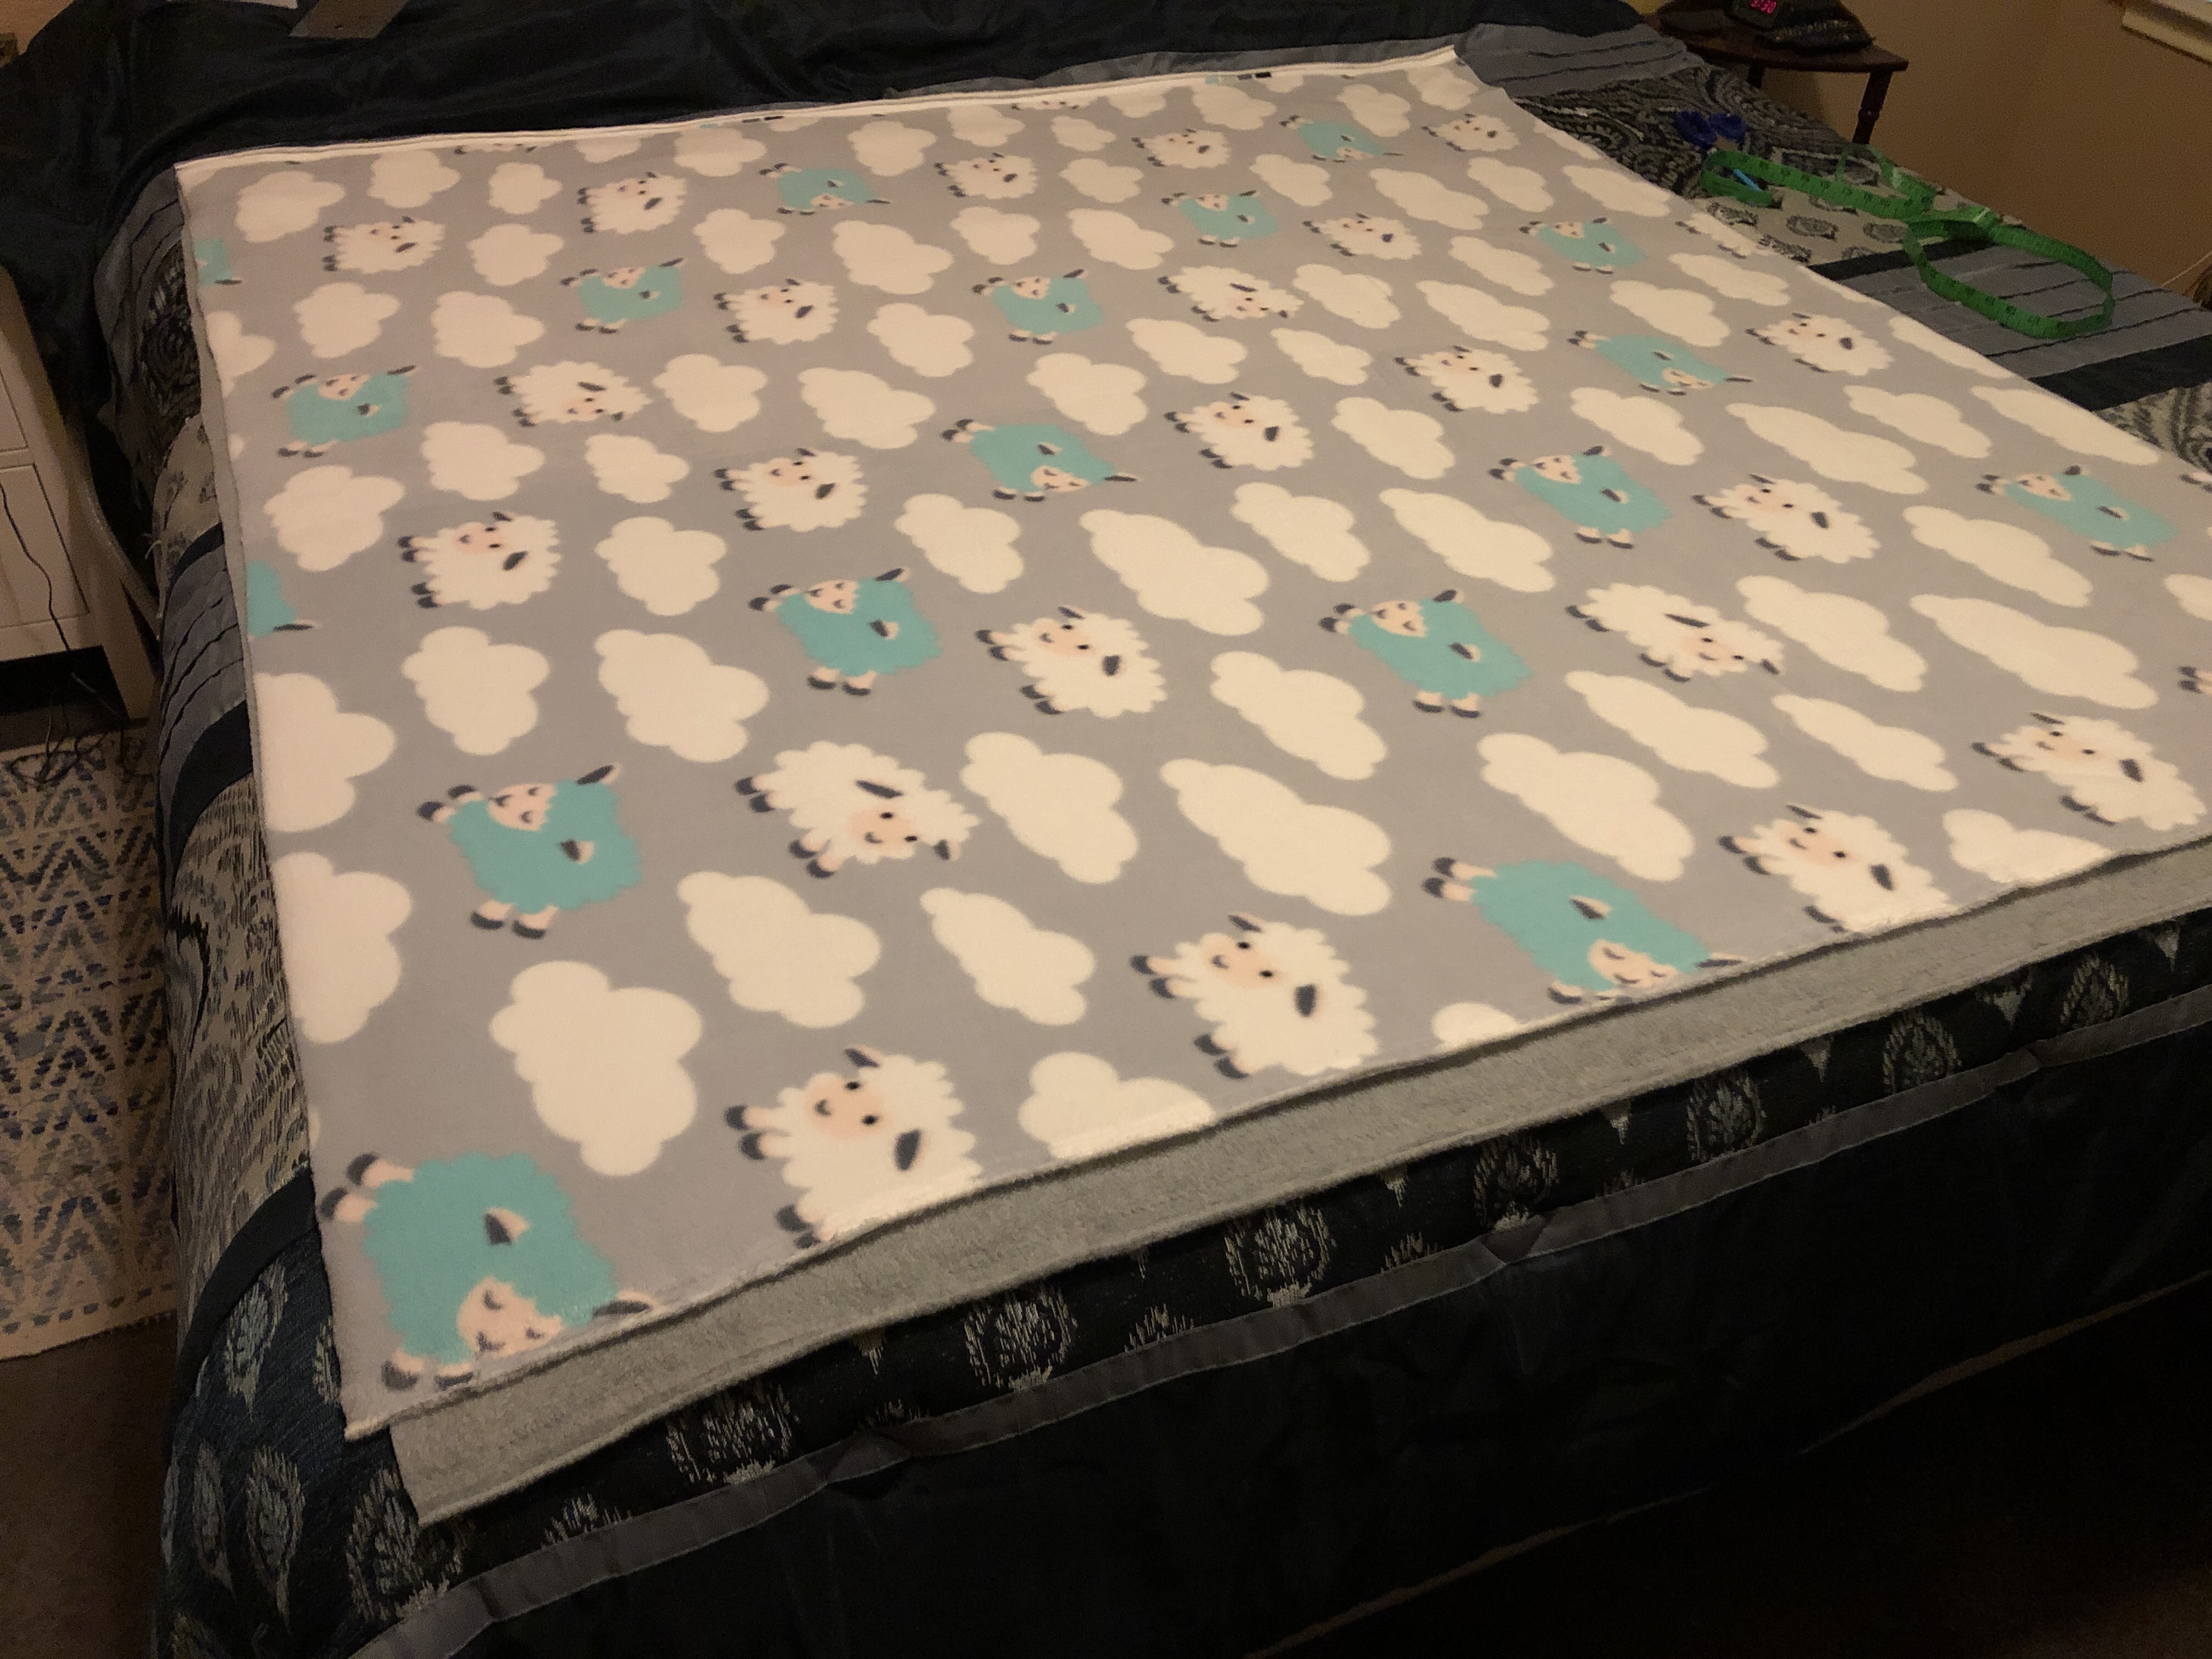
Look at that fabulous fleece blanket you made. Go ahead. Ooo and Aahh. We’ll do it with you: Ooooo. Aaaahhhh.
Now you may ask, where’s the convertible part? That’s where all your weaving came into play. Here’s all the great ways you can use your blanket now:
- All three sides woven together: Use it as a personal blanket or climb inside for the softest, most breathable sleeping bag you’ve ever used. Sleepovers will never be the same.
- Two sides woven together: This also makes a good sleeping bag that is easier to get in and out of, but you know what else it makes? Open it up, put a woven seam on top, and tuck your feet into the woven corner. You’ve got an instant foot warmer built into your blanket. Your feet will never be the same!
- One side woven together: Want to snuggle not just by yourself but with someone else but your throw blanket is never big enough? Now it is! With only one side woven and the sides separated, you have a double-wide throw that’s more the size of a comforter. Couch cuddling will never be the same!!
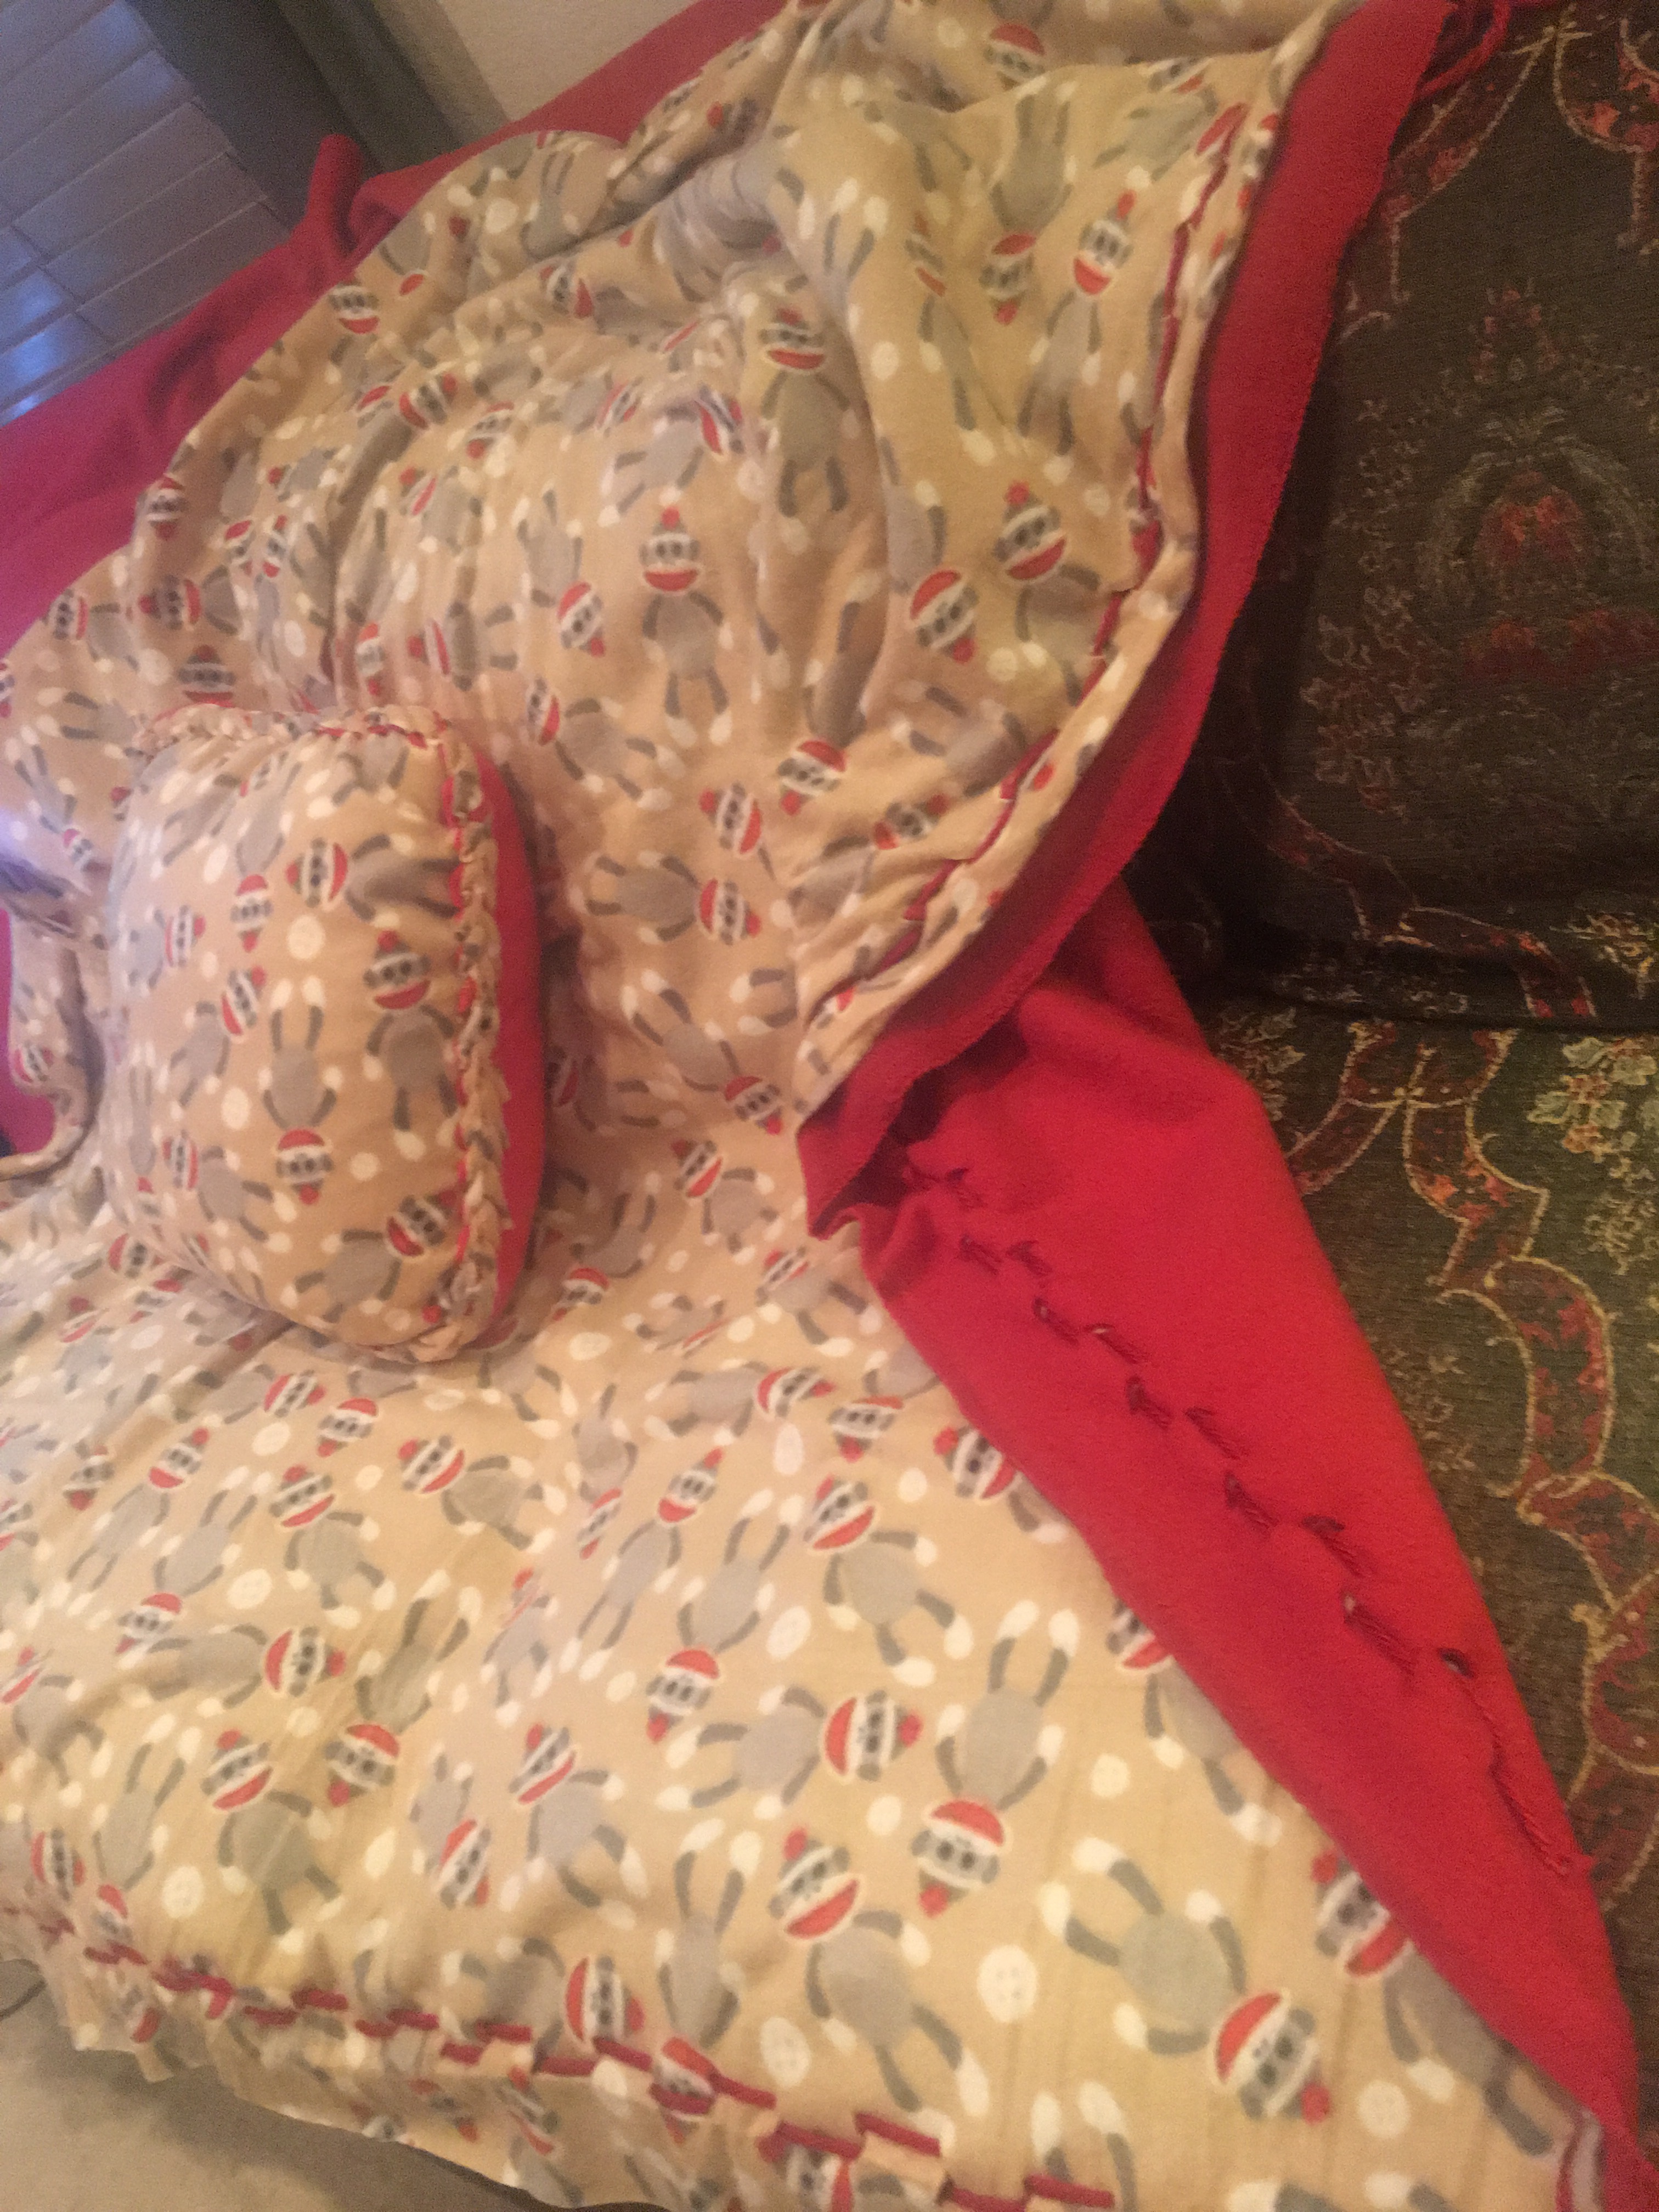
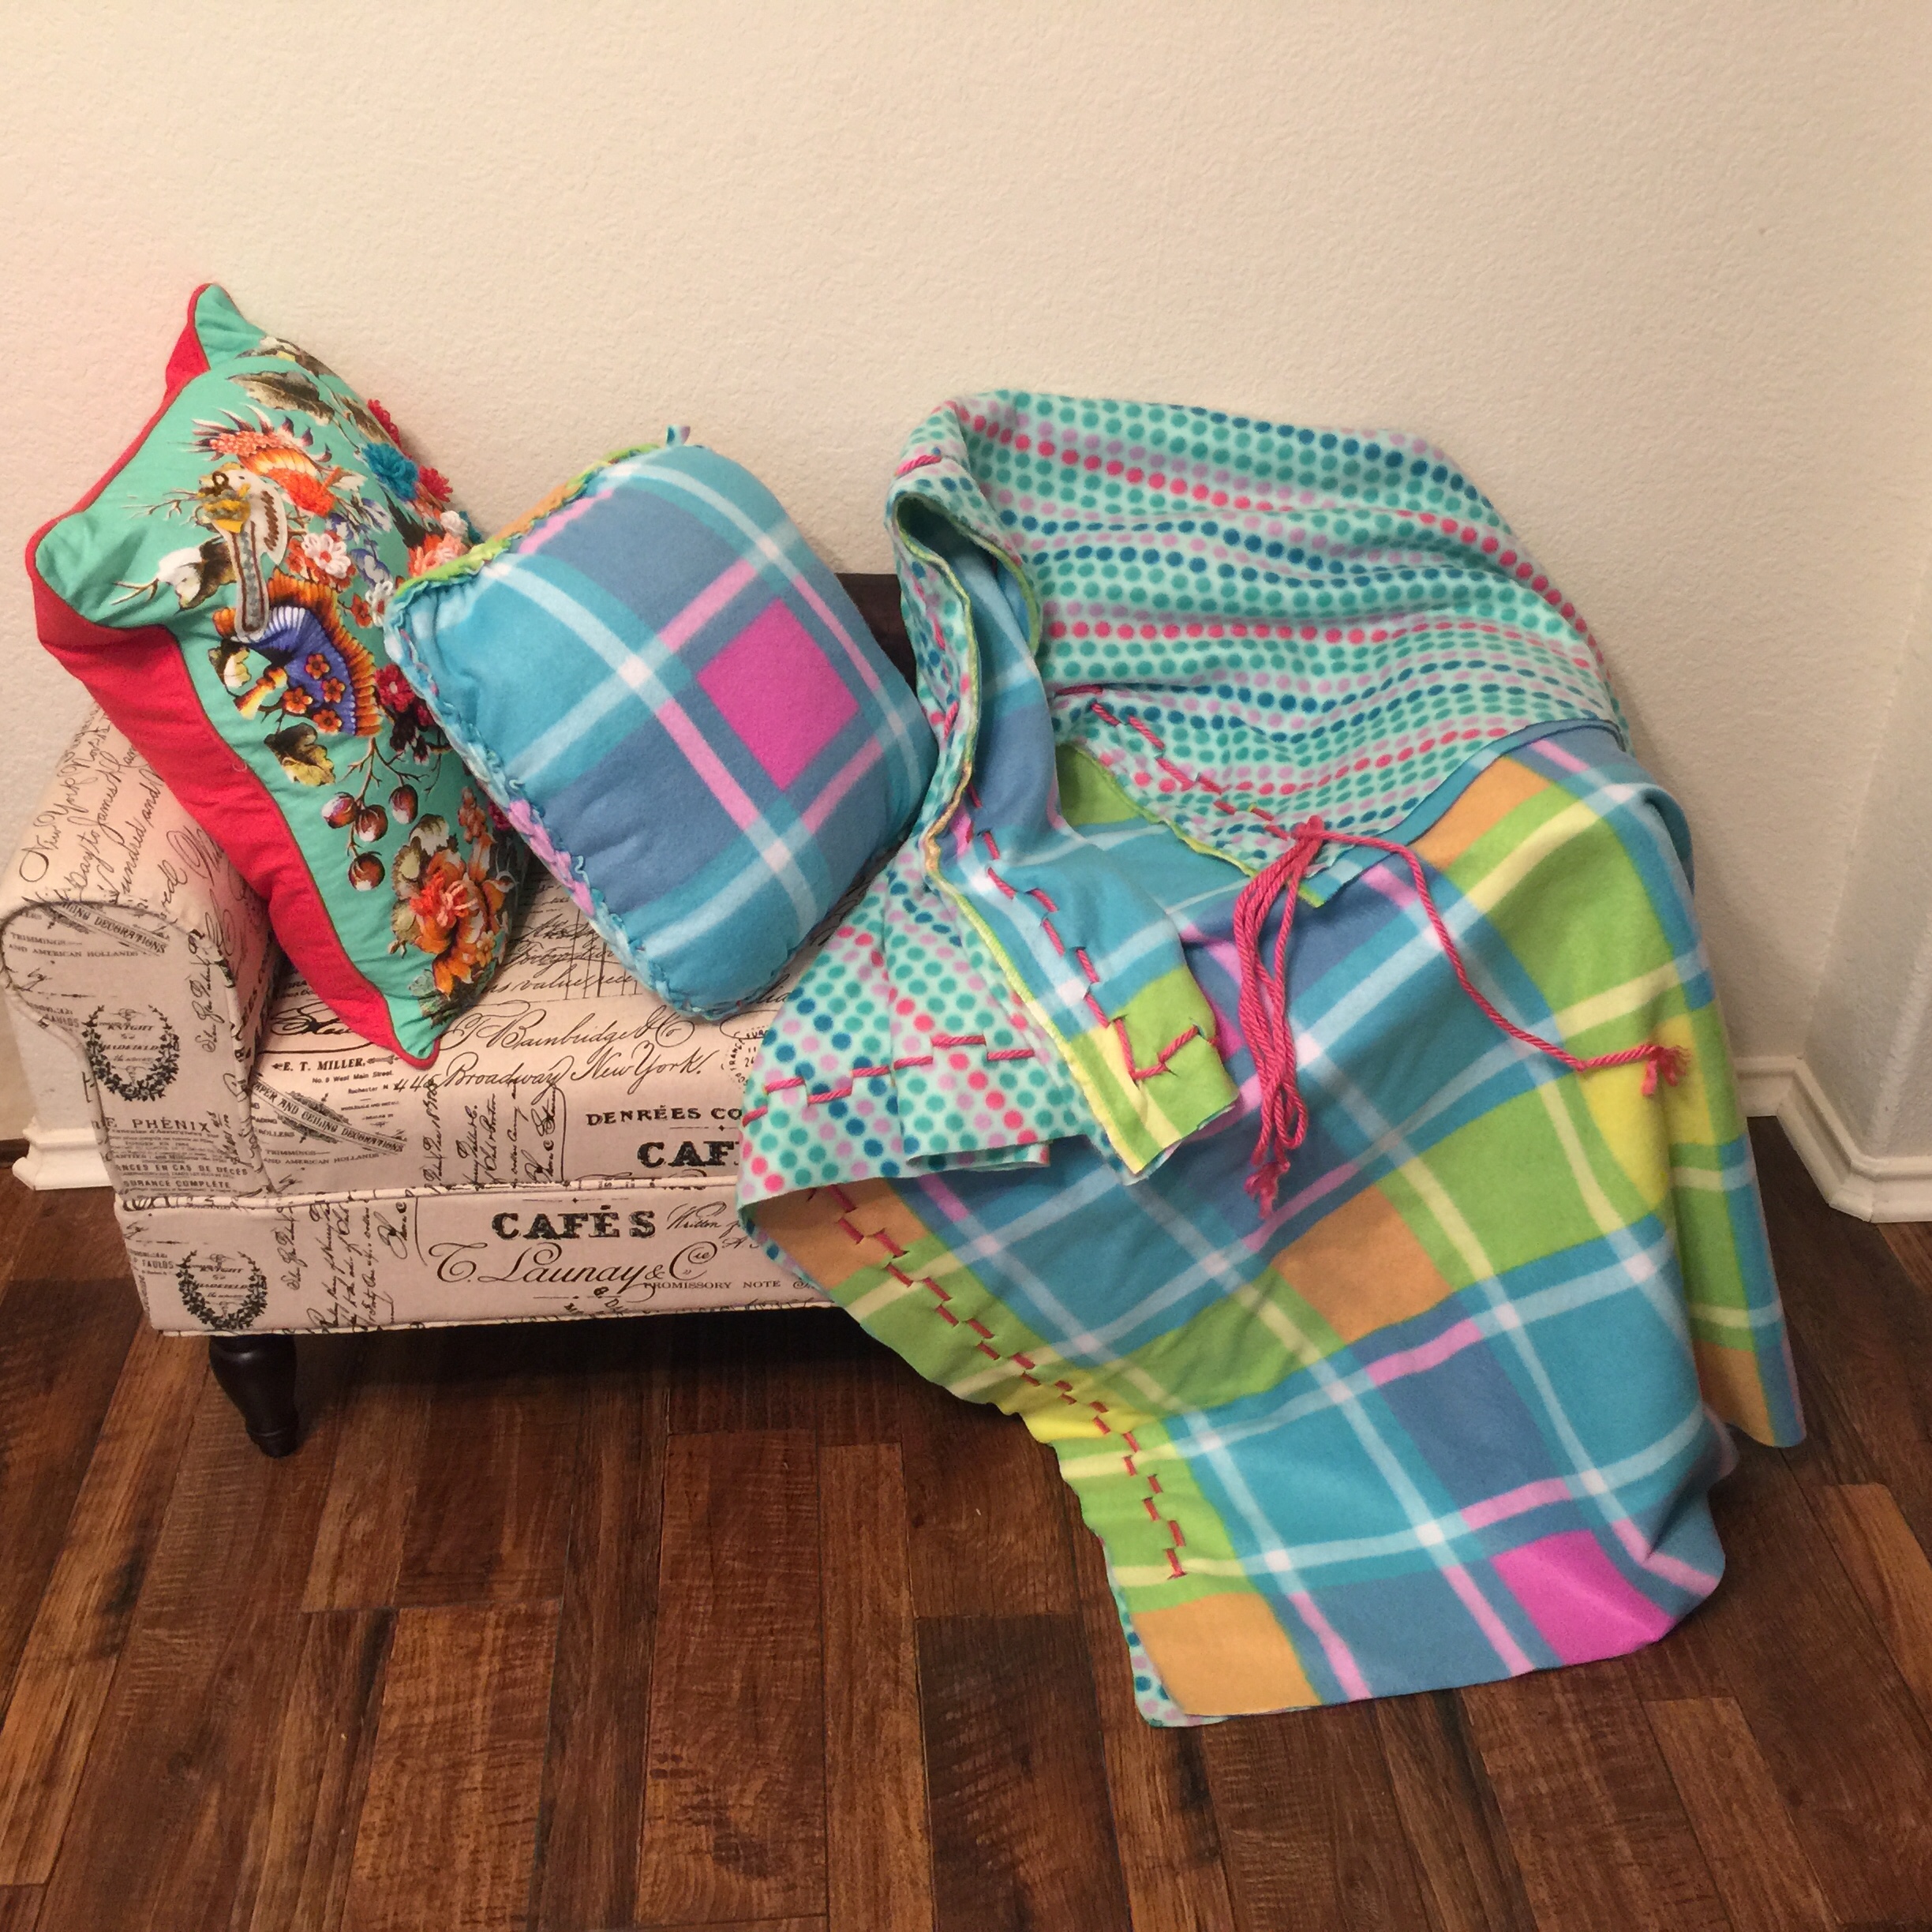
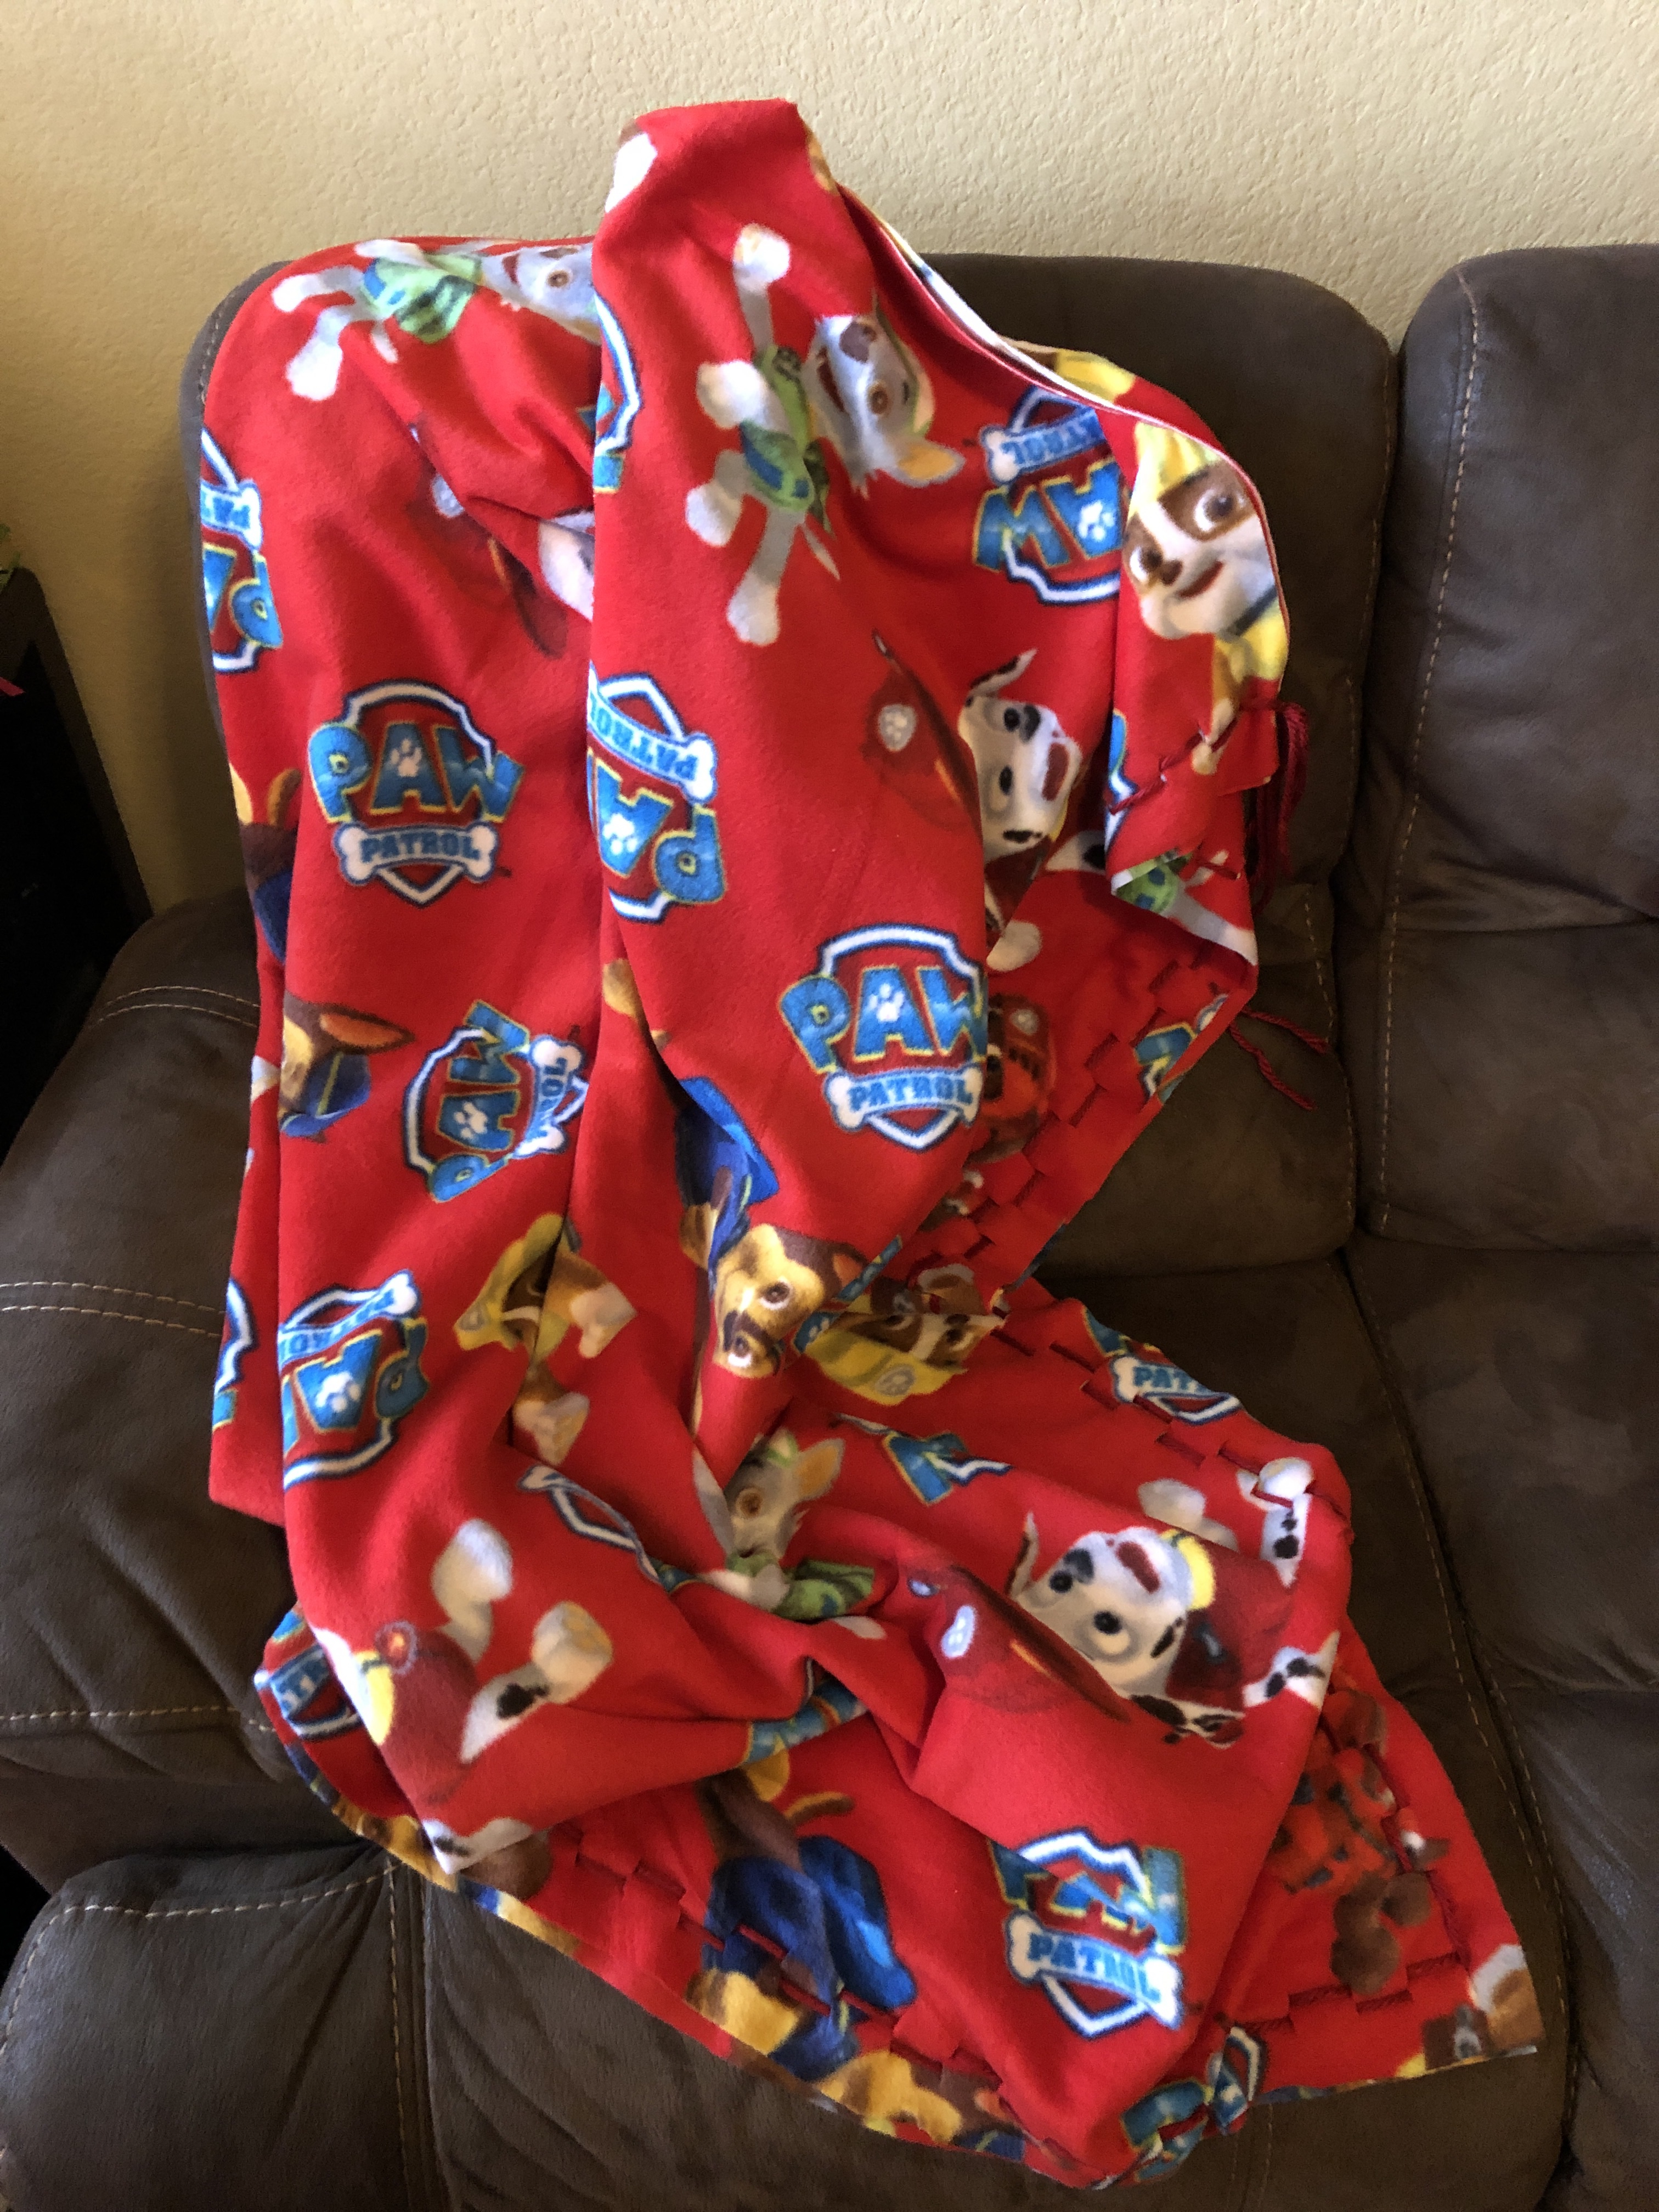
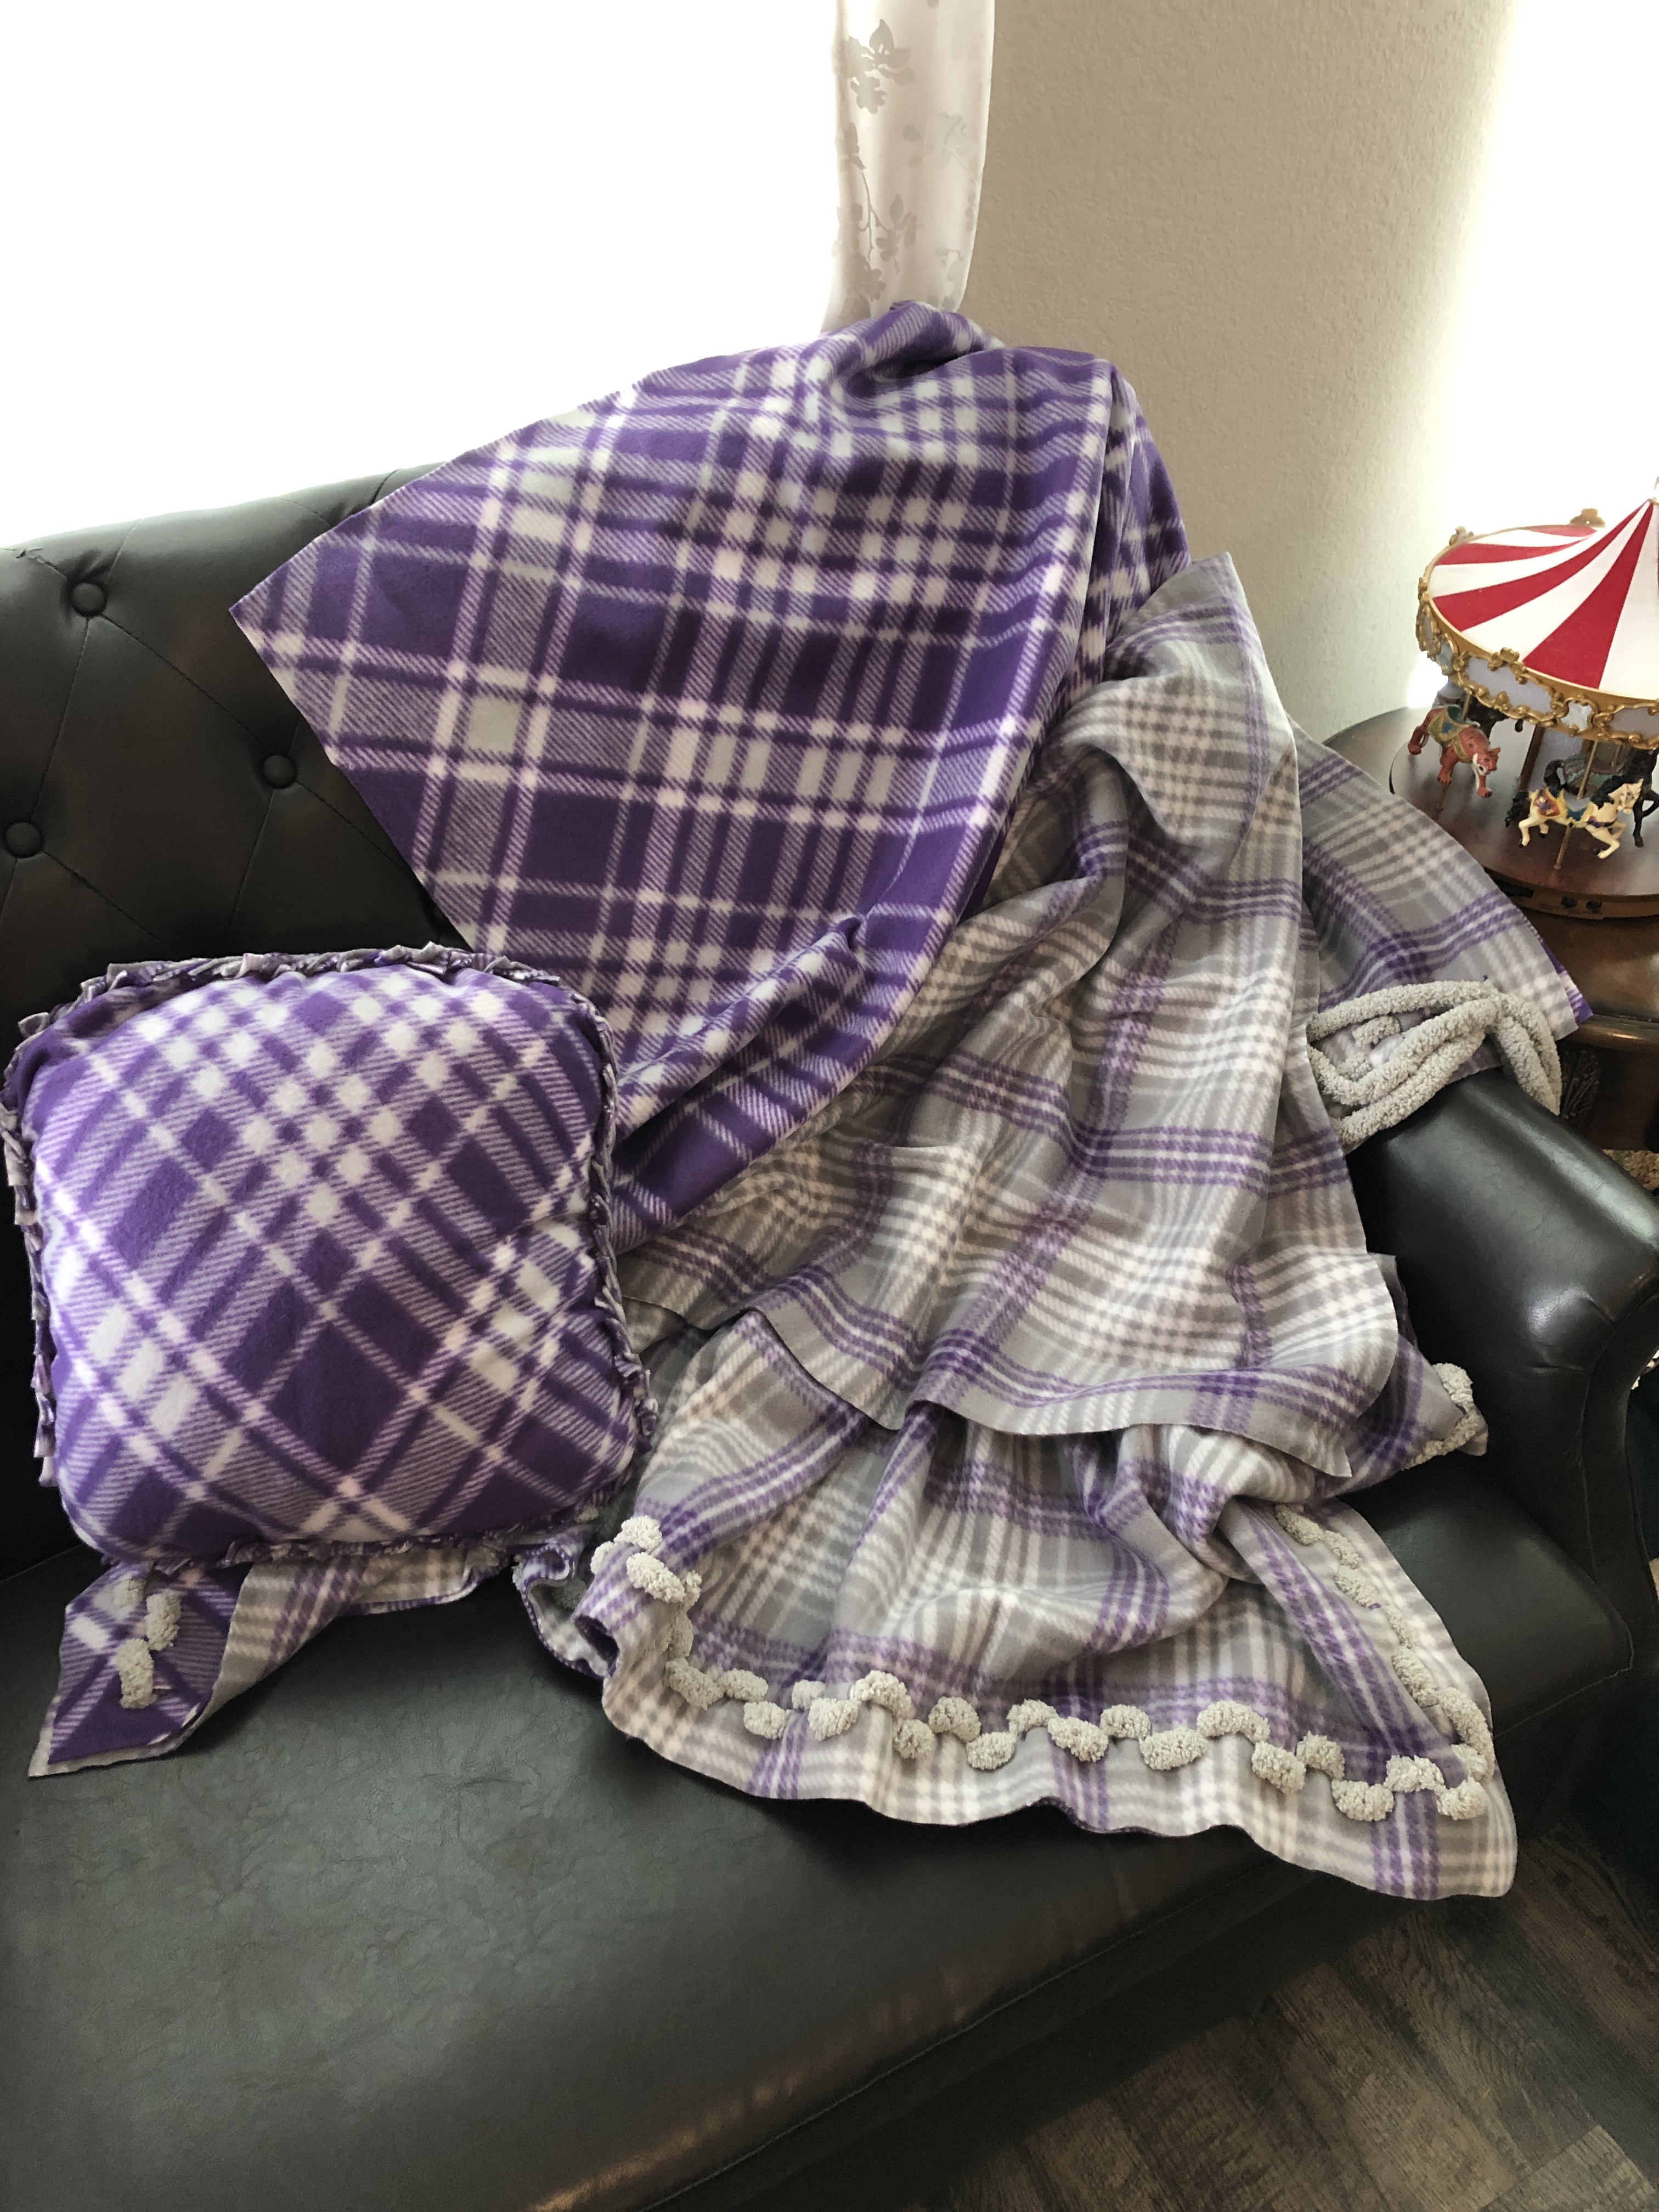
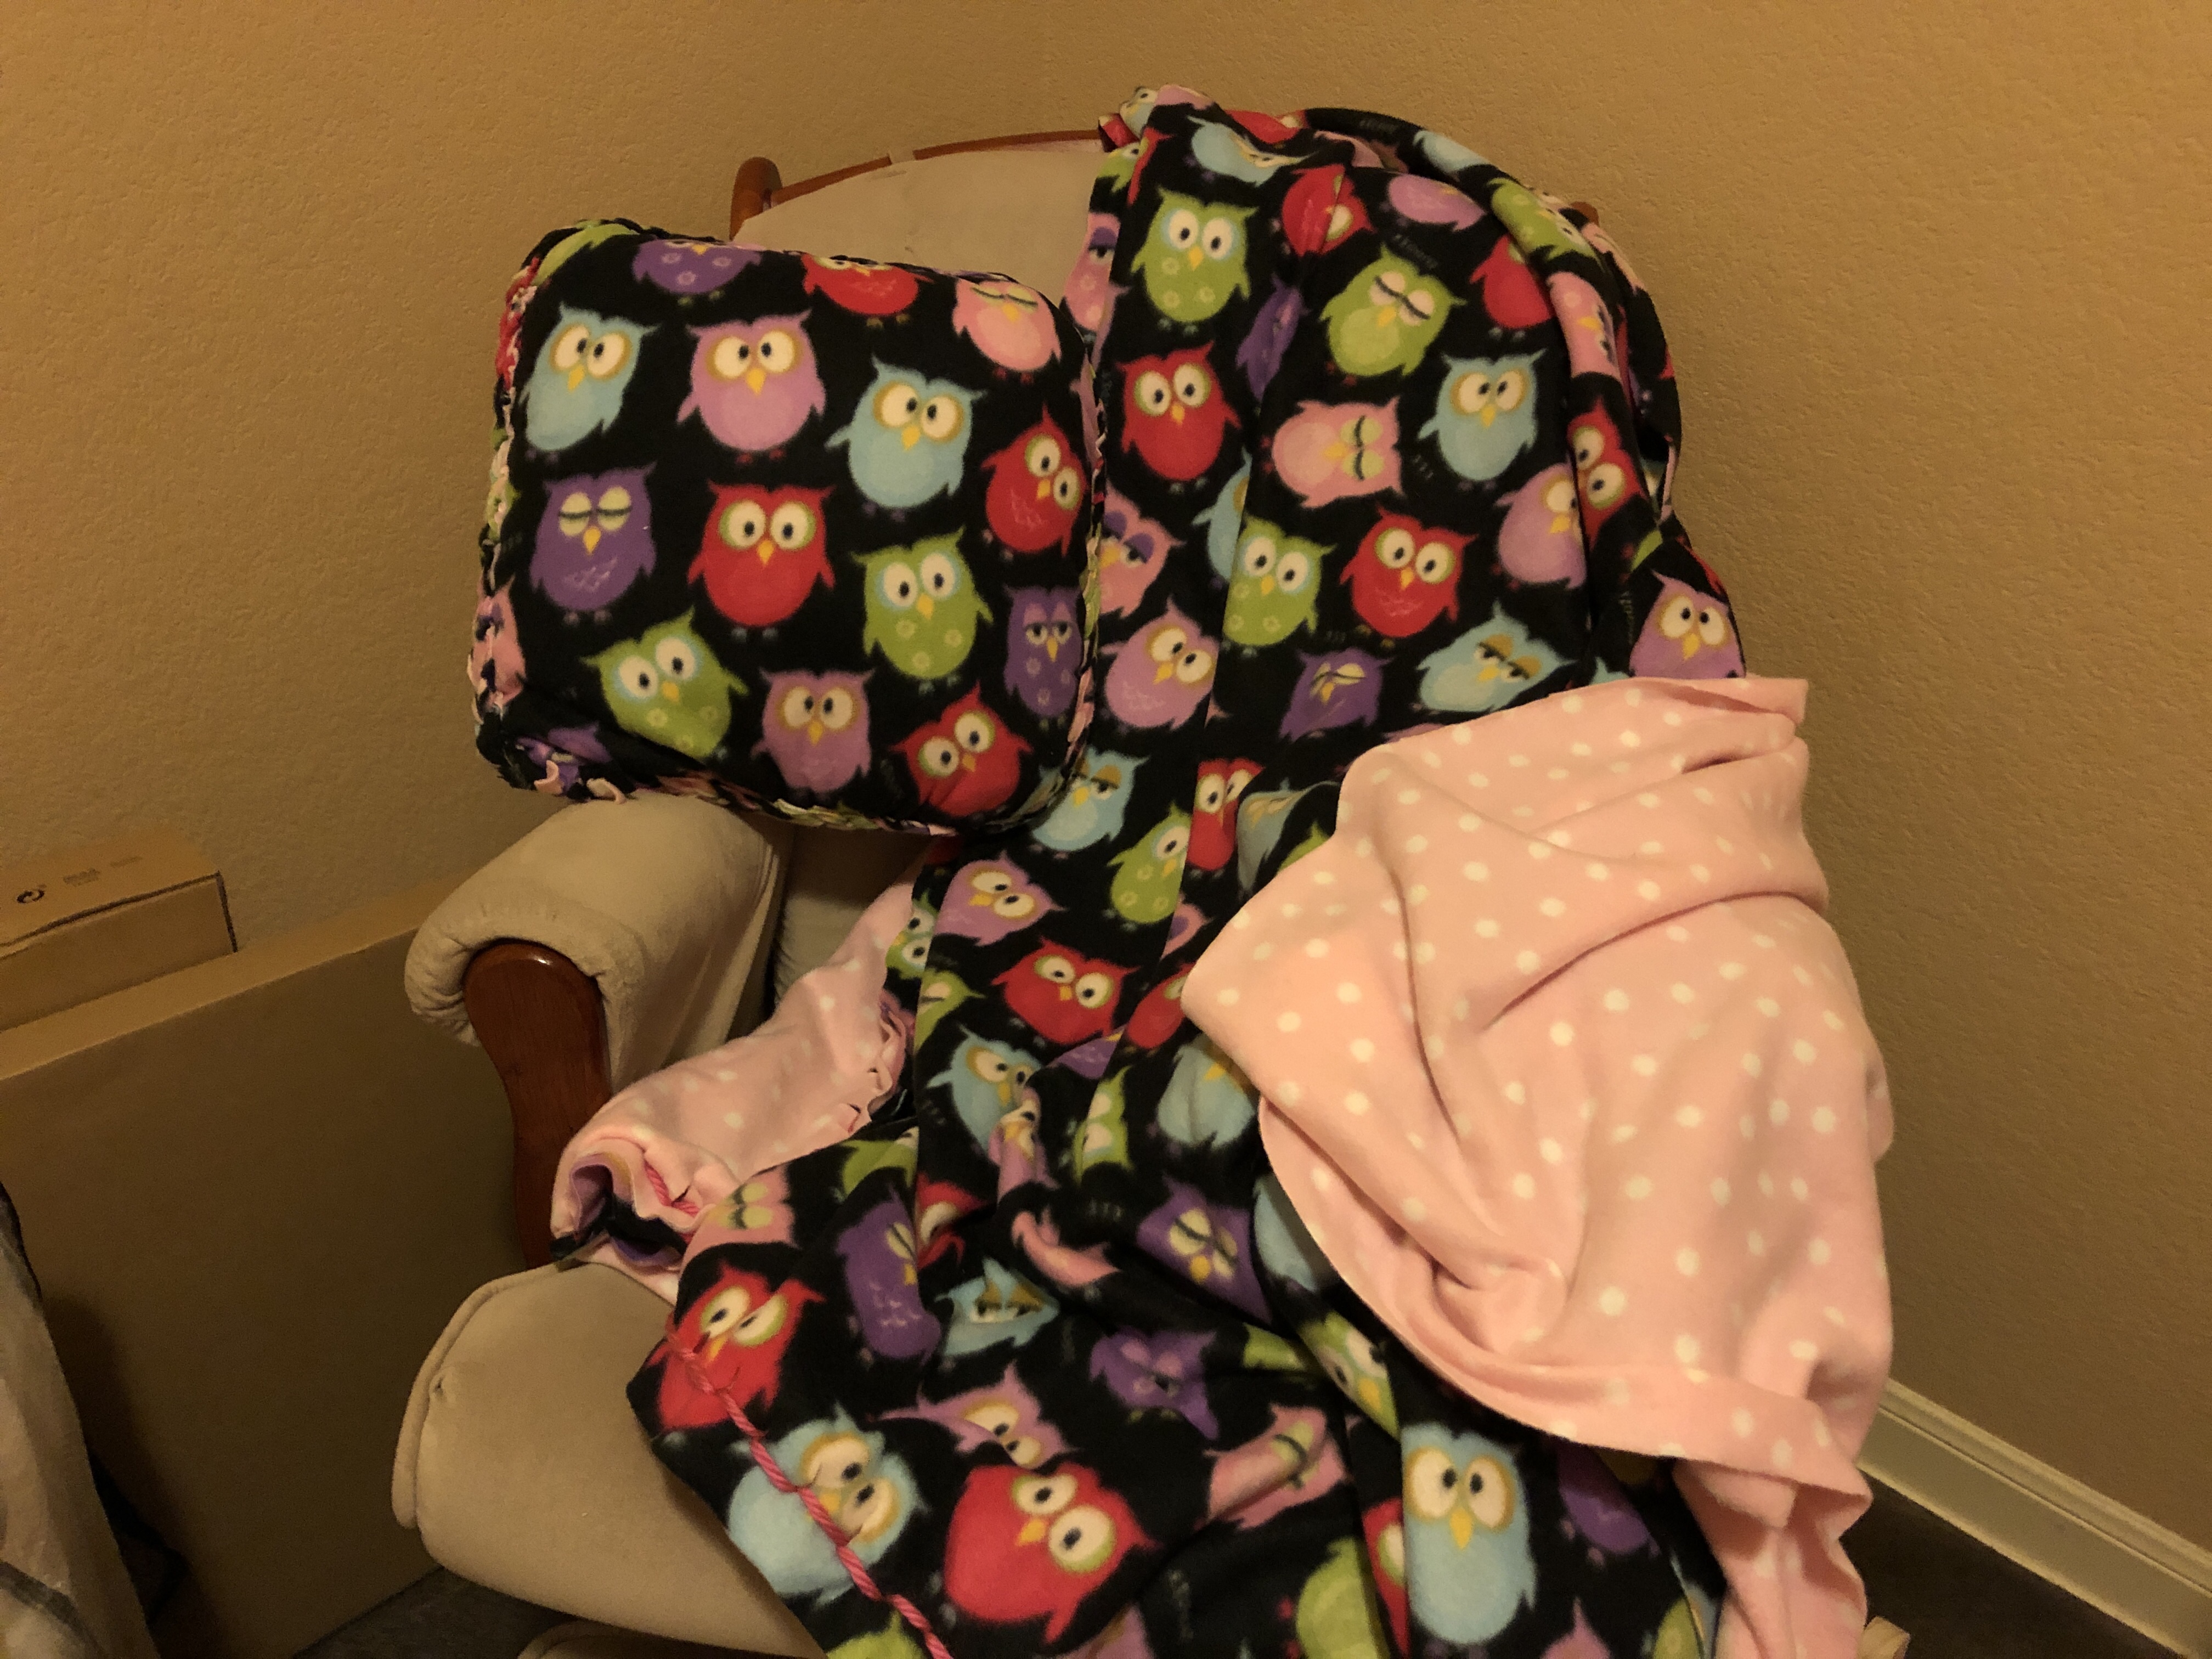
And in case you’re thinking, “Well, y’know, that grey and lamb print is cute, but it’s not really my style…”, then check out all these other convertible fleece blankets in different colors, prints, and yarns.
Happy eventing and SNUGGLING!
