One of my favorite fall decorations is the turkey, which is funny considering the first American Thanksgiving did not include turkeys. No matter, they’re delicious and cute. You know the best part? Turkey decorations are soooo easy to make. No joke. Consider the parts of a turkey from rump to beak:
- Tail feathers
- Body
- Head
- Face: eyes, beak, and waddle
- Optional: feet
See what I mean? That’s a lot easier than a Valentine’s Day Cupid or Easter bunny, let me tell ya. And I’m going to show you just how easy to make they are by crafting three different favors with the same turkey design!
First: Choose your favor.
I like giving individually wrapped candies as favors because people can enjoy a sweet treat at their leisure. Don’t worry, health-conscious hosts & hostesses! You can also do any of the following with small packages of pretzels, nuts, or dried fruit or avoid food altogether by giving small toys, whistles, etc. Most importantly:
- Determine your budget ahead of time so you know how much each favor will cost and what your total costs will be.
- Make sure your favor will fit in the favor container! TIP: Stay away from anything juicy or messy. Yuck.
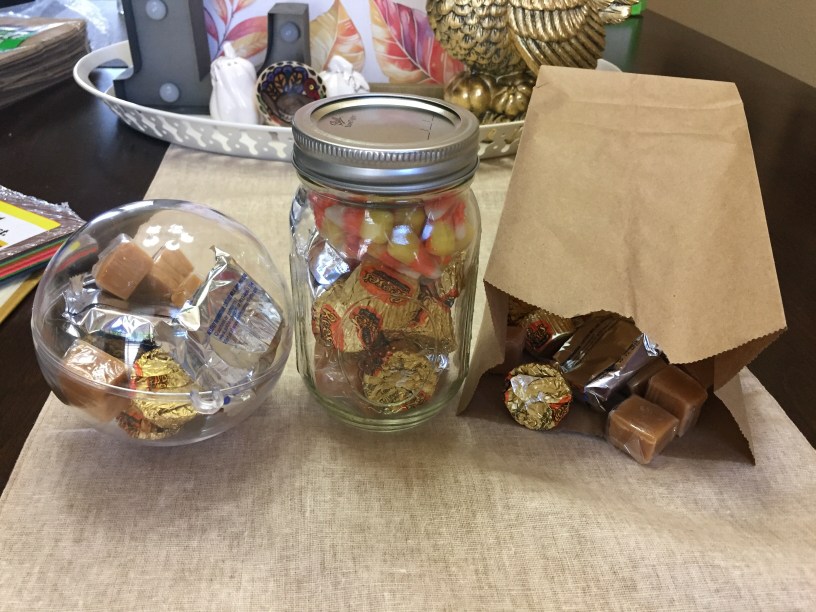
To help you with your planning, I chose three different containers with different costs.
The Plastic Ball Ornament
You can find these at craft stores in limited supply or online for bulk amounts. They don’t hold as much as the other two options, they cost the most (about $1.80 a piece for a large), and they wobble. BUT, they can be reused, are the most unique container here, and will definitely give your guests something to talk about. Some stores have different shapes and sizes, too, so you can reduce some costs by going down a size. The one used here was a large, about 2″ diameter.
TIP: If the favor inside isn’t attractive on its own, you can wrap it in pretty tissue paper to camouflage it. This method works well for both the plastic ball and the next option, the mason jar. Obviously it doesn’t matter how the favor looks in the third option.
The Mason Jar
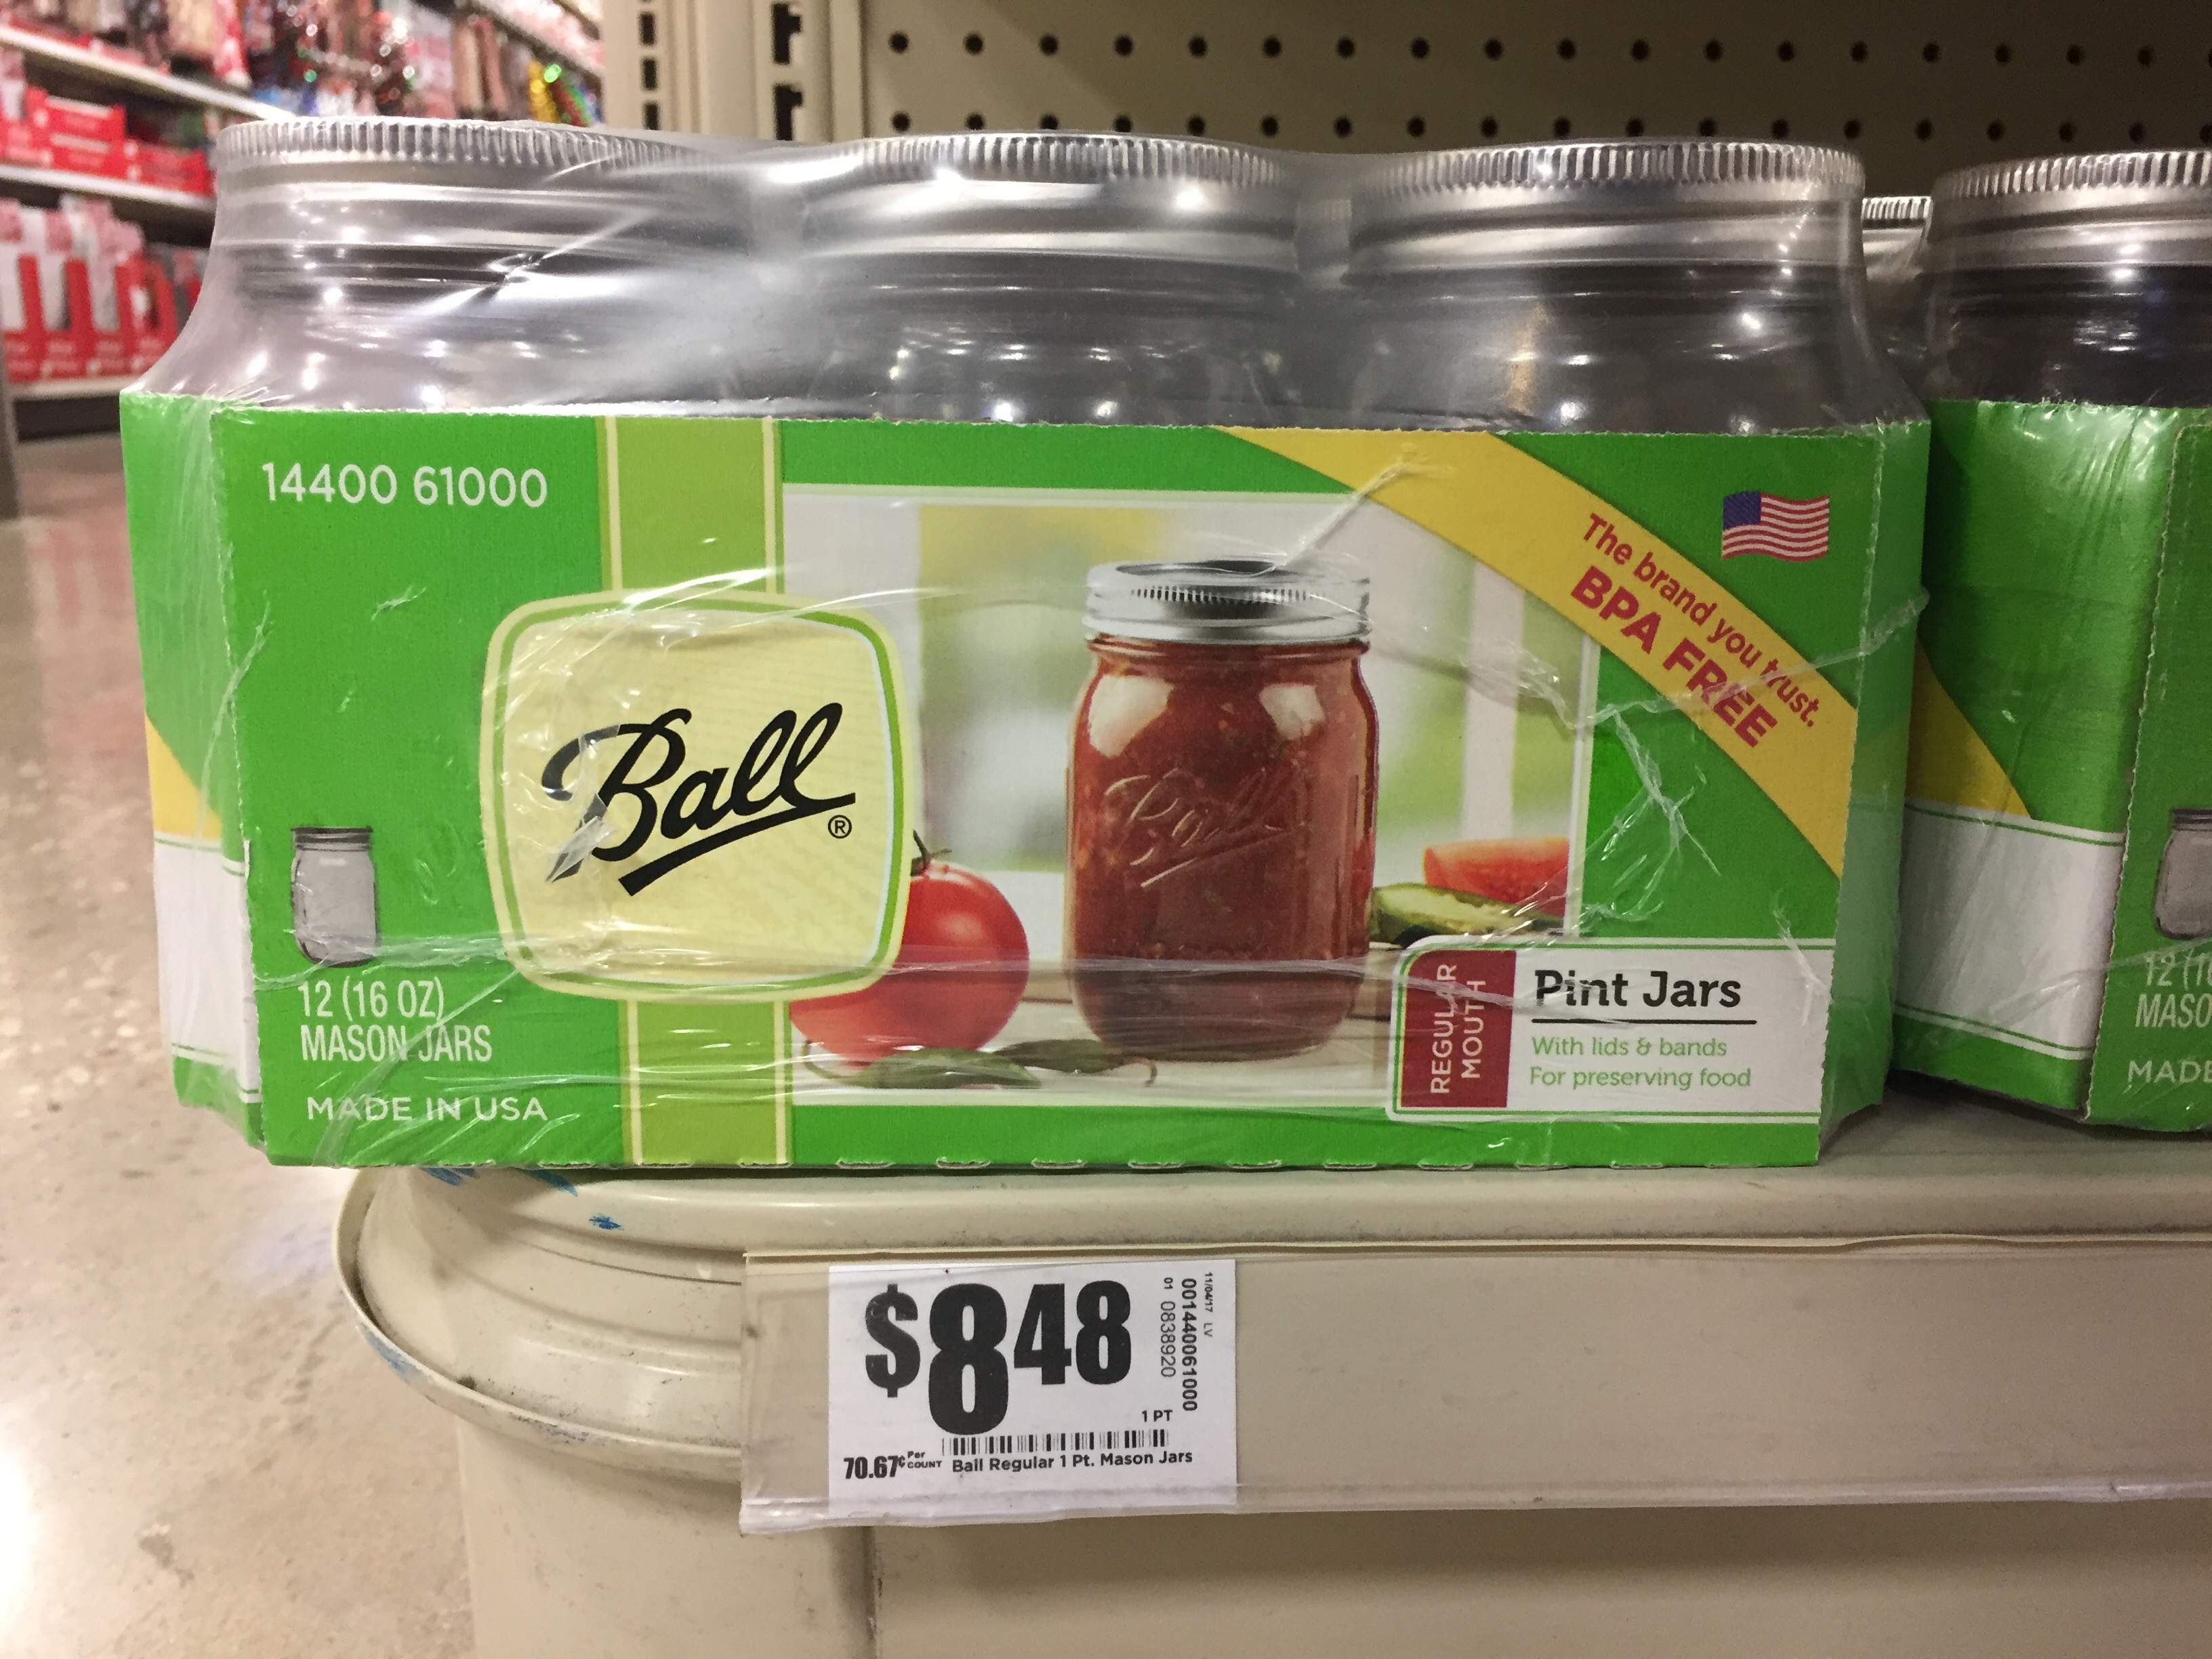
These little beauties have become very popular over the last few years as the rustic chic design trend gains momentum. The biggest advantage to using mason jars is that they can be found at most grocery stores (easier to find than craft stores) and they come in different sizes. The best part? They can be reused for actual food and / or craft storage. Gift containers that are also functional are my FAVORITES. The disadvantage is that they do still cost more than the cheapest option. The ones used here are pint-sized, which holds a good amount, and came out to be about $0.75 each.
The Paper Bag
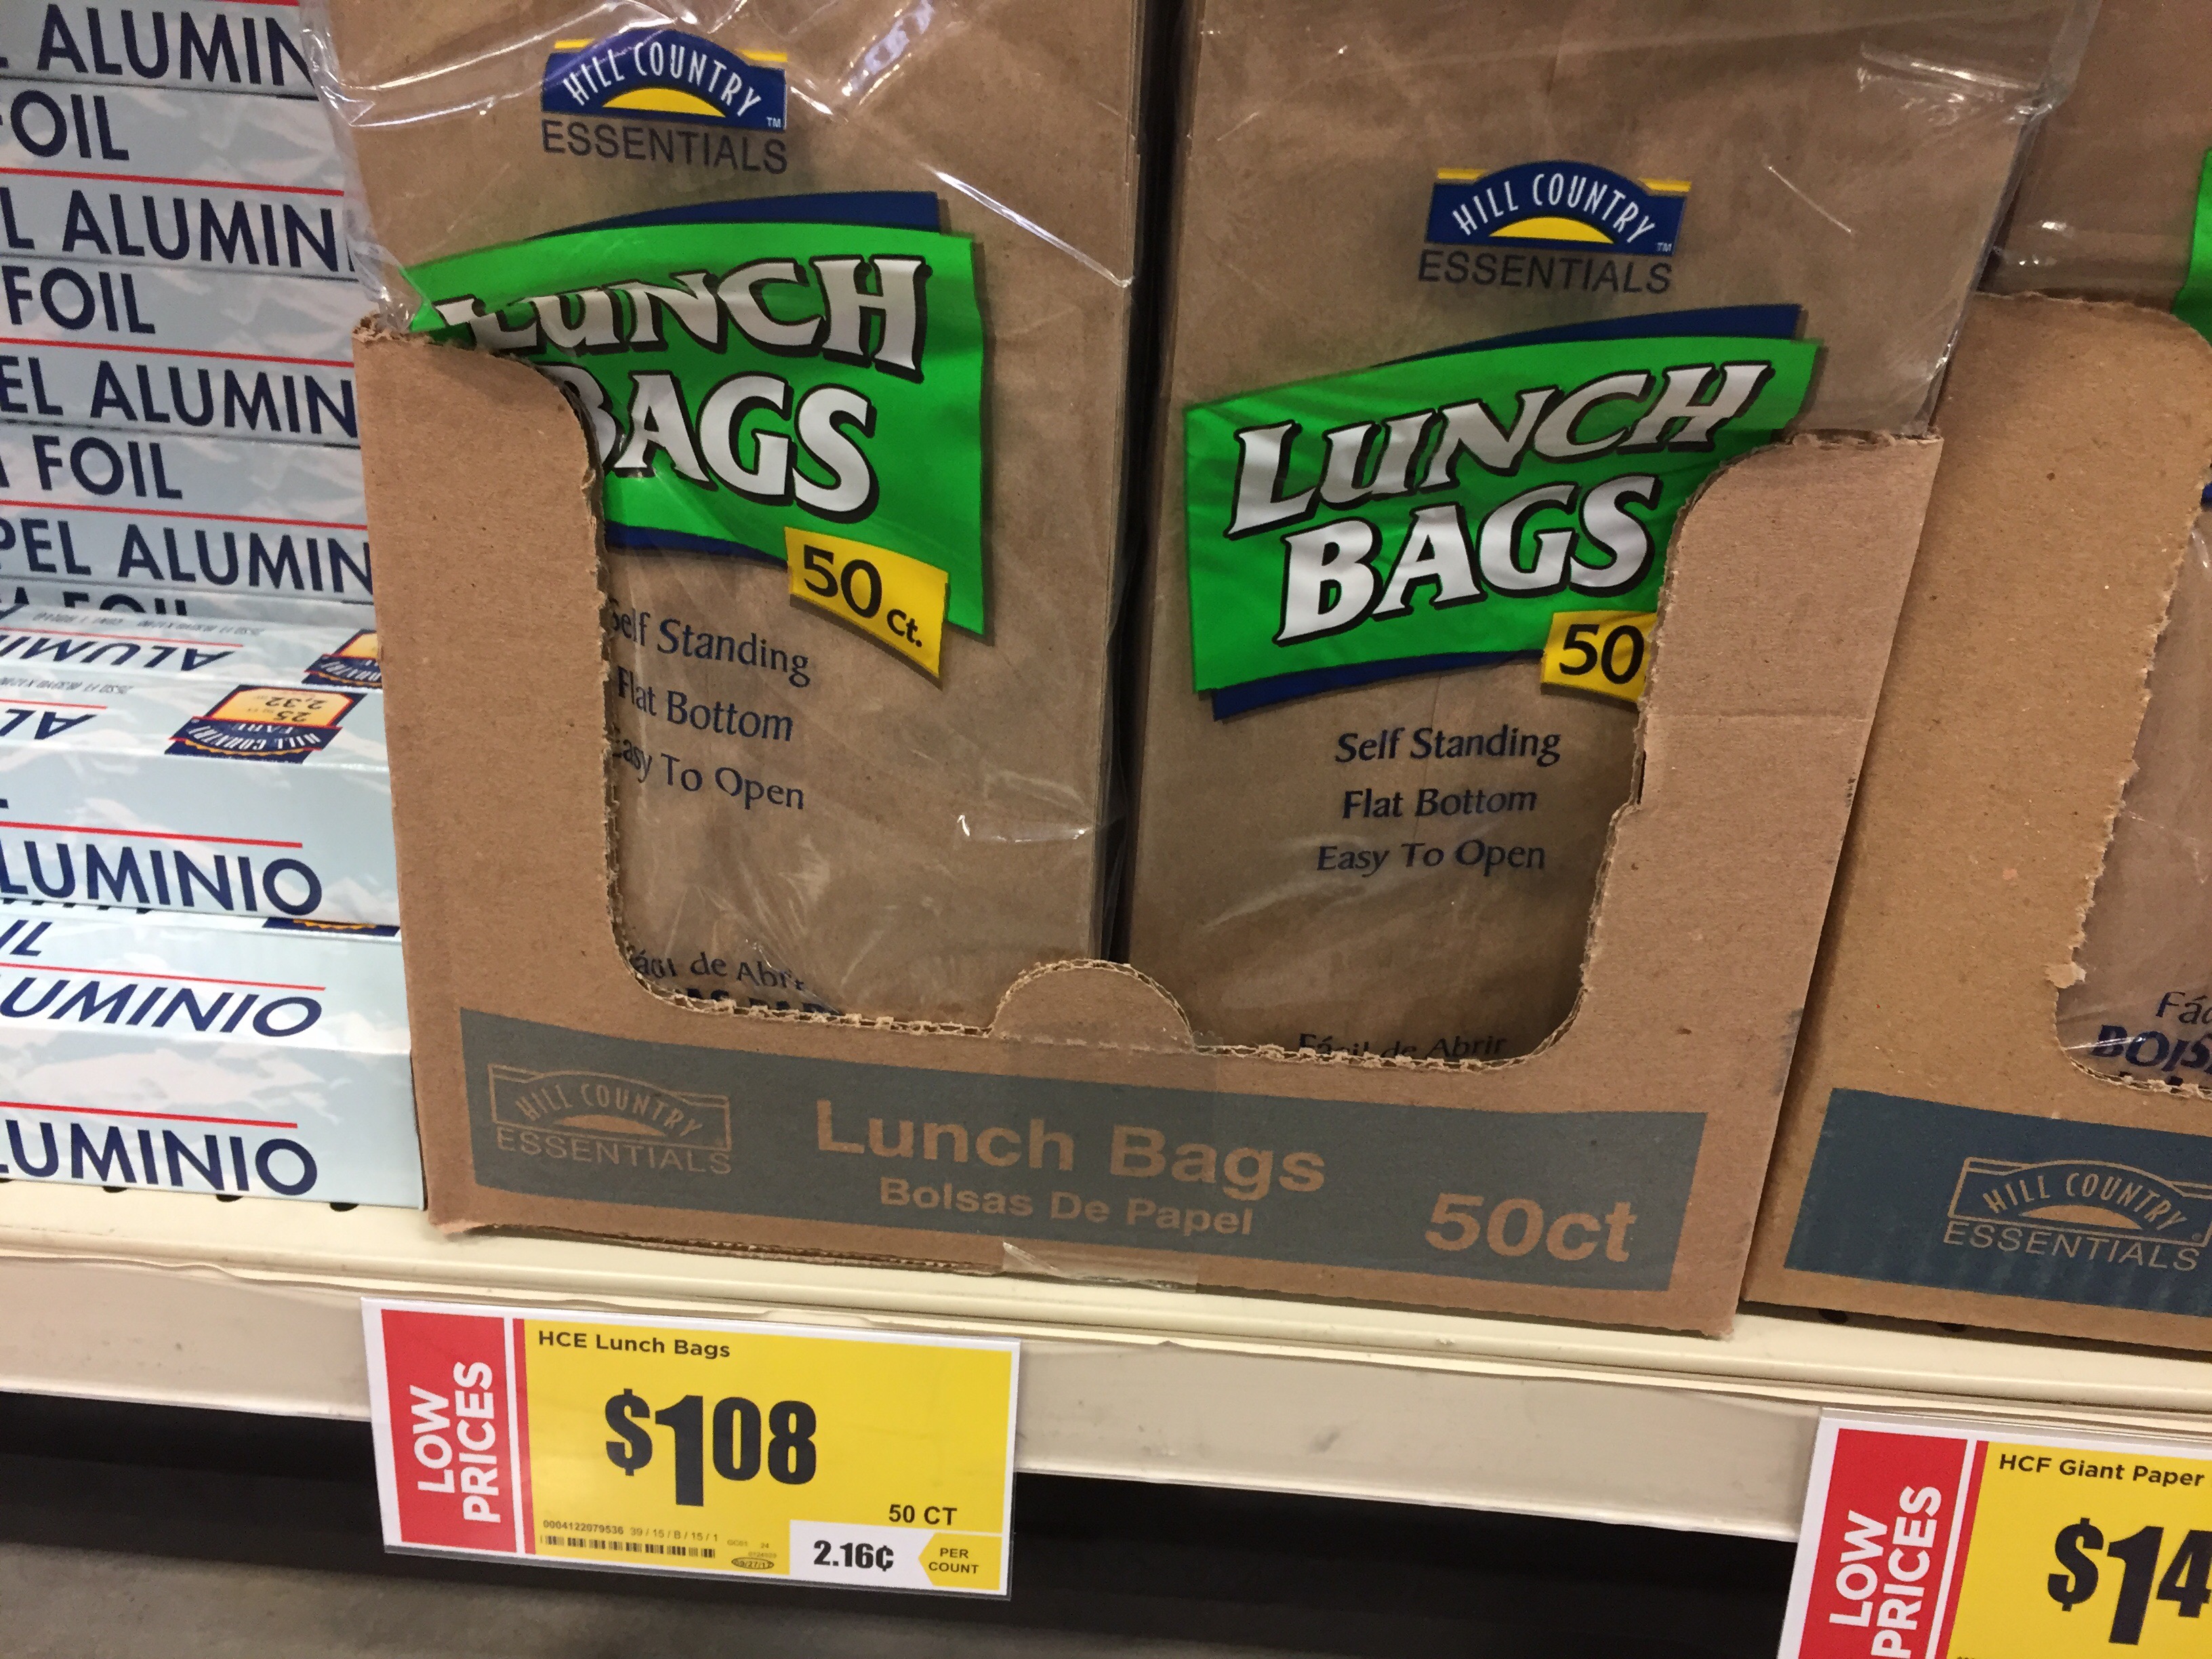
Uh-uh, don’t you sneer. Paper bags are so often overlooked and underestimated, which is crazy considering how ridiculously cheap they are (HELLO, just $0.02 a bag), how much they can hold (a LOT), and how versatile they are for decorating. Their only downside is that they cannot be reused over and over again like the previous two options. You’ll get a couple of re-uses, but that’s it.
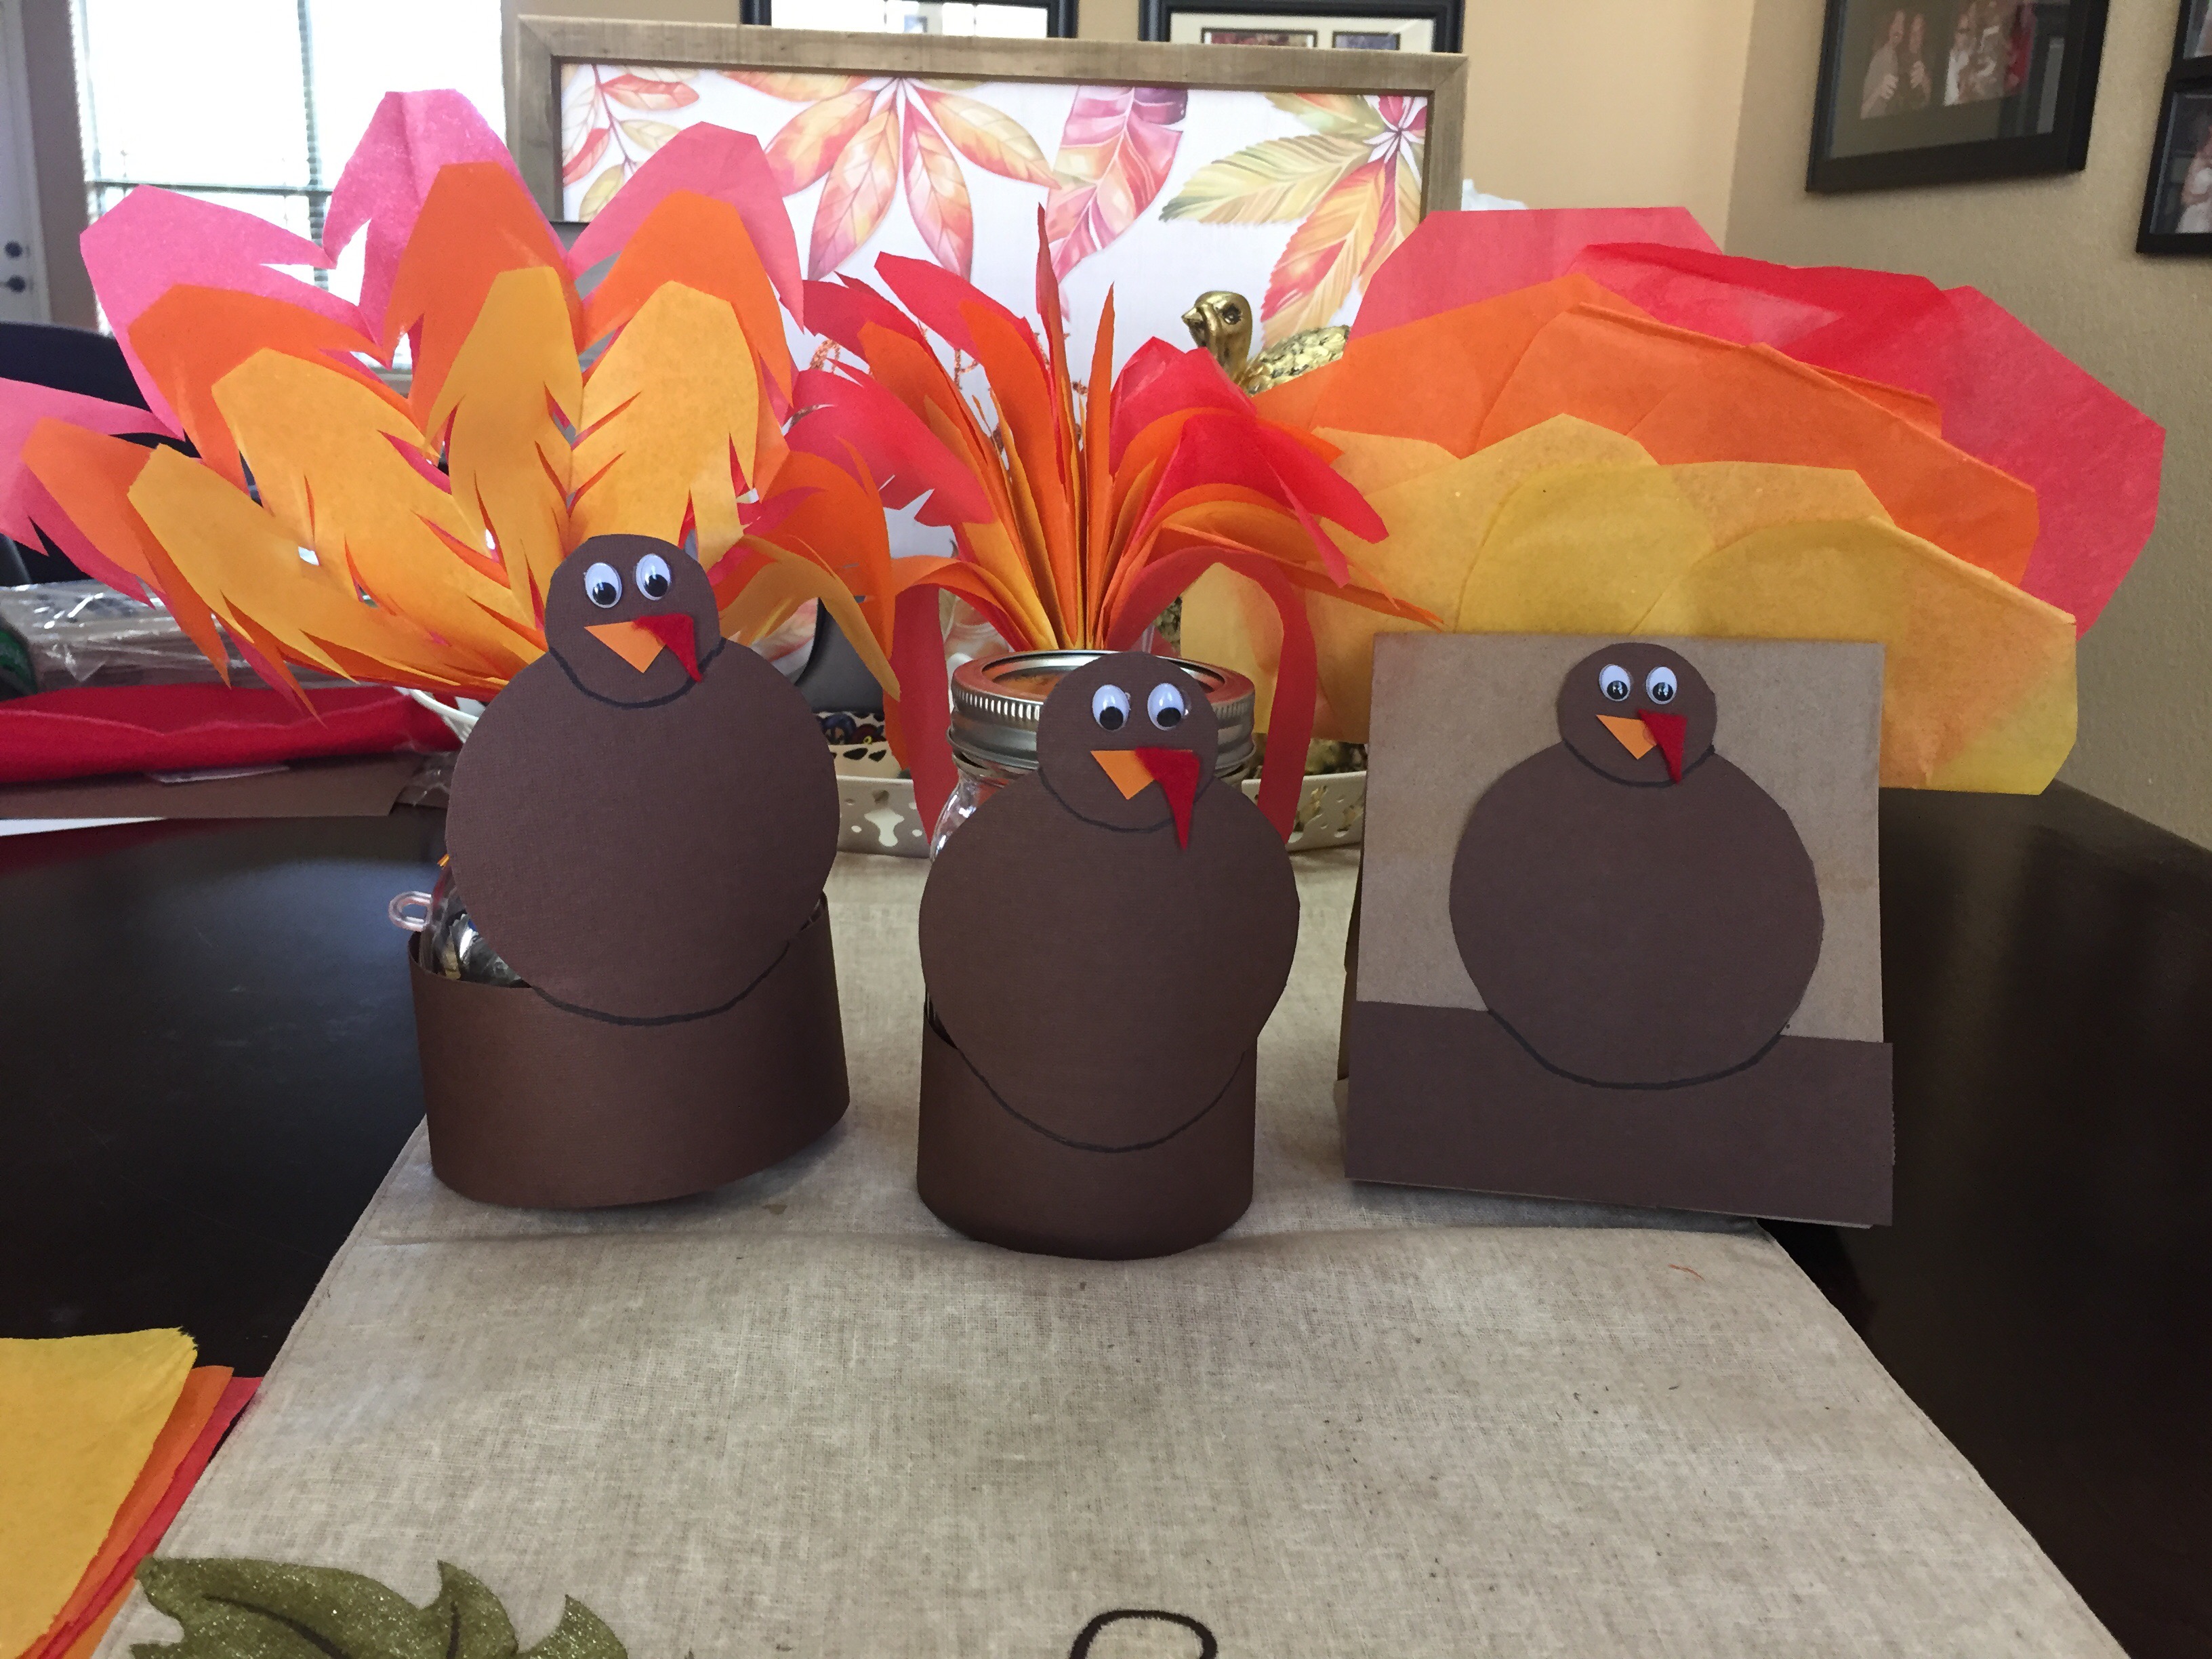
There you go! Here are all three favor containers side-by-side for comparison, with most expensive and holds least on the left to cheapest and holds most on the right:

Second: Draw and cut out your turkey.
You can use a variety of supplies to make your turkey depending on your time and budget. I chose to go with supplies that were cheaper and easier to find, so no one looks at this and feels overwhelmed. These were:
- Construction paper (brown, orange, and red)
- Tissue paper (fall colors)
- Optional: Googly eyes
I also used a pencil, marker, scissors, glue, tape, and staples, although that last one was more because I got lazy, haha. I did have some ribbon to make little bows for the turkeys’ necks, but I decided to use it on a different project instead. If you add some cute touches, feel free to let me know how it turned out on our Facebook page. Pics or it didn’t happen!
Gather your supplies together.

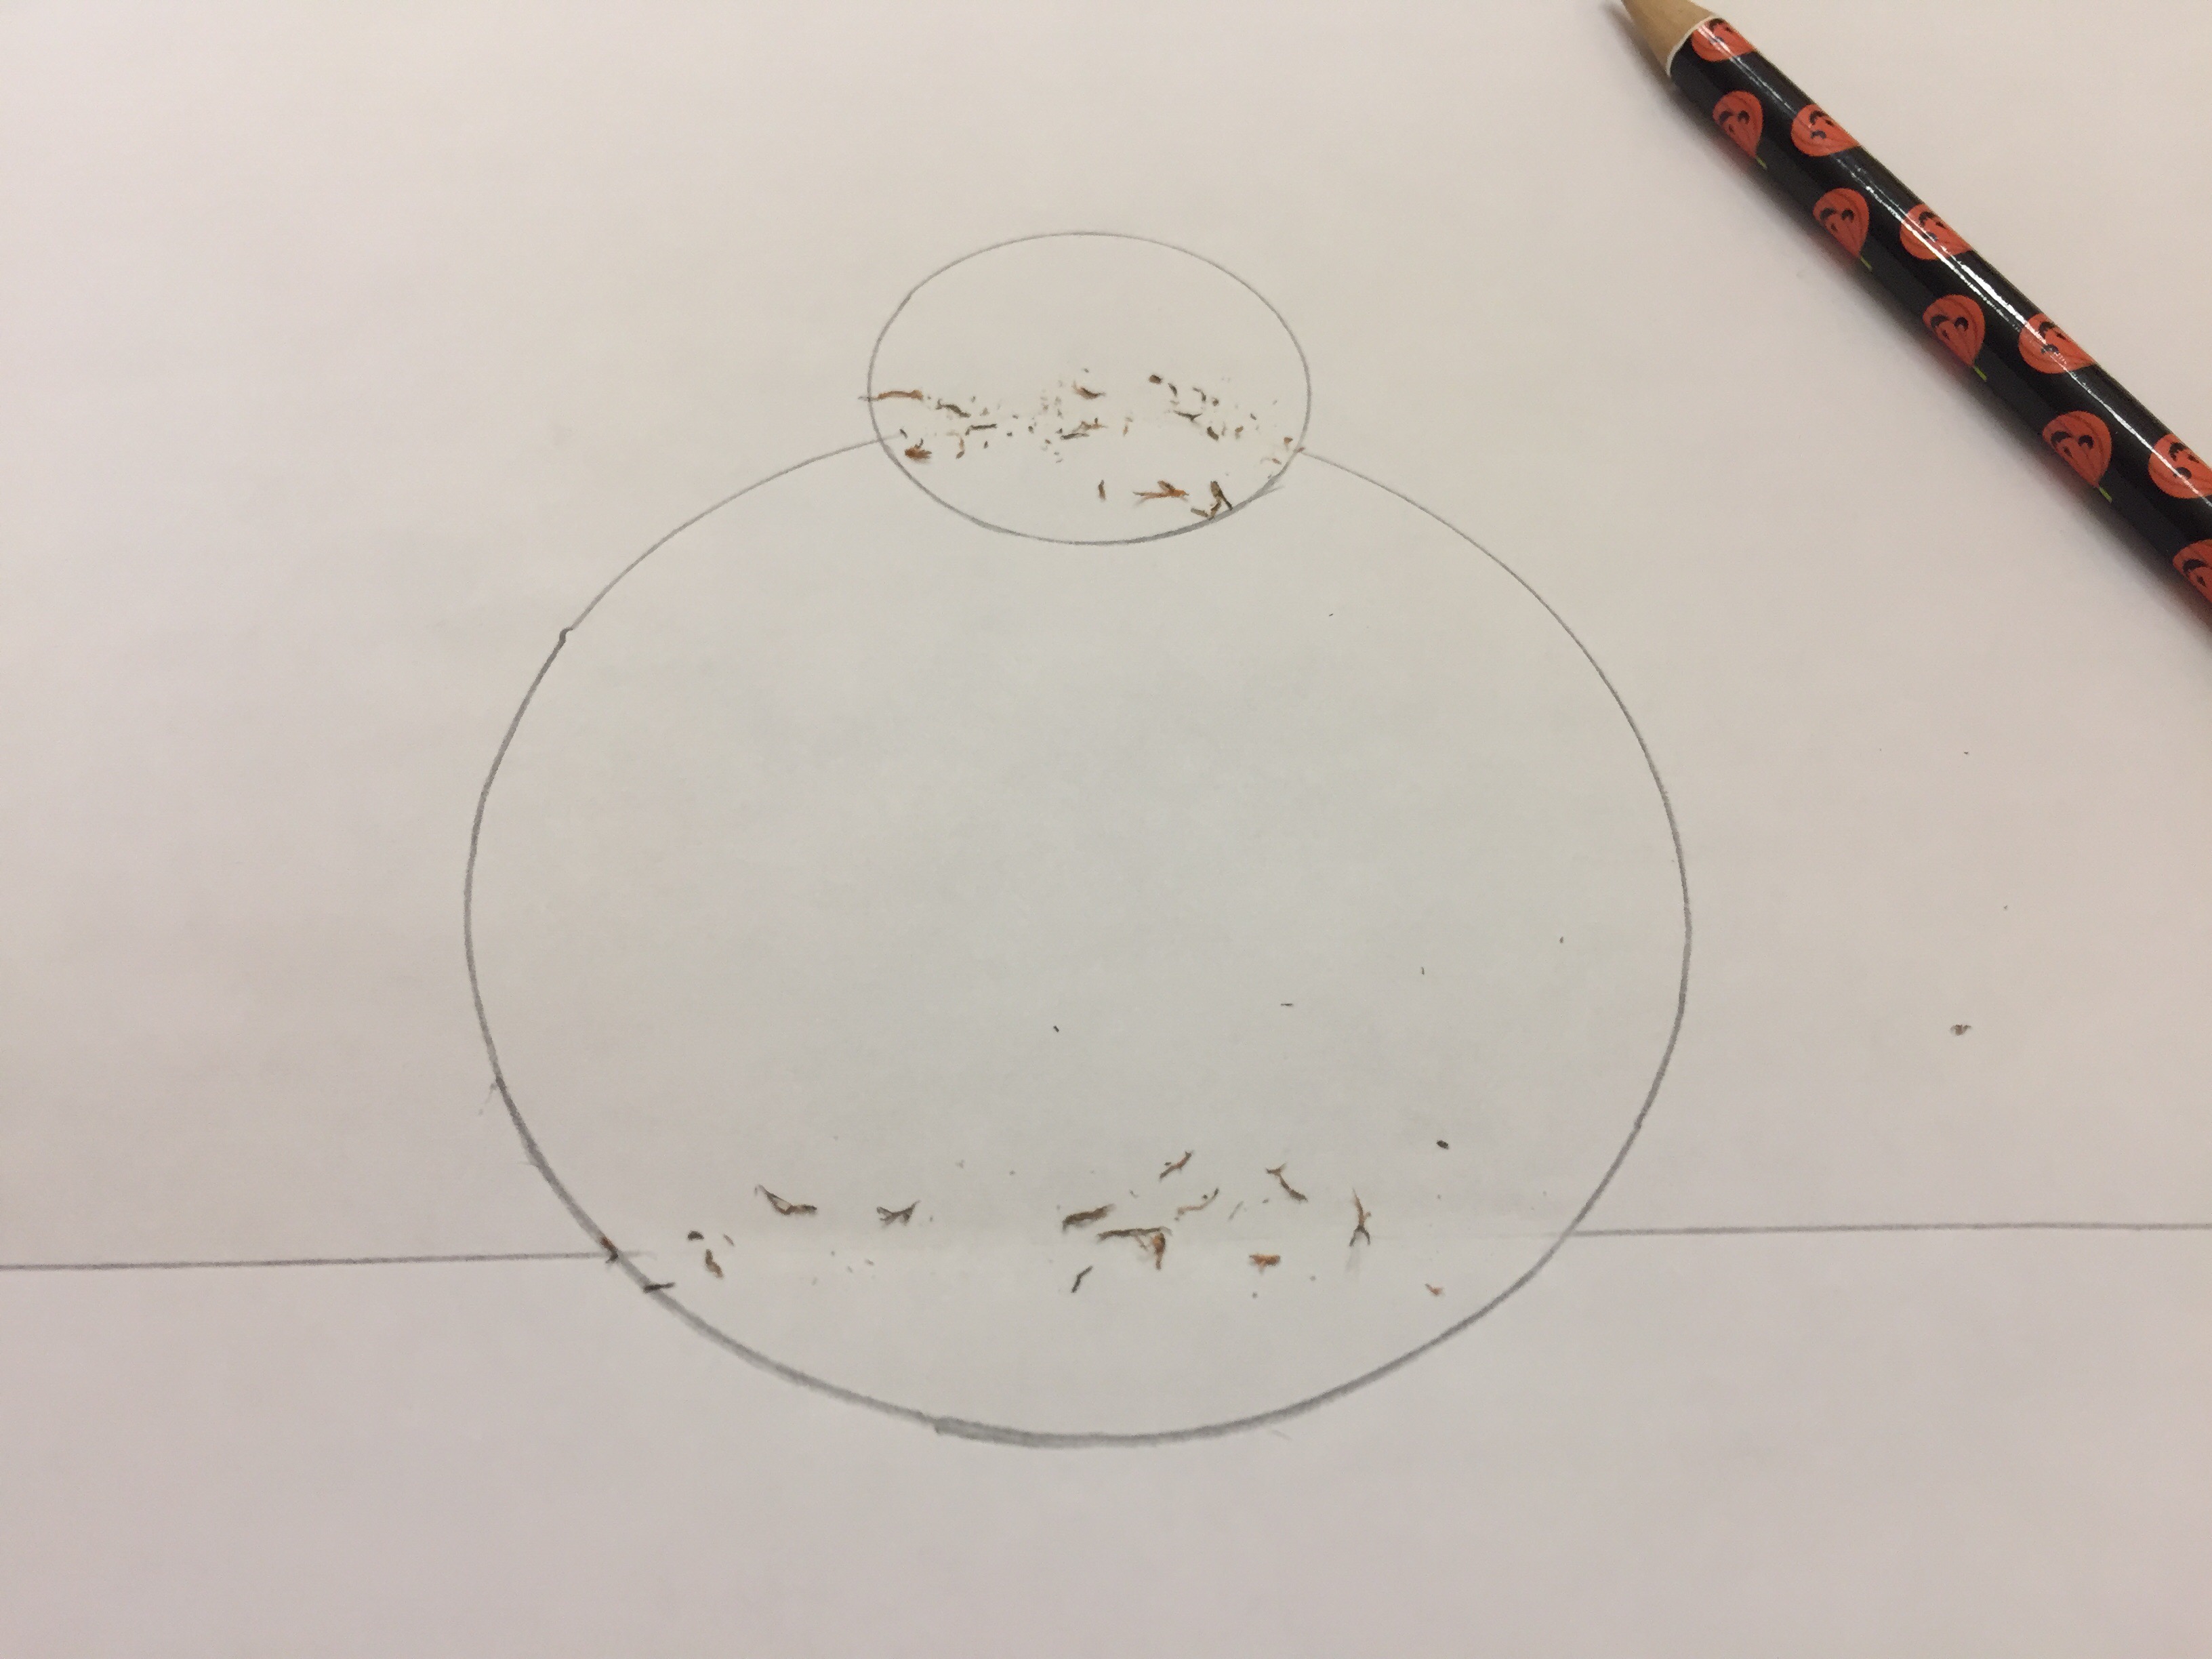
Draw your turkey on your paper.
Since I used dark brown paper, it was really hard to see in the pictures where my lines were drawn, so I used a piece of white paper to show you how the lines would look.
- Draw a band across the bottom (this will be your ground and do double duty as a band to make it all stand up for the plastic ball and / or mason jar; it’s not necessary for the paper bag, just nice).
- Draw a larger circle for the body, making sure to overlap the the band at the bottom. Why a circle? Because plump turkeys are cute and skinny turkeys are malnourished. Trust me on this.
- Draw a smaller circle for the head, making sure to overlap the larger circle.
TIP: Don’t bother freehand drawing the circles; just find something round and trace it. I used the ribbon roll for the body and a glue stick for the head. It’s easier and faster and gives you more consistently sized turkeys.
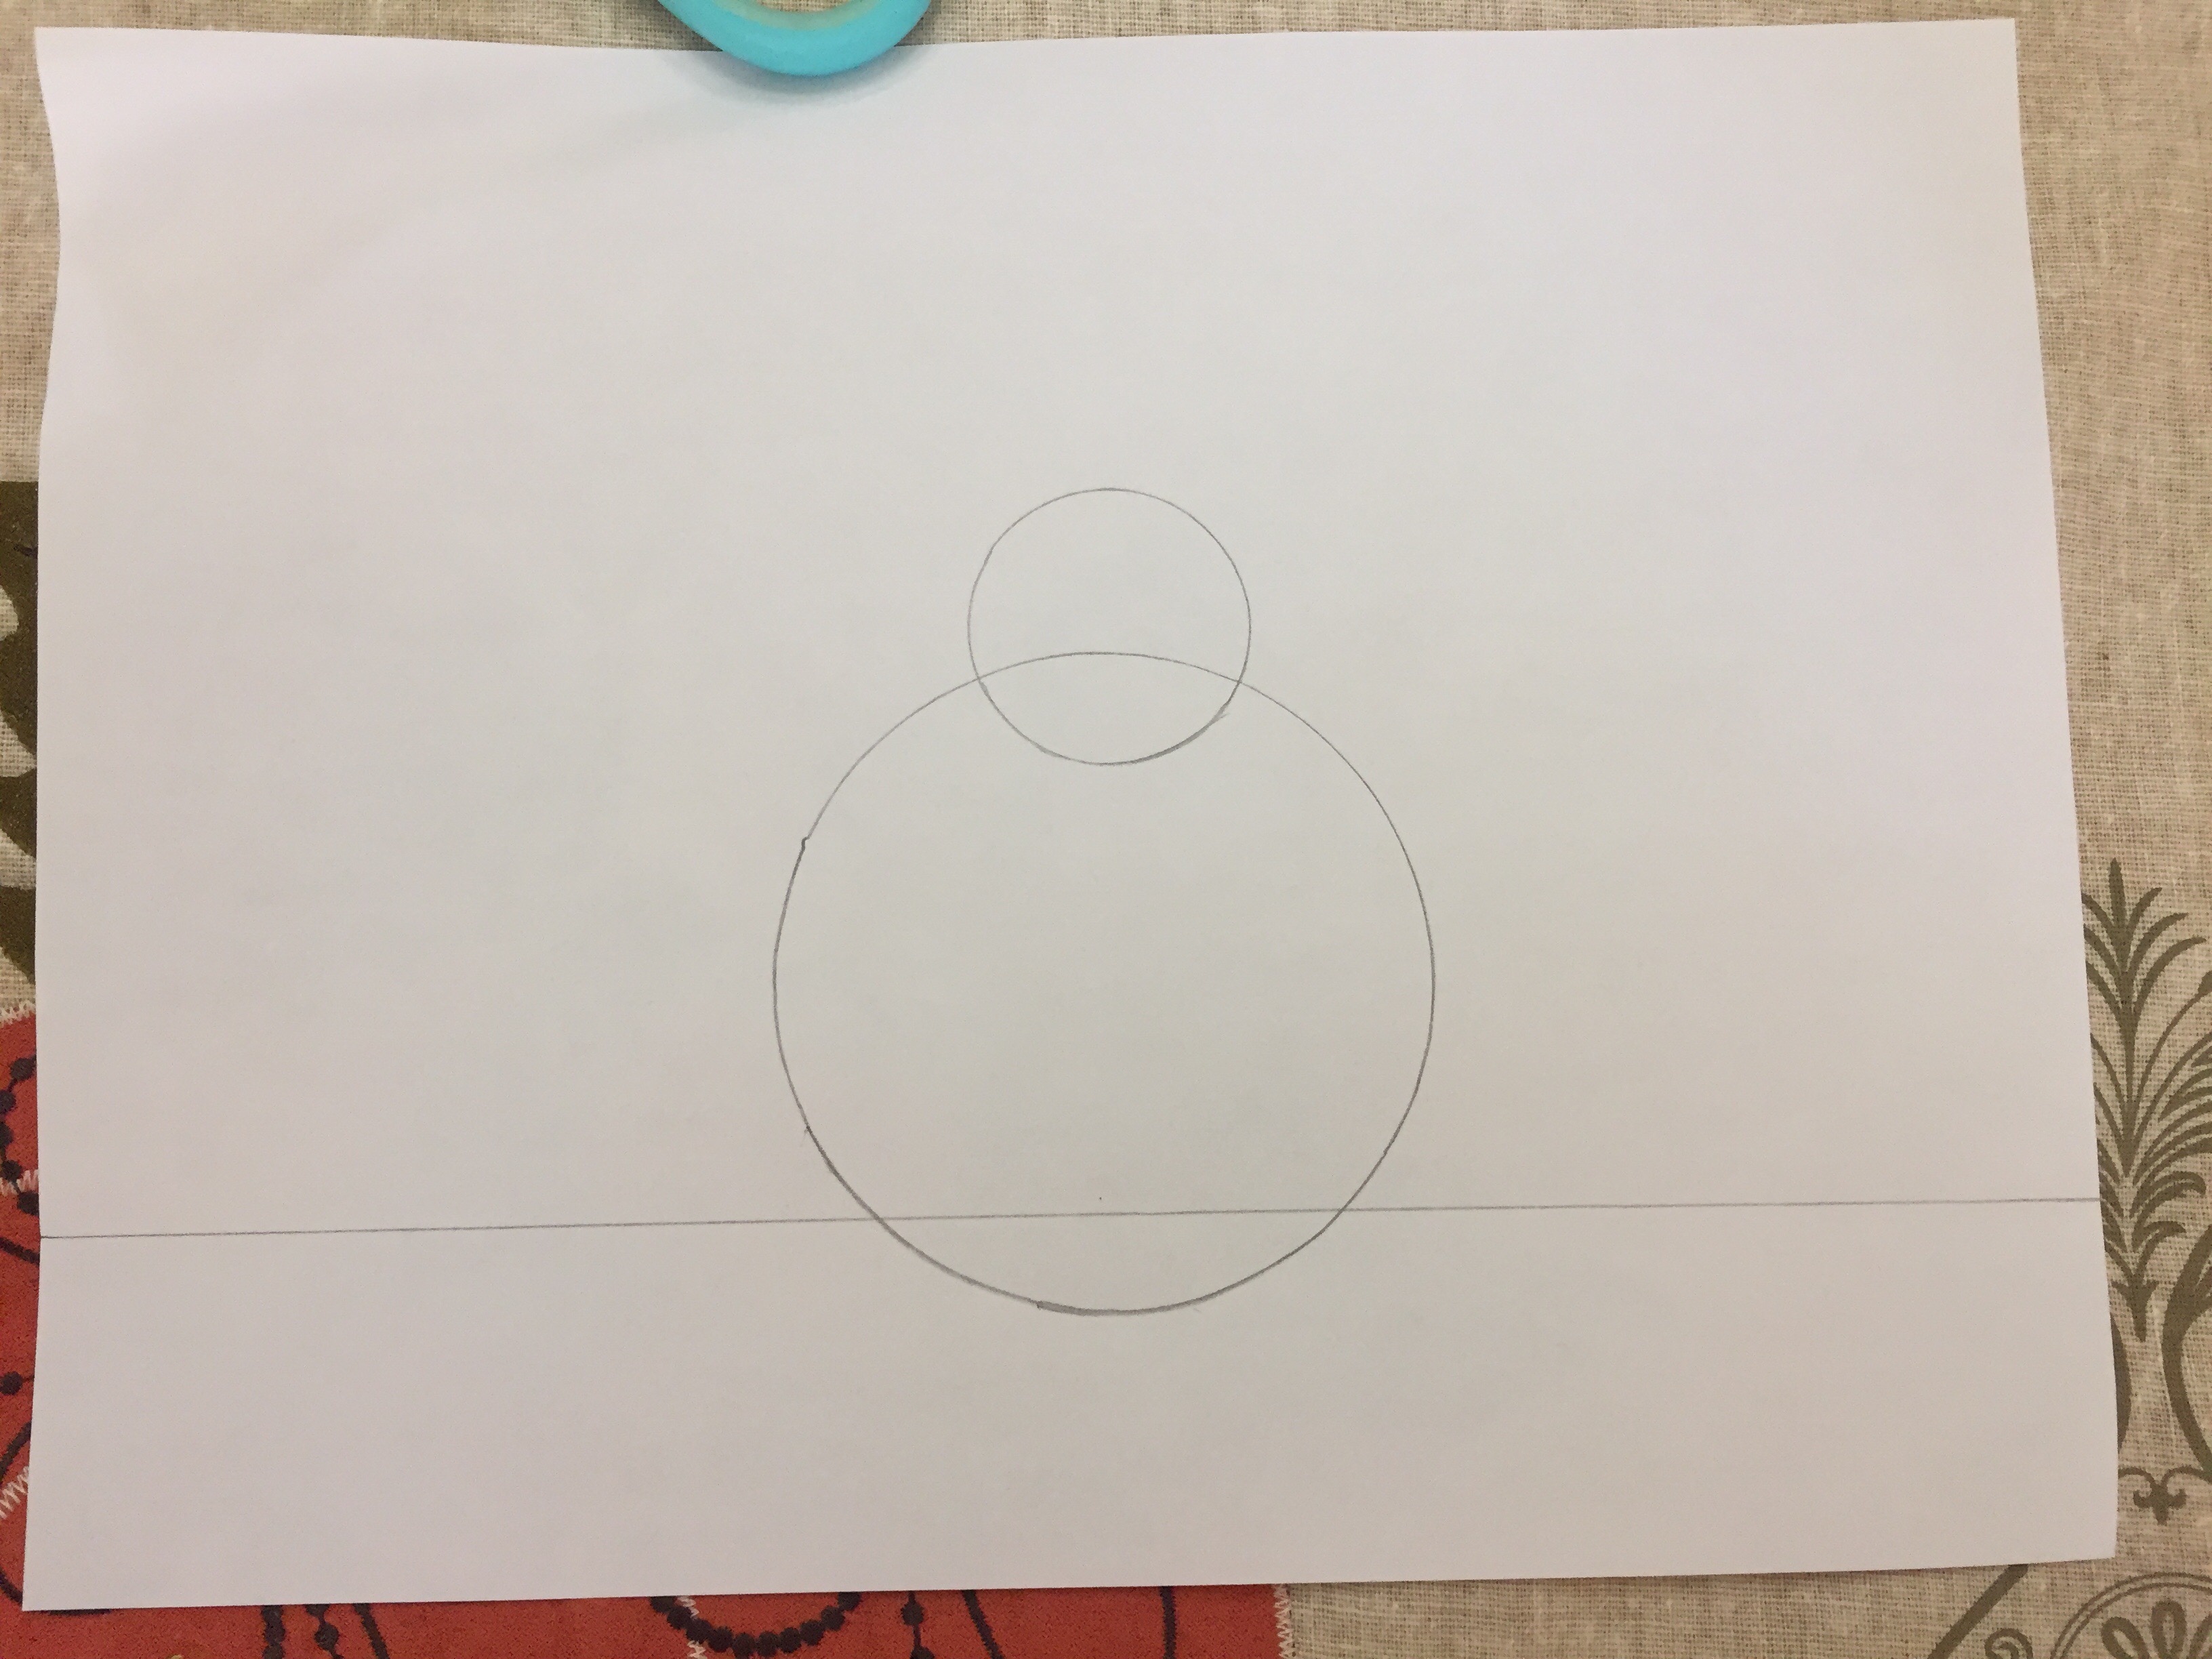
Before you hop to the next step, erase the body line showing in your head and erase the band line showing in your body. Now your turkey is in front of your background!
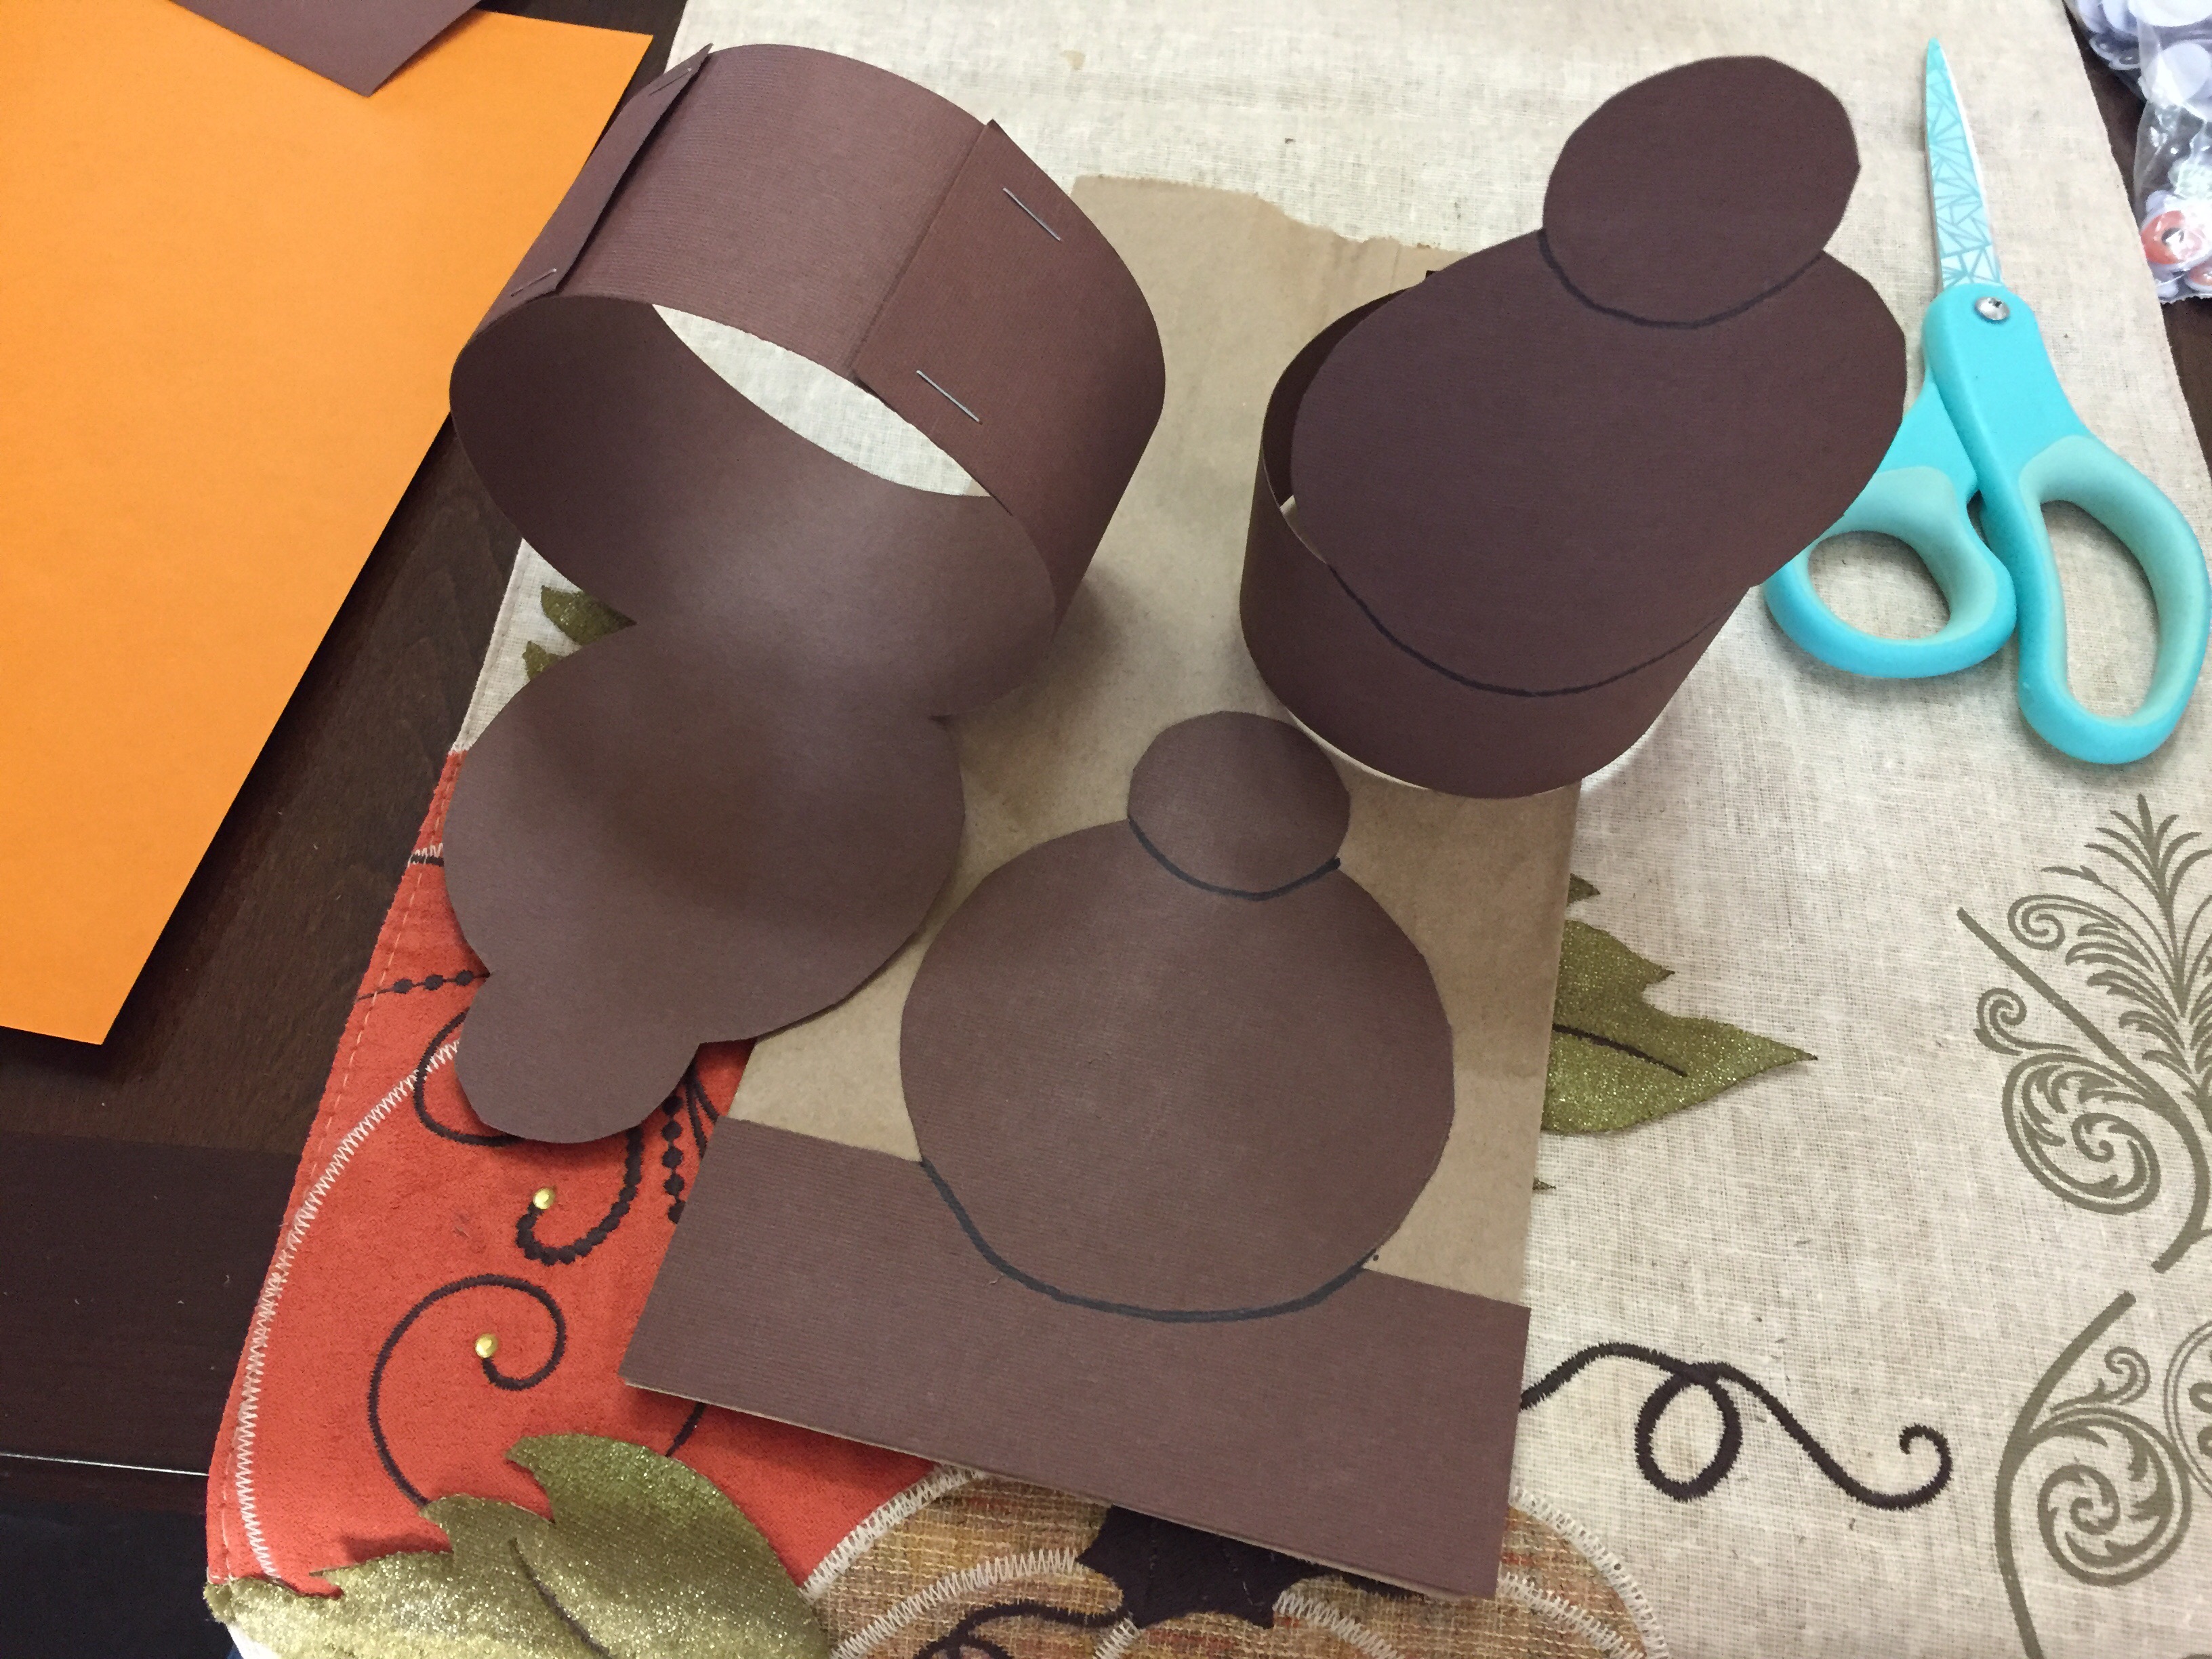
Cut out your turkey.
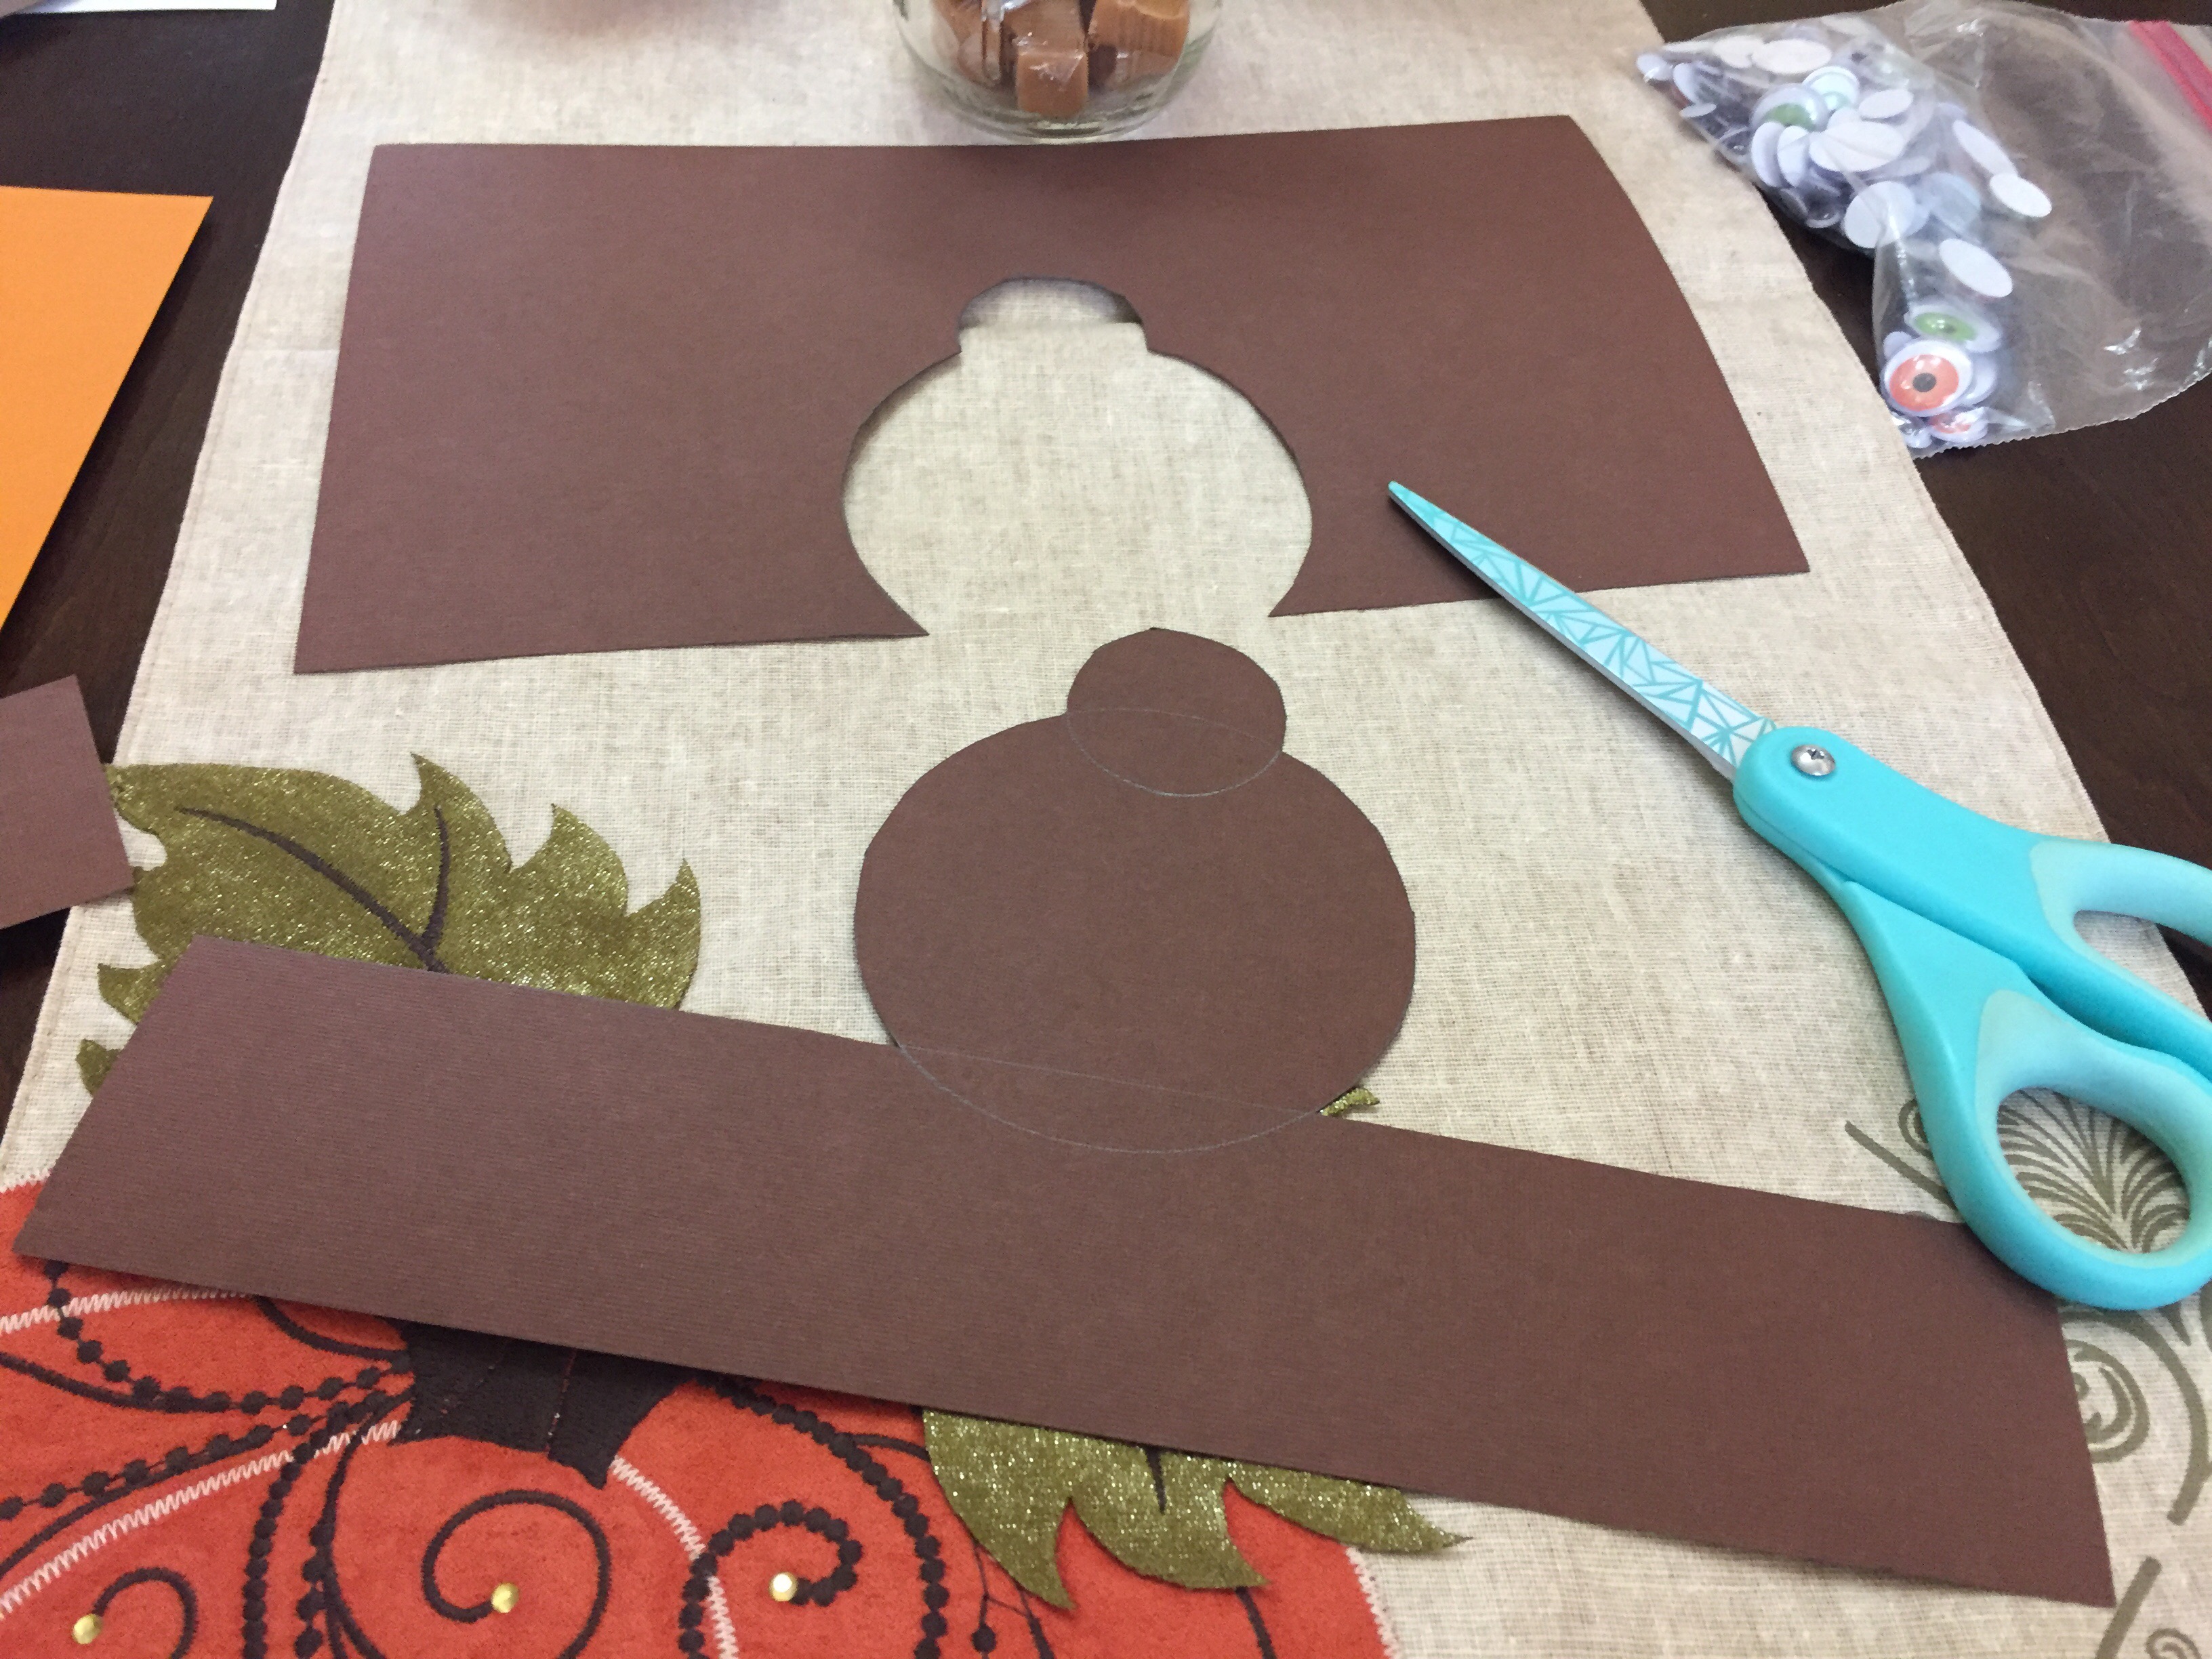
Assemble the turkey.
Using a marker, trace the lines of the body and head so they stand out.
To finish constructing the body:
- If you’re using a paper bag, attach the turkey to the bottom of the bag (glue, tape, etc.) and trim the ends of the band. NOTE: Don’t staple the turkey to the bag or you will be stapling the bag shut. Not so good for getting favors inside later.
- If you’re using a plastic ball or mason jar, measure the bands to the container to make sure they fit. You may have to add extra paper if the band isn’t wide enough, like I did here for the plastic ball. Then fasten the ends together (glue, tape, staples, etc.).
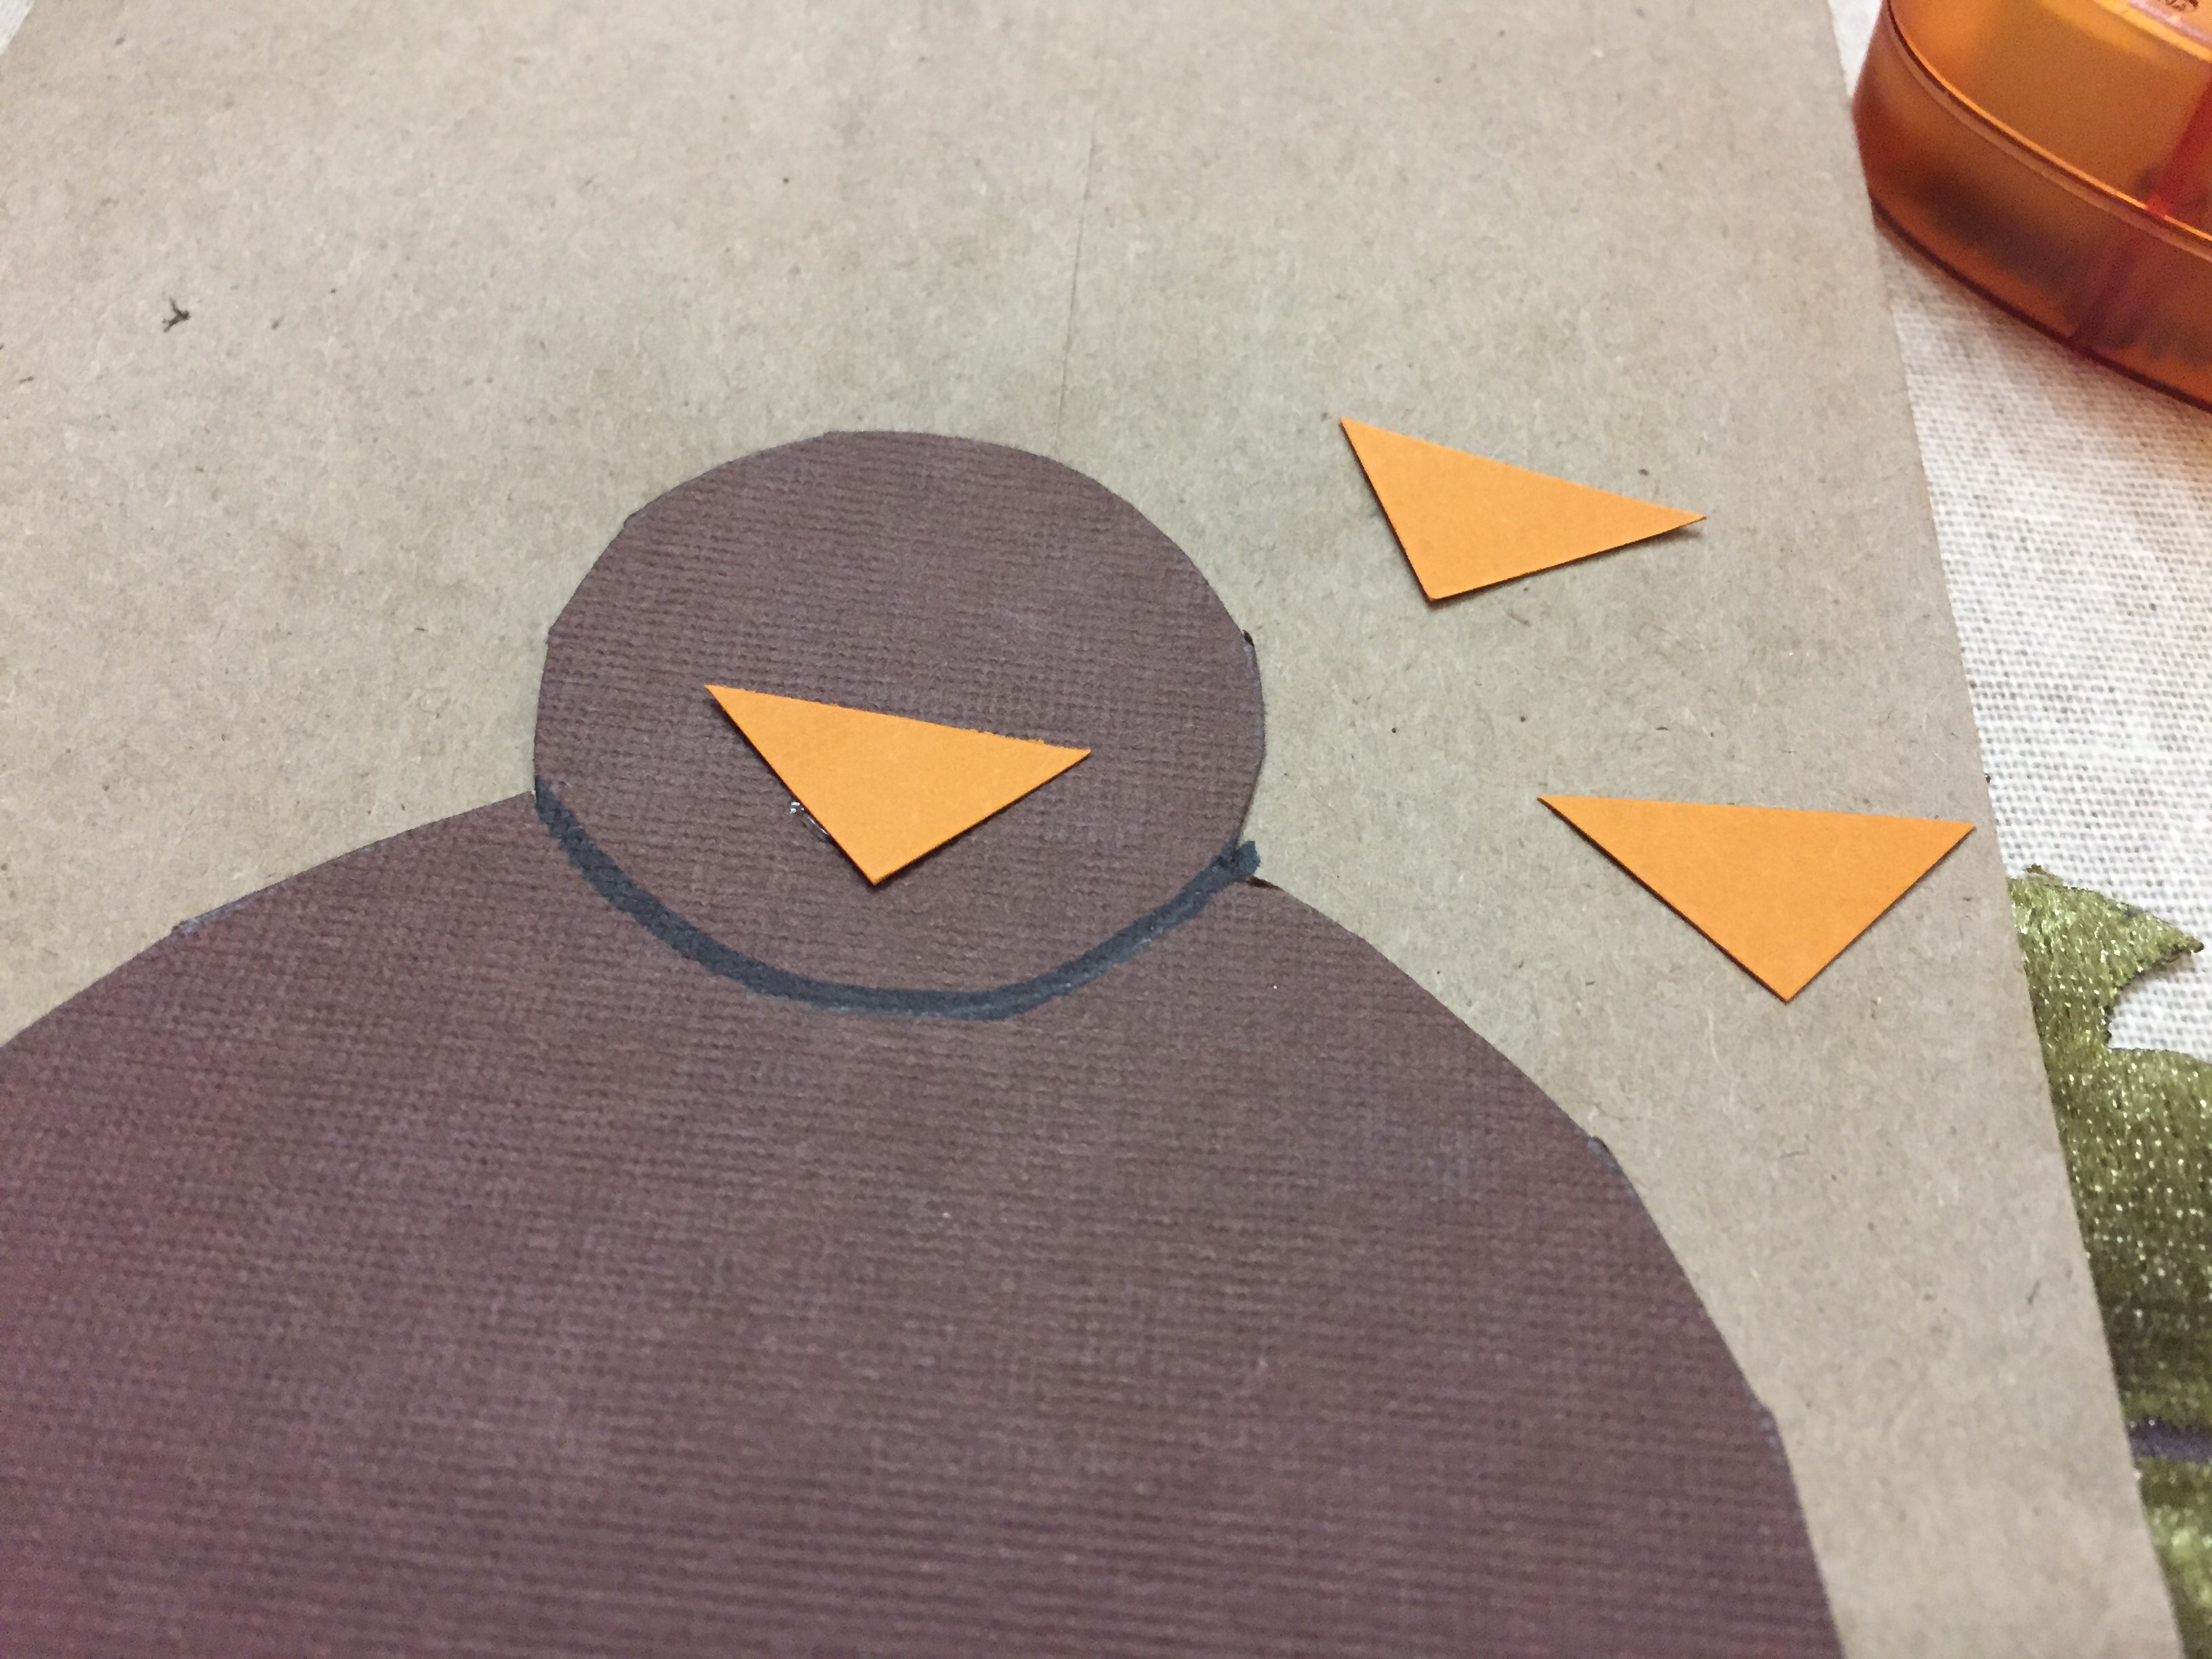
Third: Decorate your turkey.
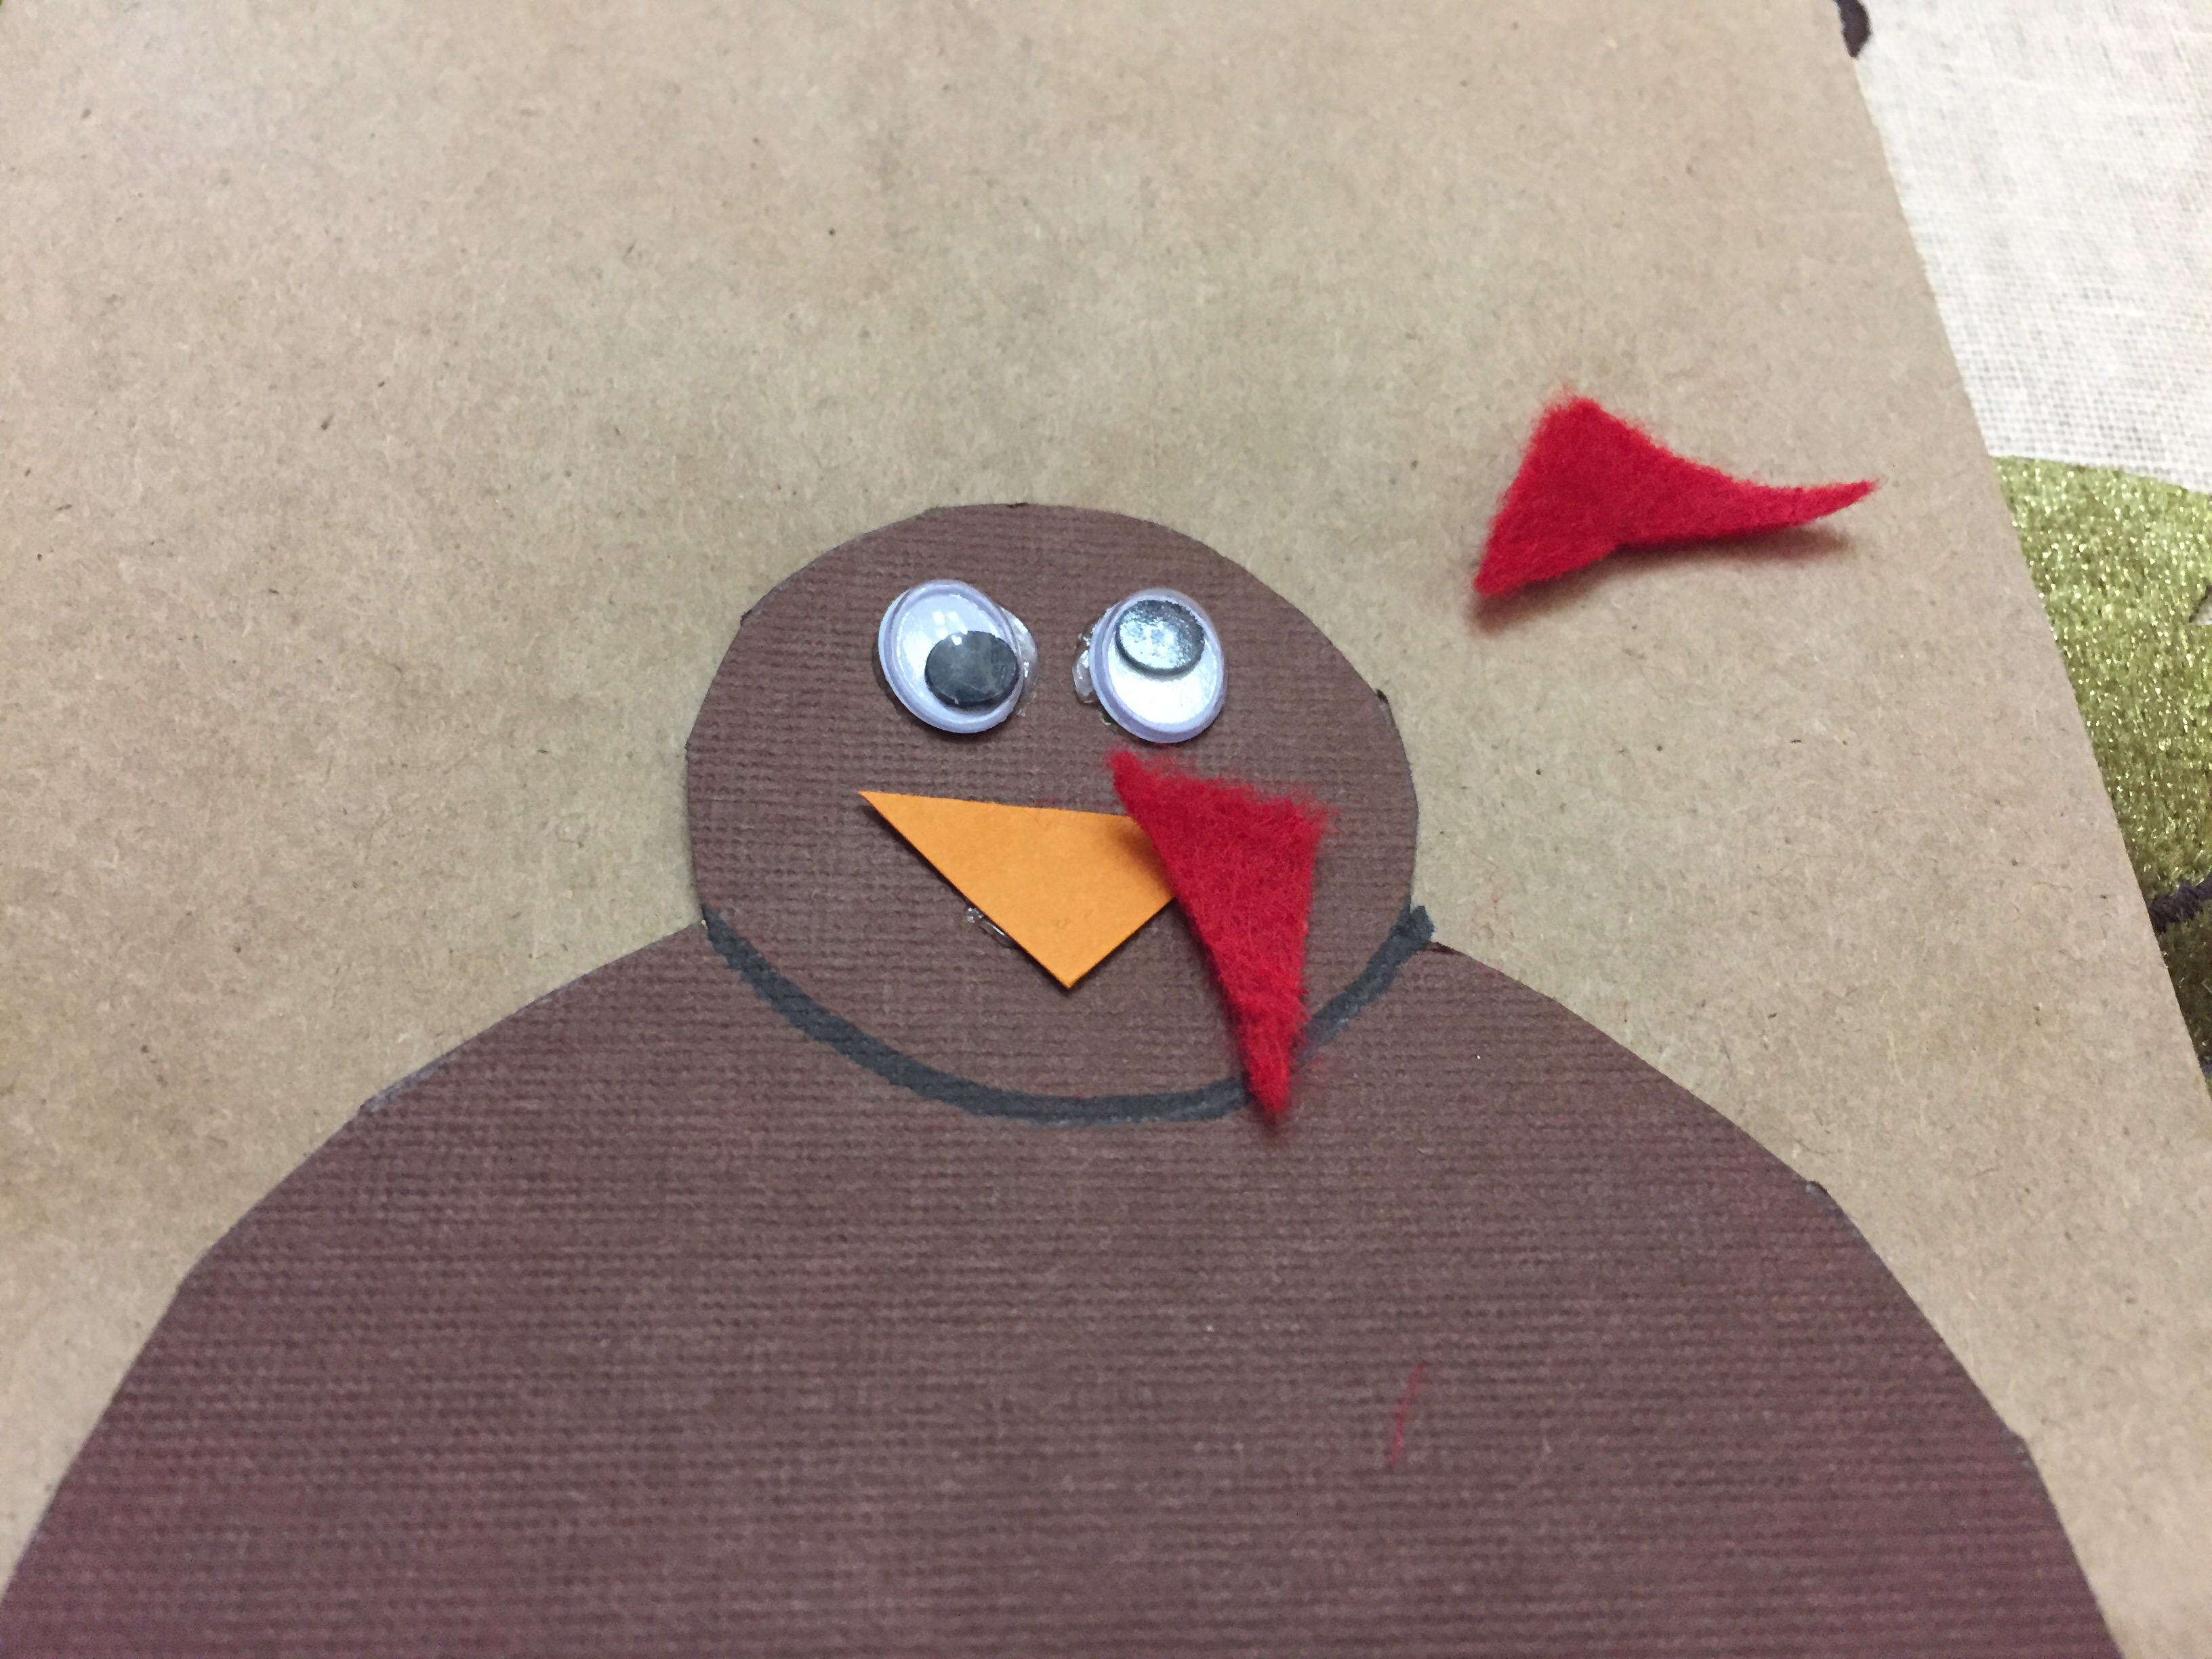
For the face, cut a small orange triangle for the beak and attach:
For the eyes, attach googly eyes or draw in eyes with a marker:
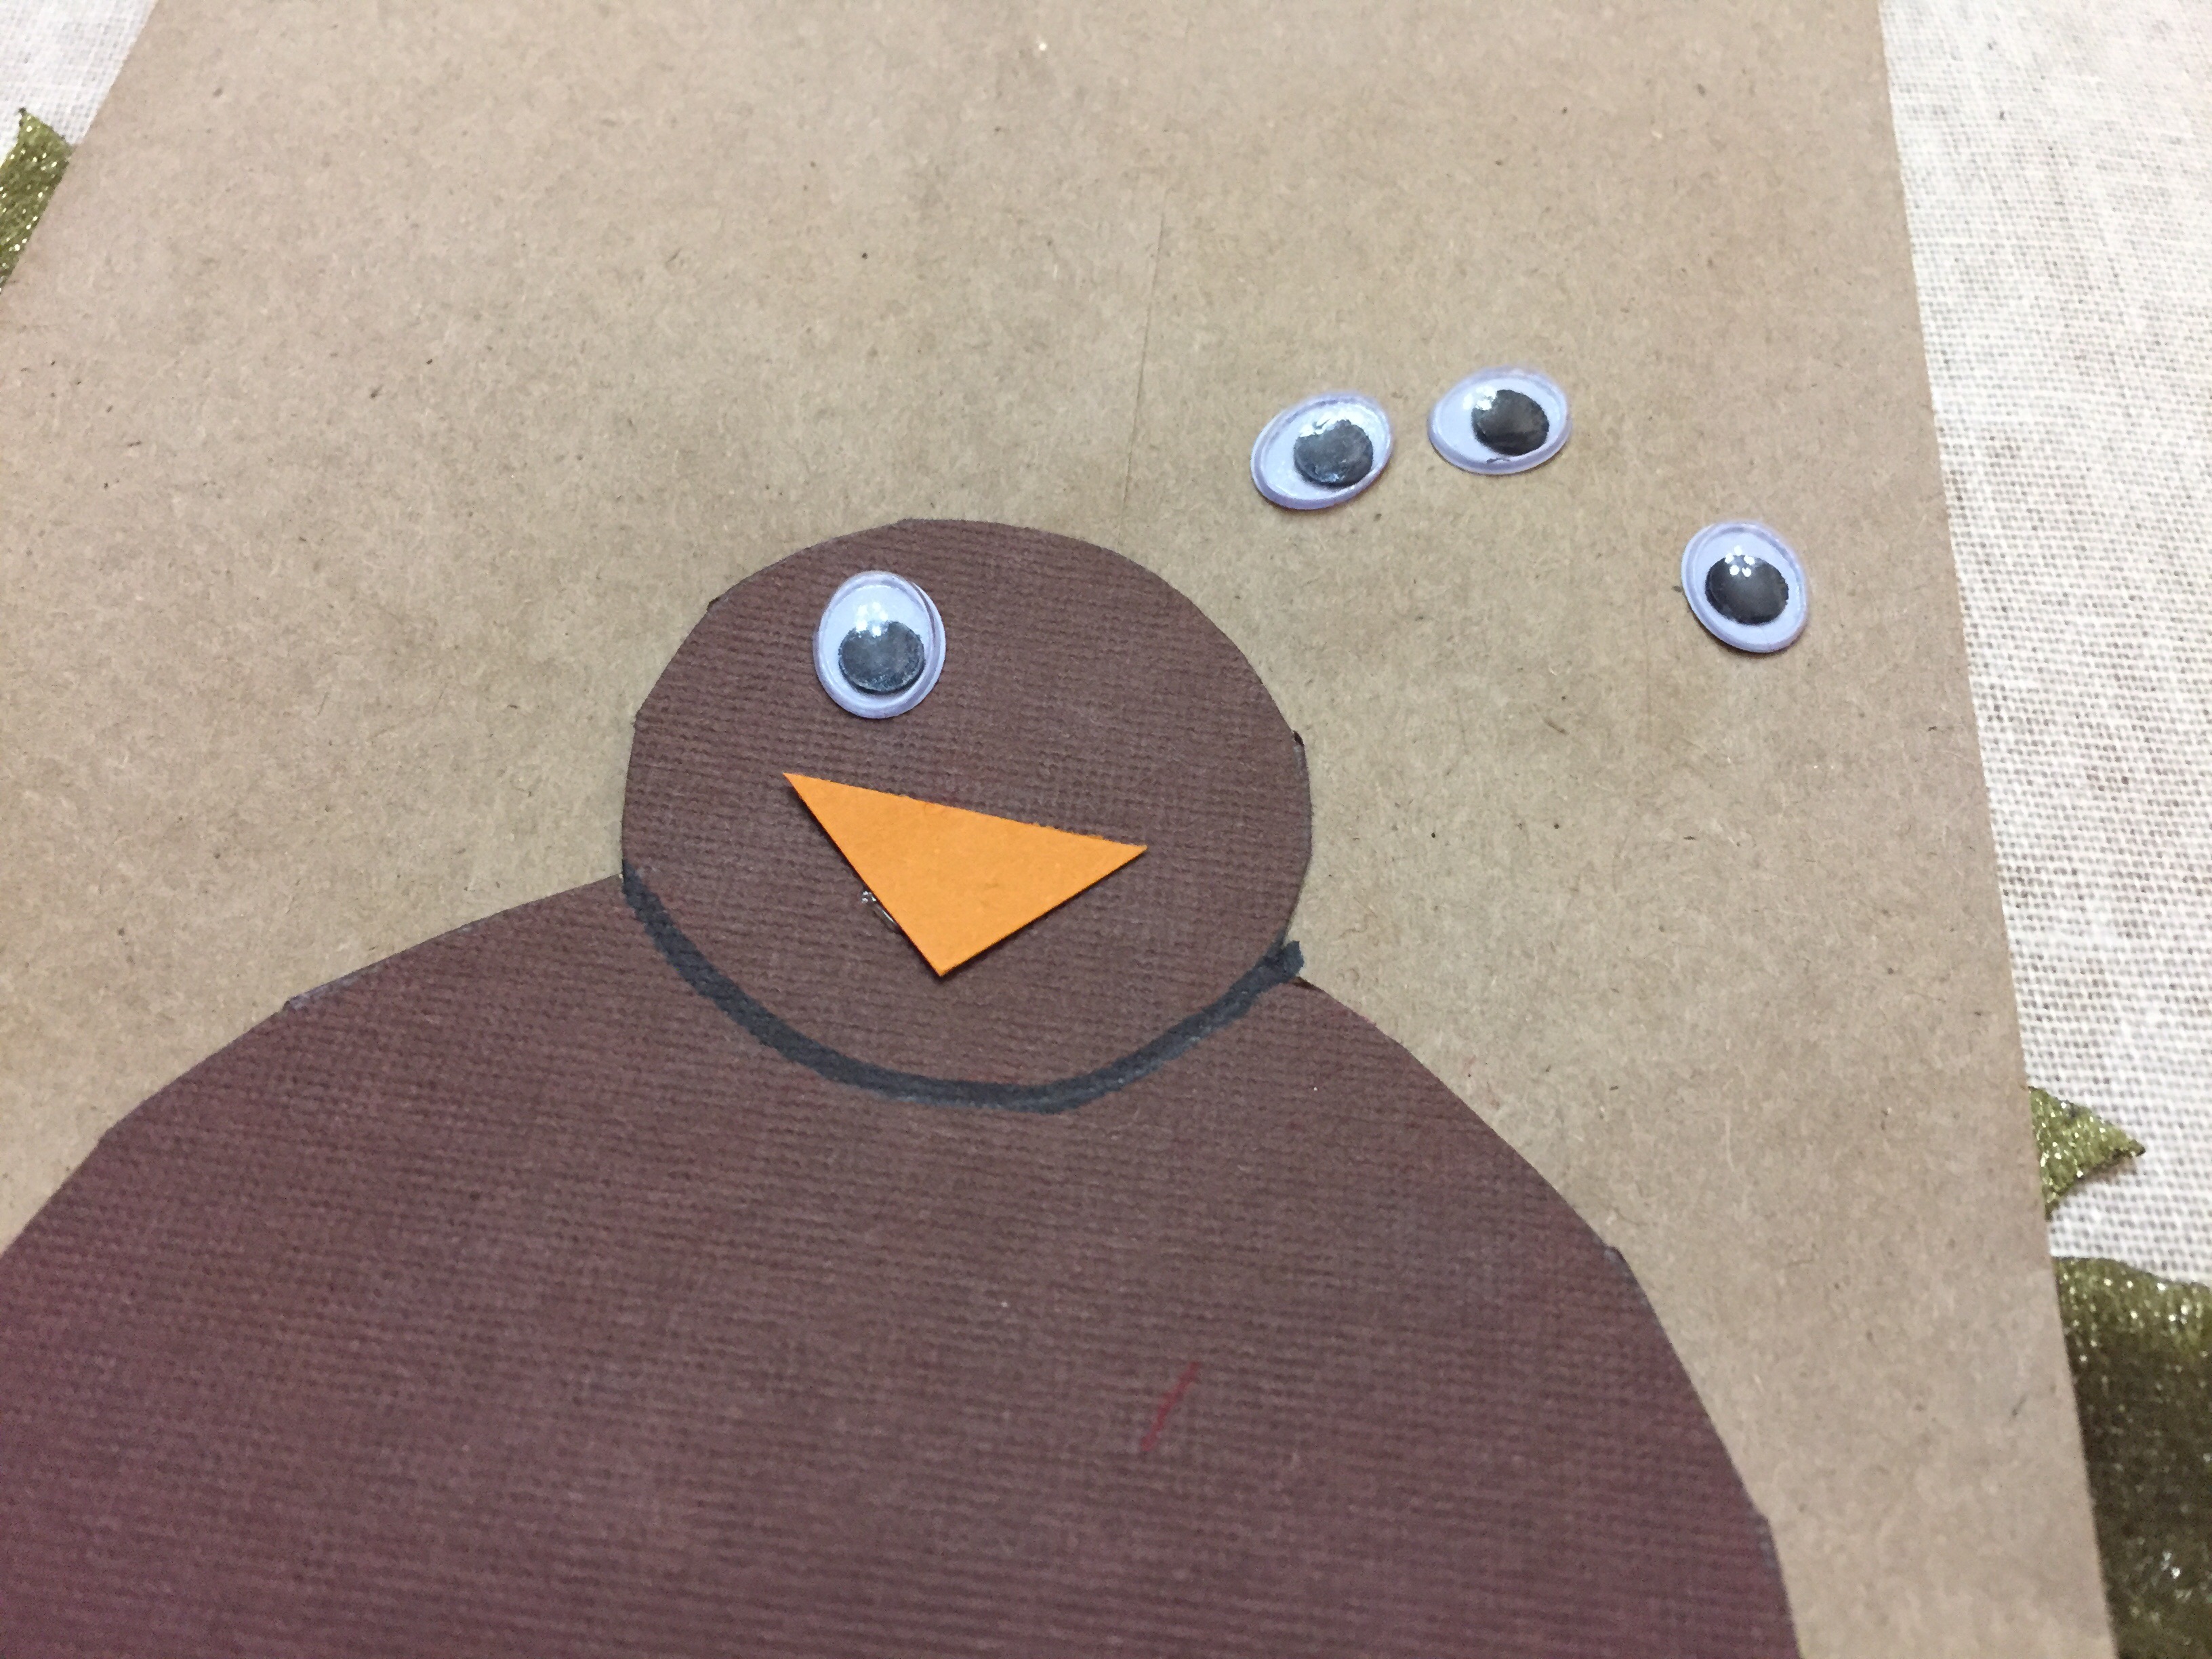
For the waddle, attach a small triangle of red paper or felt:
Here comes the fun part: the tail!
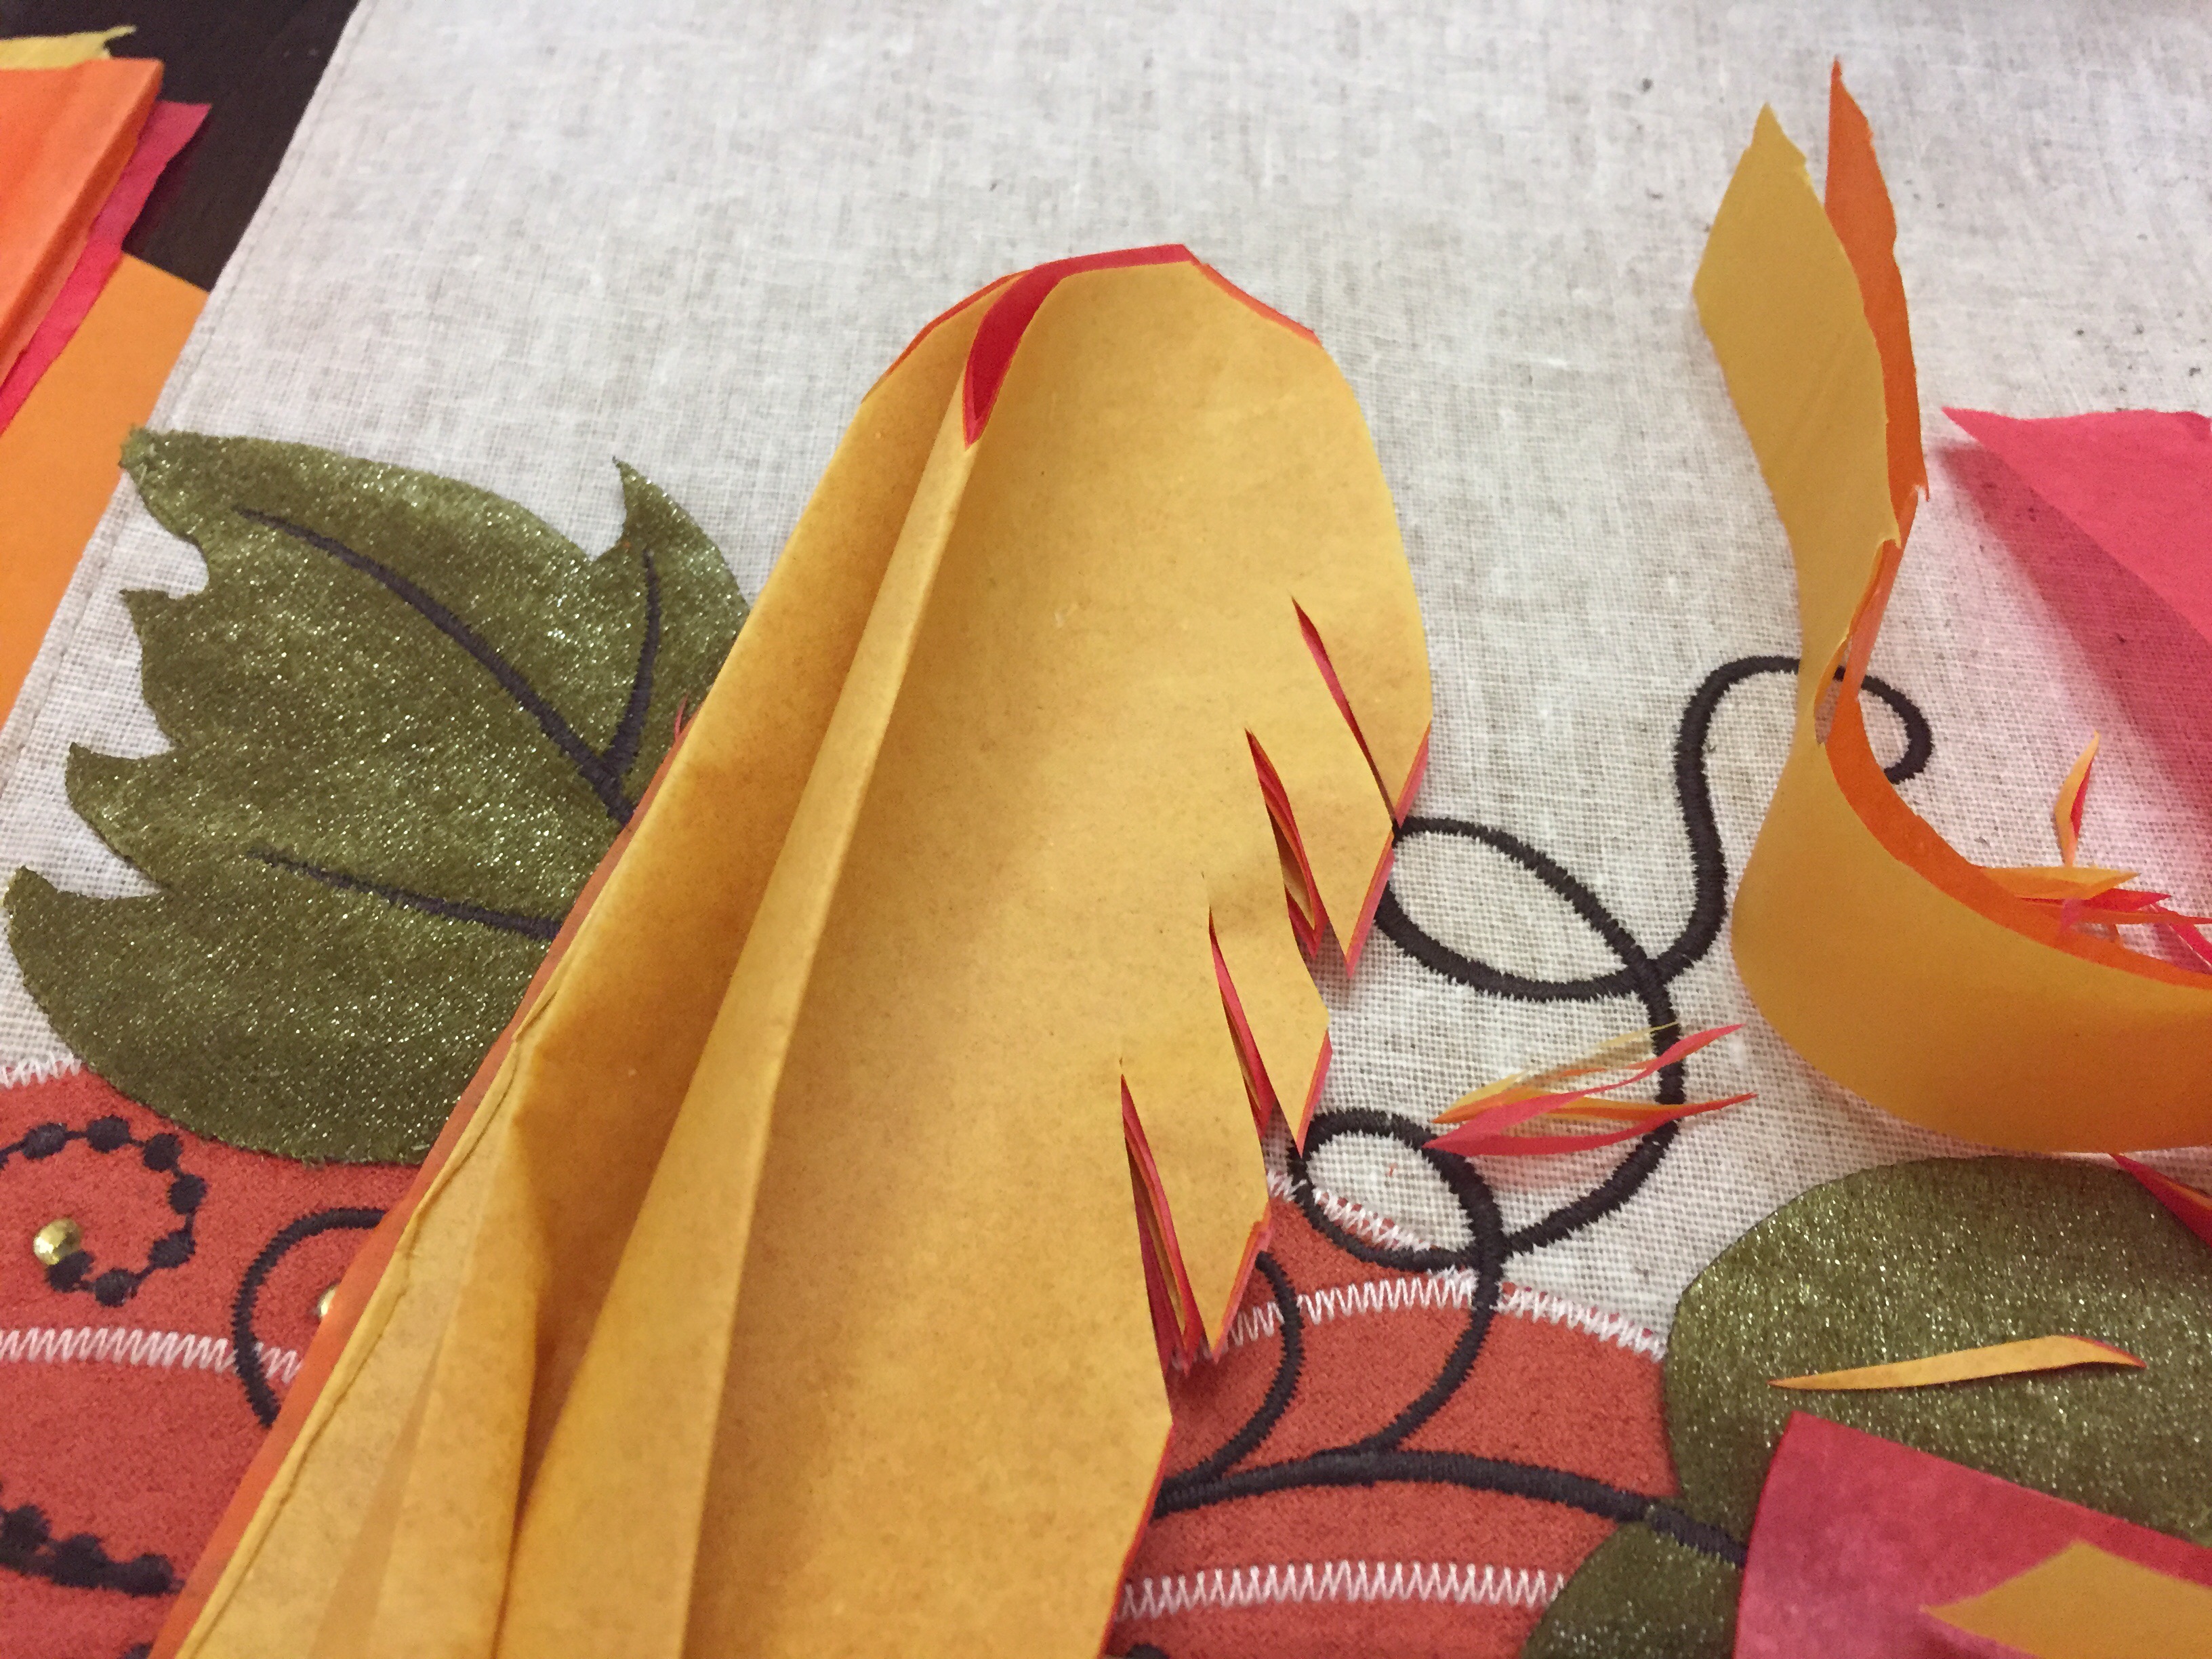
I used three different methods for cutting the tail out of tissue paper, so feel free to use whichever one suits you best.
1. Fold your tissue paper back and forth in an accordion style, making the folds as narrow or wide as you like.
2a. FIRST method. Cut out the shape of a feather at one end, making sure to trim the sides at least 1/3 of the the way down the fold. This will give you the long, skinny, floppy feathers you’ll see on the mason jar turkey.
OR
2b. SECOND method. Cut out the shape of a feather at the tip of one end, but do not trim the sides. Instead, cut a design into the sides, such as small wedges to imitate a feather. You can also get creative and do hearts, circles, scrolls, etc. This will give you the feathery fan you’ll see on the plastic ball turkey.
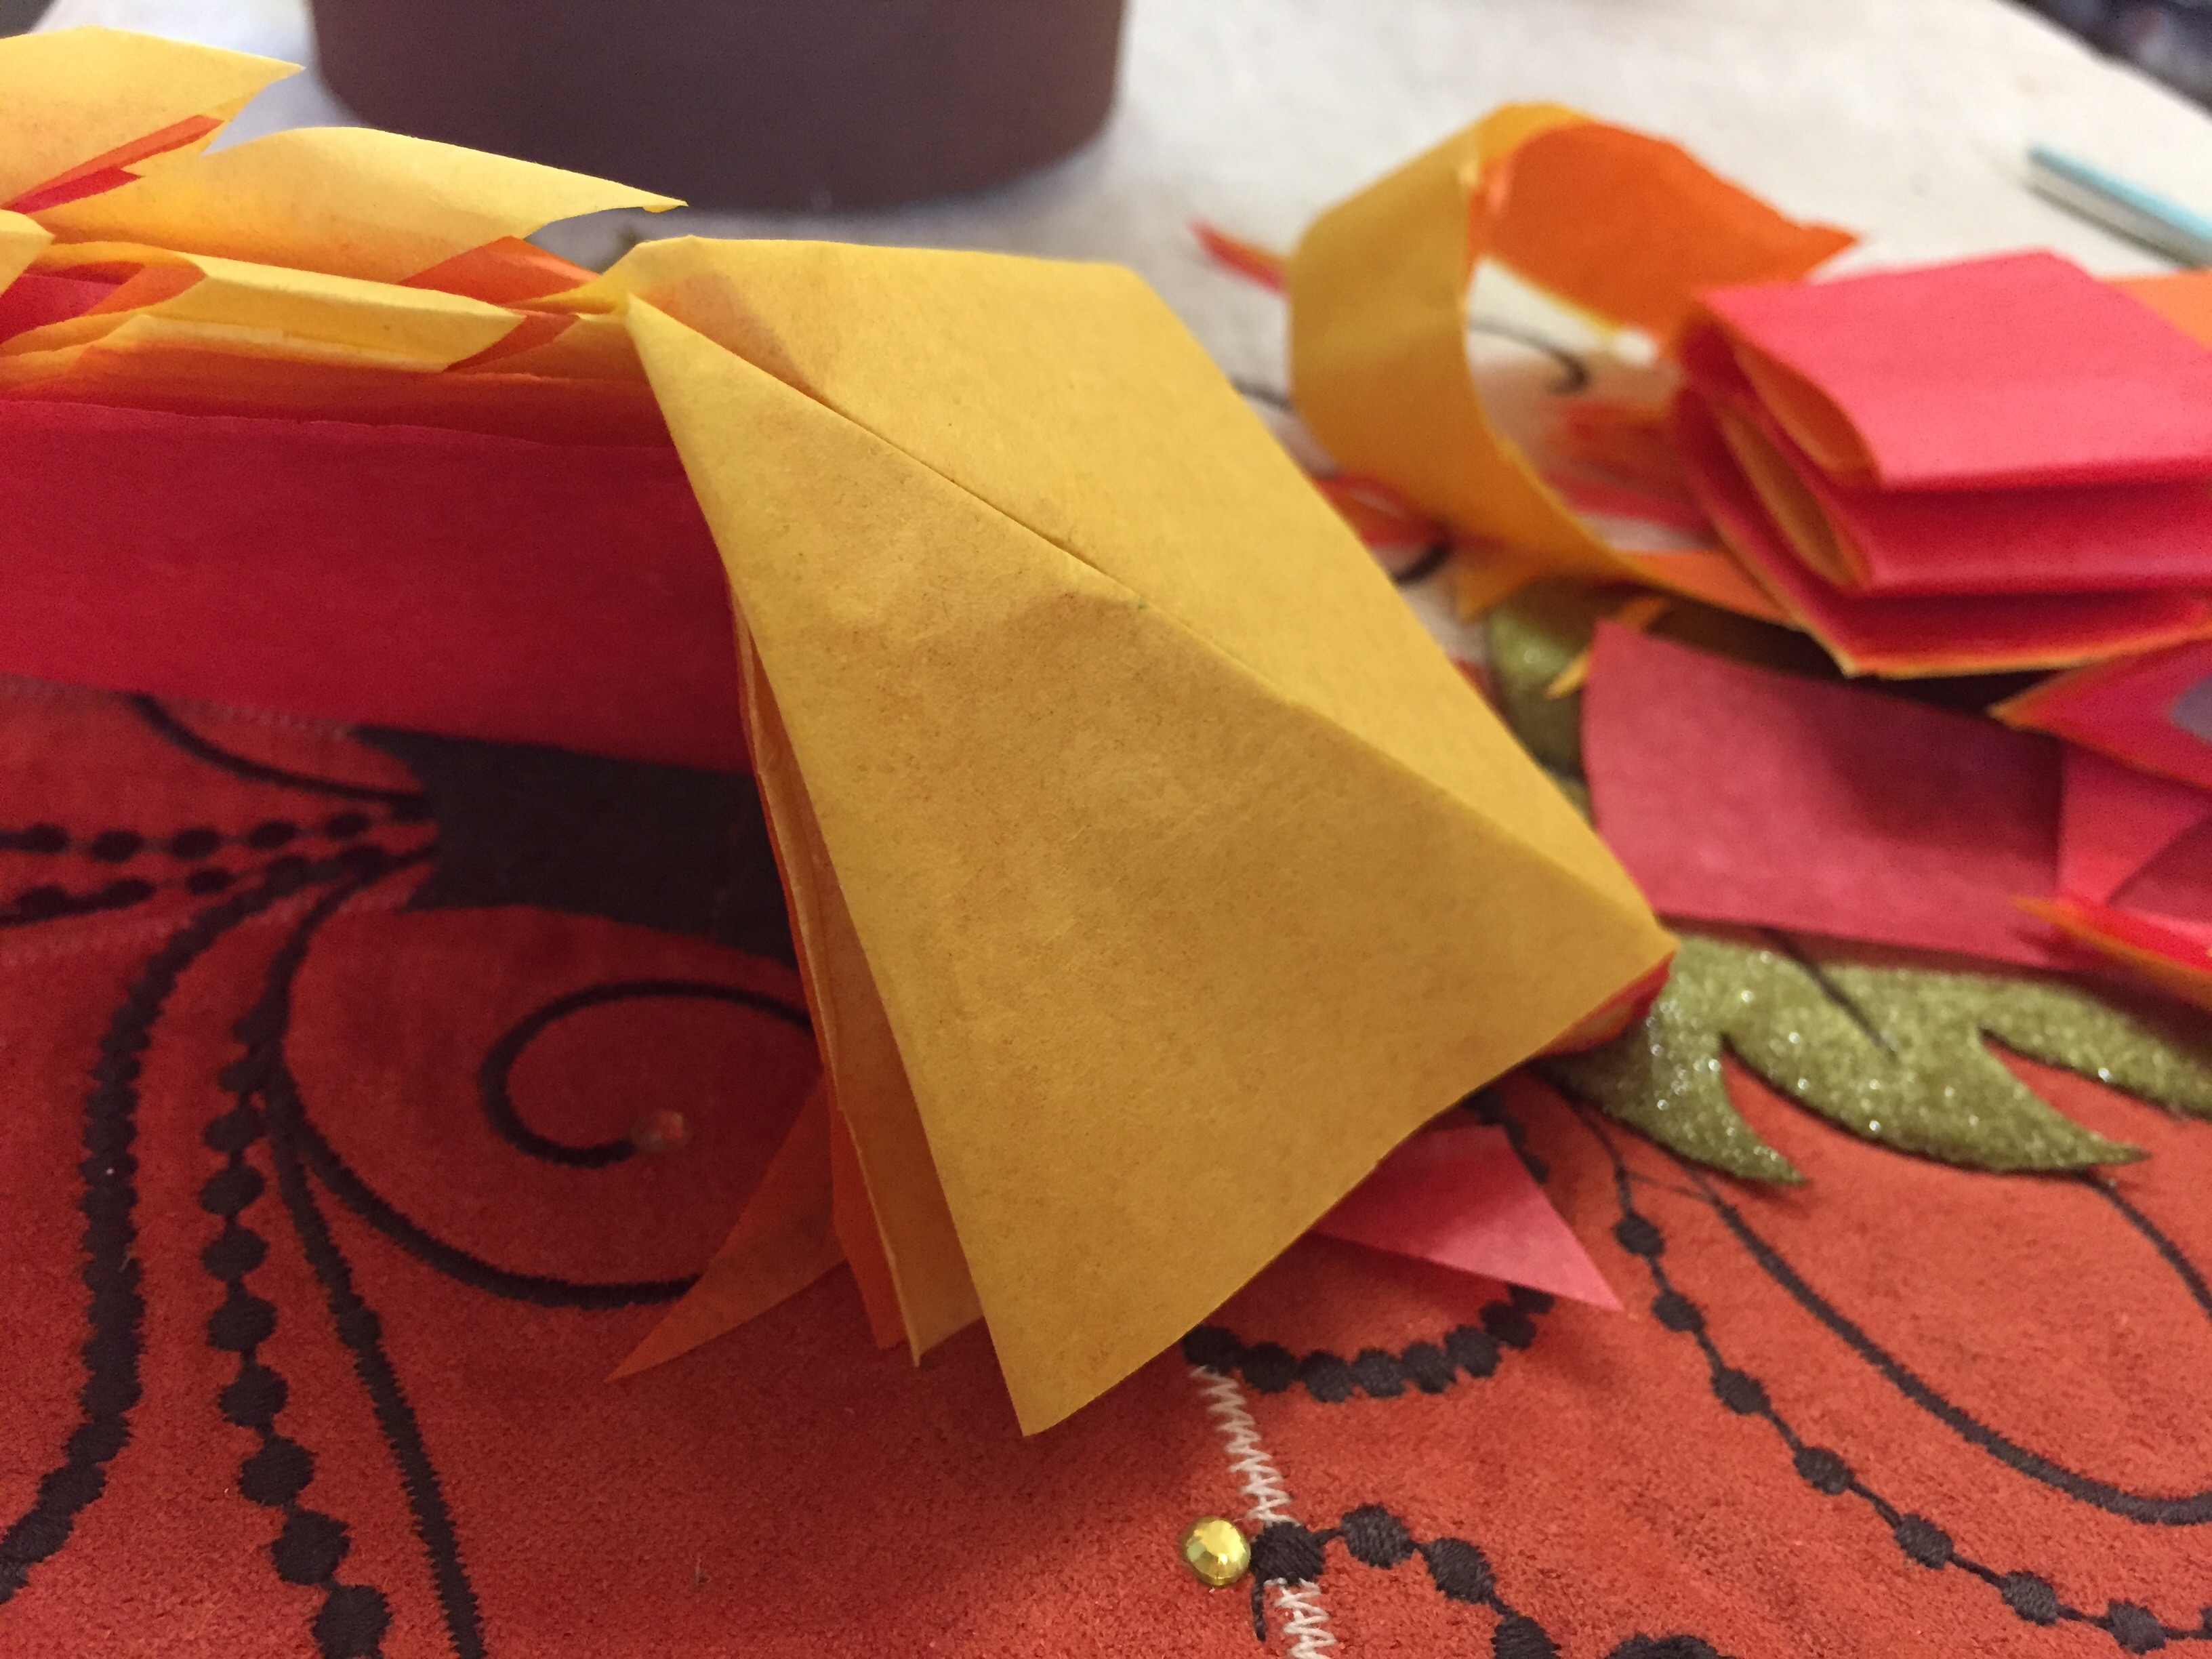
3. Adjust the paper in the stack as you see fit. I wanted to see all the colors, so I moved the orange down lower than the red, and then moved the yellow down lower the orange. Once they were arranged at heights I liked, I stapled them shut and trimmed off the bottom edge, leaving some folded paper below the staple for the next action.
4. Fold the uncut, bolded ends out like you were about to make a paper airplane. This gives you a surface to attach to the favor container with tape or glue.
If you don’t want to do all that folding, use the THIRD method: cut out feather shapes, arrange them, and then attach them to the turkey. This takes more cutting, but it is definitely the simplest way to do it. You can see this method on the paper bag turkey.
Fourth: Add favors and turkey together, and you’re done!
Here are the finished results, which you can see give you a variety of turkeys.
If you want to take it a step farther, try adding feet, accessories, or a message (easy enough to print on the turkey’s tummy or on the bottom band). Make it yours, and don’t forget to share!
Happy eventing!
