The holidays are over, all your money is spent, and now you have the mid-winter blues. Next up is Valentine’s Day, which can have cheery decorations to brighten your spirits, but your wallet is yawning and empty. What can you do?
I am right there with you! I decided this would be a great time to challenge myself with creating a table centerpiece by using only what I already own, i.e. not buy anything new. Be prepared to do some creative thinking.
Step 1: Look around and pick a color theme based on your existing style.
By using your own style, you are more likely to have things that coordinate. That means you aren’t going out and buying things that are only used for this one occasion. We all know that gets pricey. Another advantage to using your own style and decorations is that, whatever you do, it will match the rest of your humble abode. Score!
I decided to go with light pink because it’s a sweet, playful color and my daughter’s favorite, but you can easily center your theme around your own style if you prefer red, purple, white, gold, silver, or even rainbow. Don’t feel tied to red if you have nothing red! An arrangement of gold and white would be very sophisticated, or a combo of purple and grey could be soft and vintage.
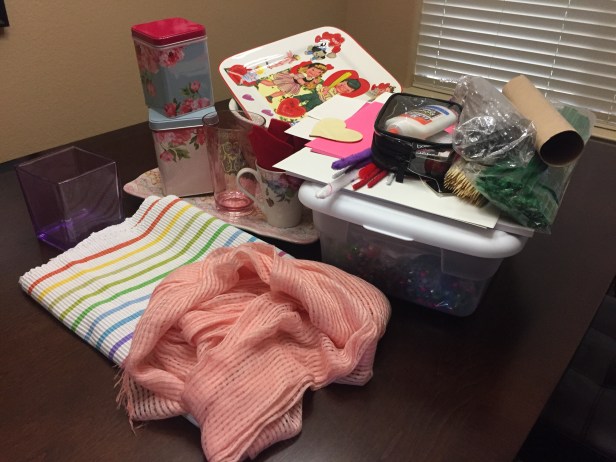
Step 2: Pull everything out that matches your theme.
Really, everything, not just themed decorations. Consider the following:
- any arts & crafts supplies (paper, ribbon, chenille stems, beads, etc.)
- fabrics (table runners / cloths / placemats, scarves / hats, skirts / leggings / etc.)
- dishware (bowls, plates, glasses, mugs, trays, etc.)
- containers (vases, storage tins, decorative boxes, etc.)
- decorative items (frames, figurines / dolls, candles, tiles, etc.)
Get it all together in your workspace so you can see how the pieces work together. You won’t use it all; some of it will go back. Also, think outside of the box for using the different items as you create and build your centerpiece. That’s our next step: building!
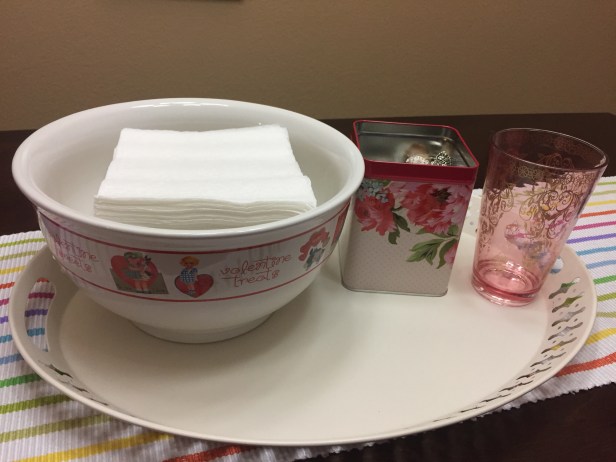
Step 3: Build your foundation.
My preference for building a decorative arrangement is a) fabric, b) tray, and c) containers. Why? Because I am using an active surface – our kitchen table – so I have to be able to move it all off at any time for a meal. Having it on a tray makes it easy to move. That being said, you can absolutely just stick with c) containers and consider a) and b) as optional.
A) Fabric
I had a spring table runner with a stripe of pink, so I used that. Another option I considered was a pink scarf (decided against it because I didn’t want food stains on it). You can also use clothing if you use the puddling method below. Totally not joking. 🙂
How can you use the fabric? Try any or all of these methods:
- Lay it straight in any direction. This is the simplest and works best on actual table cloths, runners, and fabric swathes.
- Puddle it around the base of your containers. Puddling is the loose piling and wrapping of fabric that you see sometimes in store displays. It gives your arrangement an artful feel to it and works well with clothing because you can hide waistbands, sleeves, and collars underneath or behind the containers. Another bonus to puddling is the ability to hide the bases of your containers, especially if they’re worn or don’t match your theme.
- Cover / wrap your containers. If you have a great container that doesn’t match, try disguising it with fabric, ribbons, or scarves. You can even turn a hat upside down and place the container inside.
B) Tray
As mentioned before I like to use trays as a base because it makes it easy to pick it up quickly and move it if necessary. This can be handy if you don’t have a lot of space and need to use an area for multiple purposes. From an aesthetic point of view, I like how it frames the arrangement by providing a border around it.
For a tray, you can use:
- serving tray
- picture frame (also fun because you can place inside the frame a themed picture or themed paper as the background)
- tile (especially good with larger tiles, but a grouping of small tiles could work, too)
- box lid (just wrap it in wrapping paper and instant party tray!)
C) Containers
Dishes, tins, vases… they hold your stuff and your decorations! For multi-purpose spaces like mine, you can use themed containers to hold the practical stuff already there, like napkins, silverware, etc. The rest are good for decorative items such as flowers, signs, etc. More to come on that!
Step 4: Add your decorations.
A) Background / Filler
Here again you can get creative with your decor. For instance I used one of my daughter’s tutus as a flower. I rolled it up, wrapped a ponytail holder around the base, fluffed the top, and stuck it in a container. Easiest decoration EVER.
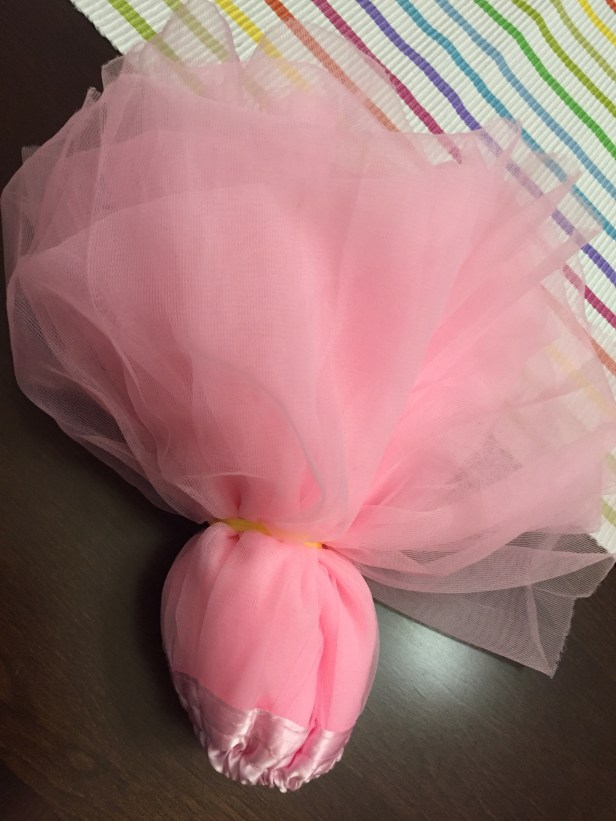
NOTE: You don’t have to have background filler if your arrangement is smaller. I just like it because I can place things at different heights and use different textures to add more visual interest.
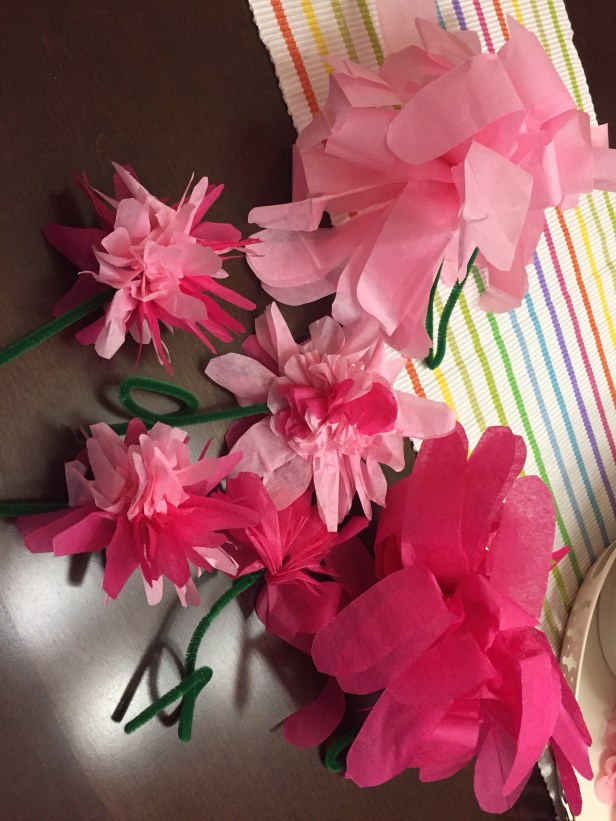
B) Flowers
If you follow my blog already, you know I loooove tissue paper flowers. Affordable and easy! I made a few in different shades of pink, styles, and sizes. Stay tuned for a blog on how to create tissue paper flowers. And, um, for the flowers that didn’t turn out so well… we’ll save those for my OOPS blog. Heh heh.
Flowers aren’t your thing? Don’t worry, there are other options. You can group together signs (see next step) or make your own floral picks out of beads / sequins attached to the end of chenille stems, wood skewers, plastic utensils, etc. Hmmm… sounds like another blog in the making. w00t!
C) Signs
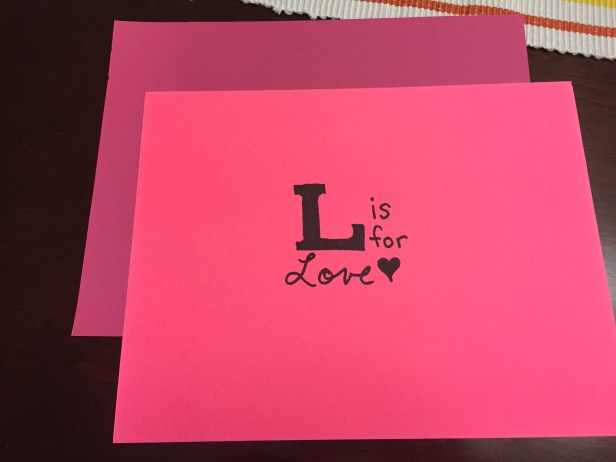
Don’t buy a decorative sign: make one! All you need is paper, a marker, a stick / stiff wire / plastic utensil, and embellishments.
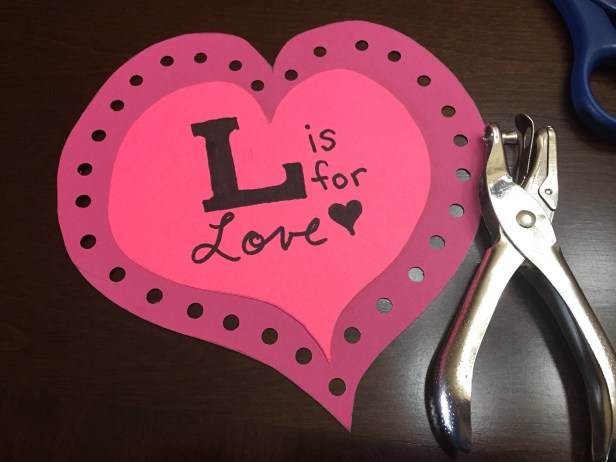
1. Write a fun saying in marker in the middle of your paper and plan your design around it. I used two pieces of paper in different colors to layer for interest, but you certainly don’t have to.
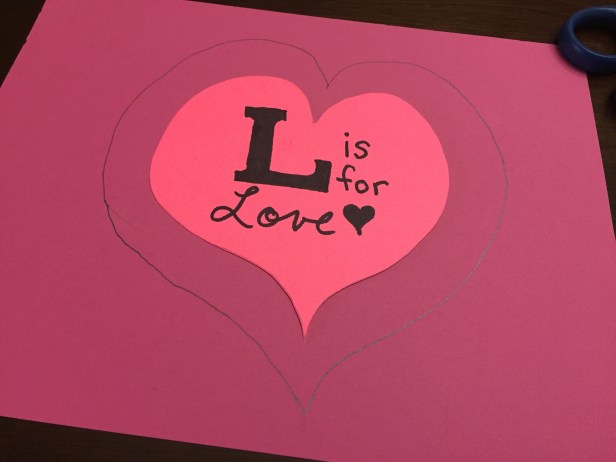
2. Cut out your shape around your words. I used a heart, but you can certainly trace a rectangle or circle using another object if you don’t like to freehand shapes.

3. Trace your shape in a larger size on your second piece of paper. Make sure you leave enough room for adding your embellishments in the space difference. I suggest a minimum of 1/2 an inch for room.
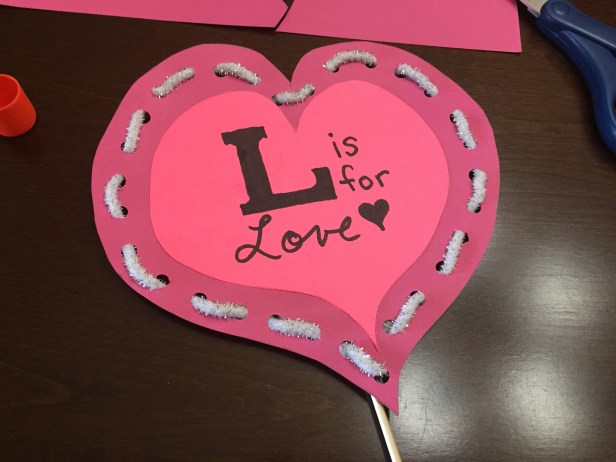
4. Cut out your larger shape and glue the two shapes together.
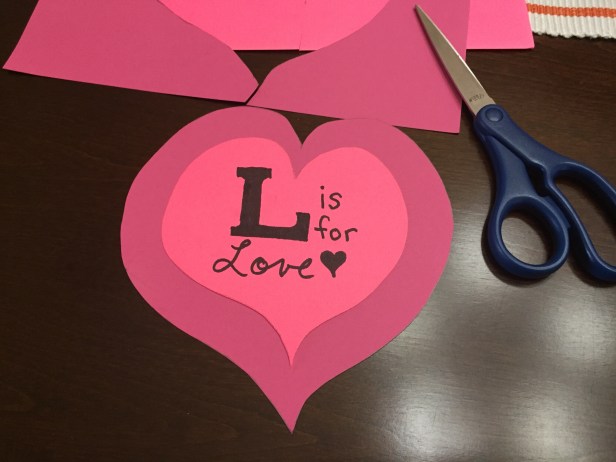
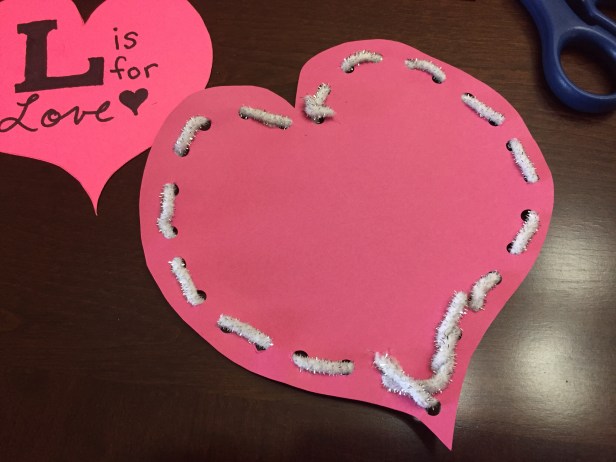
5. Embellish your larger shape. You can add gems, sequins, stickers, glitter, doodles, or anything that fits your fancy. I punched holes…
and wove metallic chenille stems through them. I suggest fun yarn or ribbon instead, though. It was a PAIN getting the stem through the holes without ripping the paper.
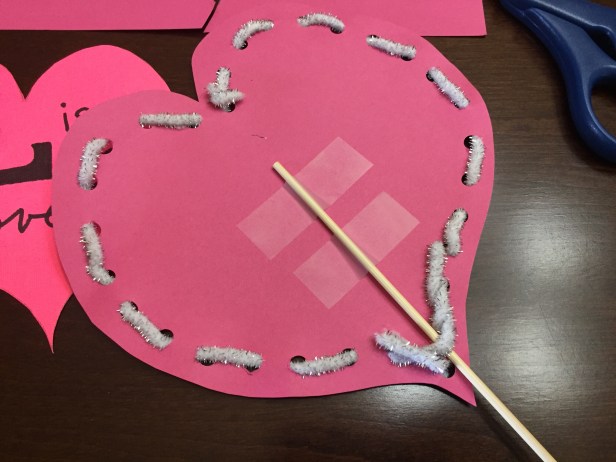
6. Attach your stick / wire / utensil to the back of your sign. Tape is fine; it doesn’t have to last for generations, haha.
And you’re done!
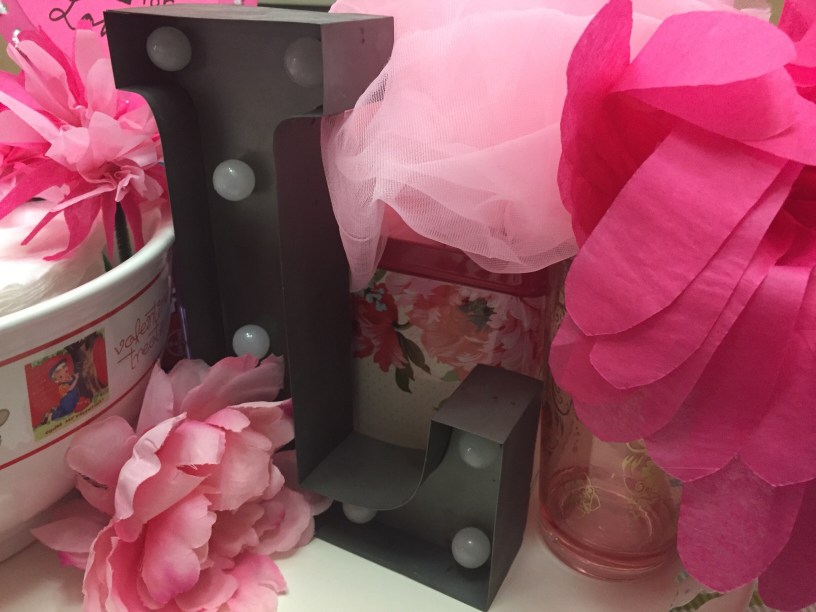
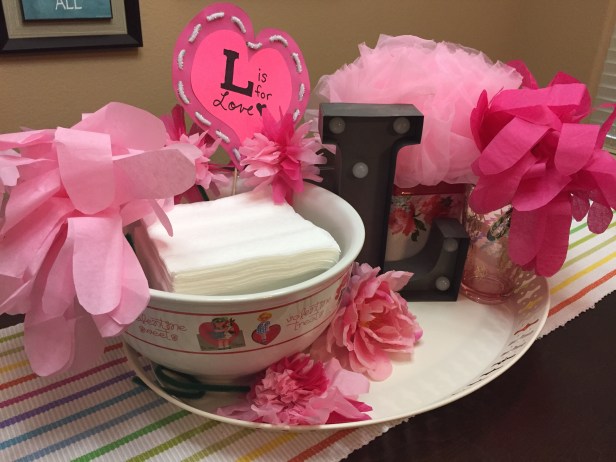
Step 5: Arrange / tweak.
Voila, an arrangement customized to you that cost nothing more than what you already owned. Now that is LOVE. Enjoy!
Happy eventing!
